文章目录
- Cockpit 管理服务器
-
- 部署 Cockpit
- 使用 Cockpit
-
- 登录 Cockpit
- 系统界面
- 日志界面
- 网络界面
- 账户界面
- 服务界面
- 内核转储
- 终端
- 诊断报告
- SELinux
- 扩展 Cockpit
-
- 安装Cockpit扩展包
- 仪表盘
- kubernetes集群
- 图像生成器
- 存储
- 容器
- 虚拟机
- 软件管理
- Linux 软件包管理
-
- Windows 中软件包管理
- 分析 RPM 包
-
- Linux 发行版本
- RPM 包文件名格式
- RPM 包组成
- 复习:非对称加密
- RPM 包安装和更新
- rpm 命令
-
- 查询(重点)
- 验证
- 安装和卸载
- 重新安装
- 使用 yum 管理软件包
-
- yum 介绍
- yum 命令
- 软件包组管理
- 配置 yum 仓库
-
- yum 仓库配置
- yum 仓库管理
-
- 查看 yum 仓库
- 启用和禁用仓库
- 仓库缓存管理
- 添加 kubernetes 仓库
- 趣味代码
- 源码安装软件
-
- 源码安装 nginx
-
- 介绍
- 安装
- 使用
- 配置nginx服务
- 源码安装 cmatrix
-
- 介绍
- 安装
- 使用
- 随时改变颜色
- 自由调整速度
Cockpit 管理服务器
Cockpit 是一个开源工具,通过Web Console管理Linux服务器。
部署 Cockpit
# 安装软件包
[root@server ~]# yum -y install cockpit
# 启用并启动服务
[root@server ~]# systemctl enable cockpit.socket –now
# 配置防火墙放行 cockpit 服务
[root@server ~]# firewall-cmd –add-service=cockpit
success
[root@server ~]# firewall-cmd –add-service=cockpit –permanent
success
使用 Cockpit
登录 Cockpit
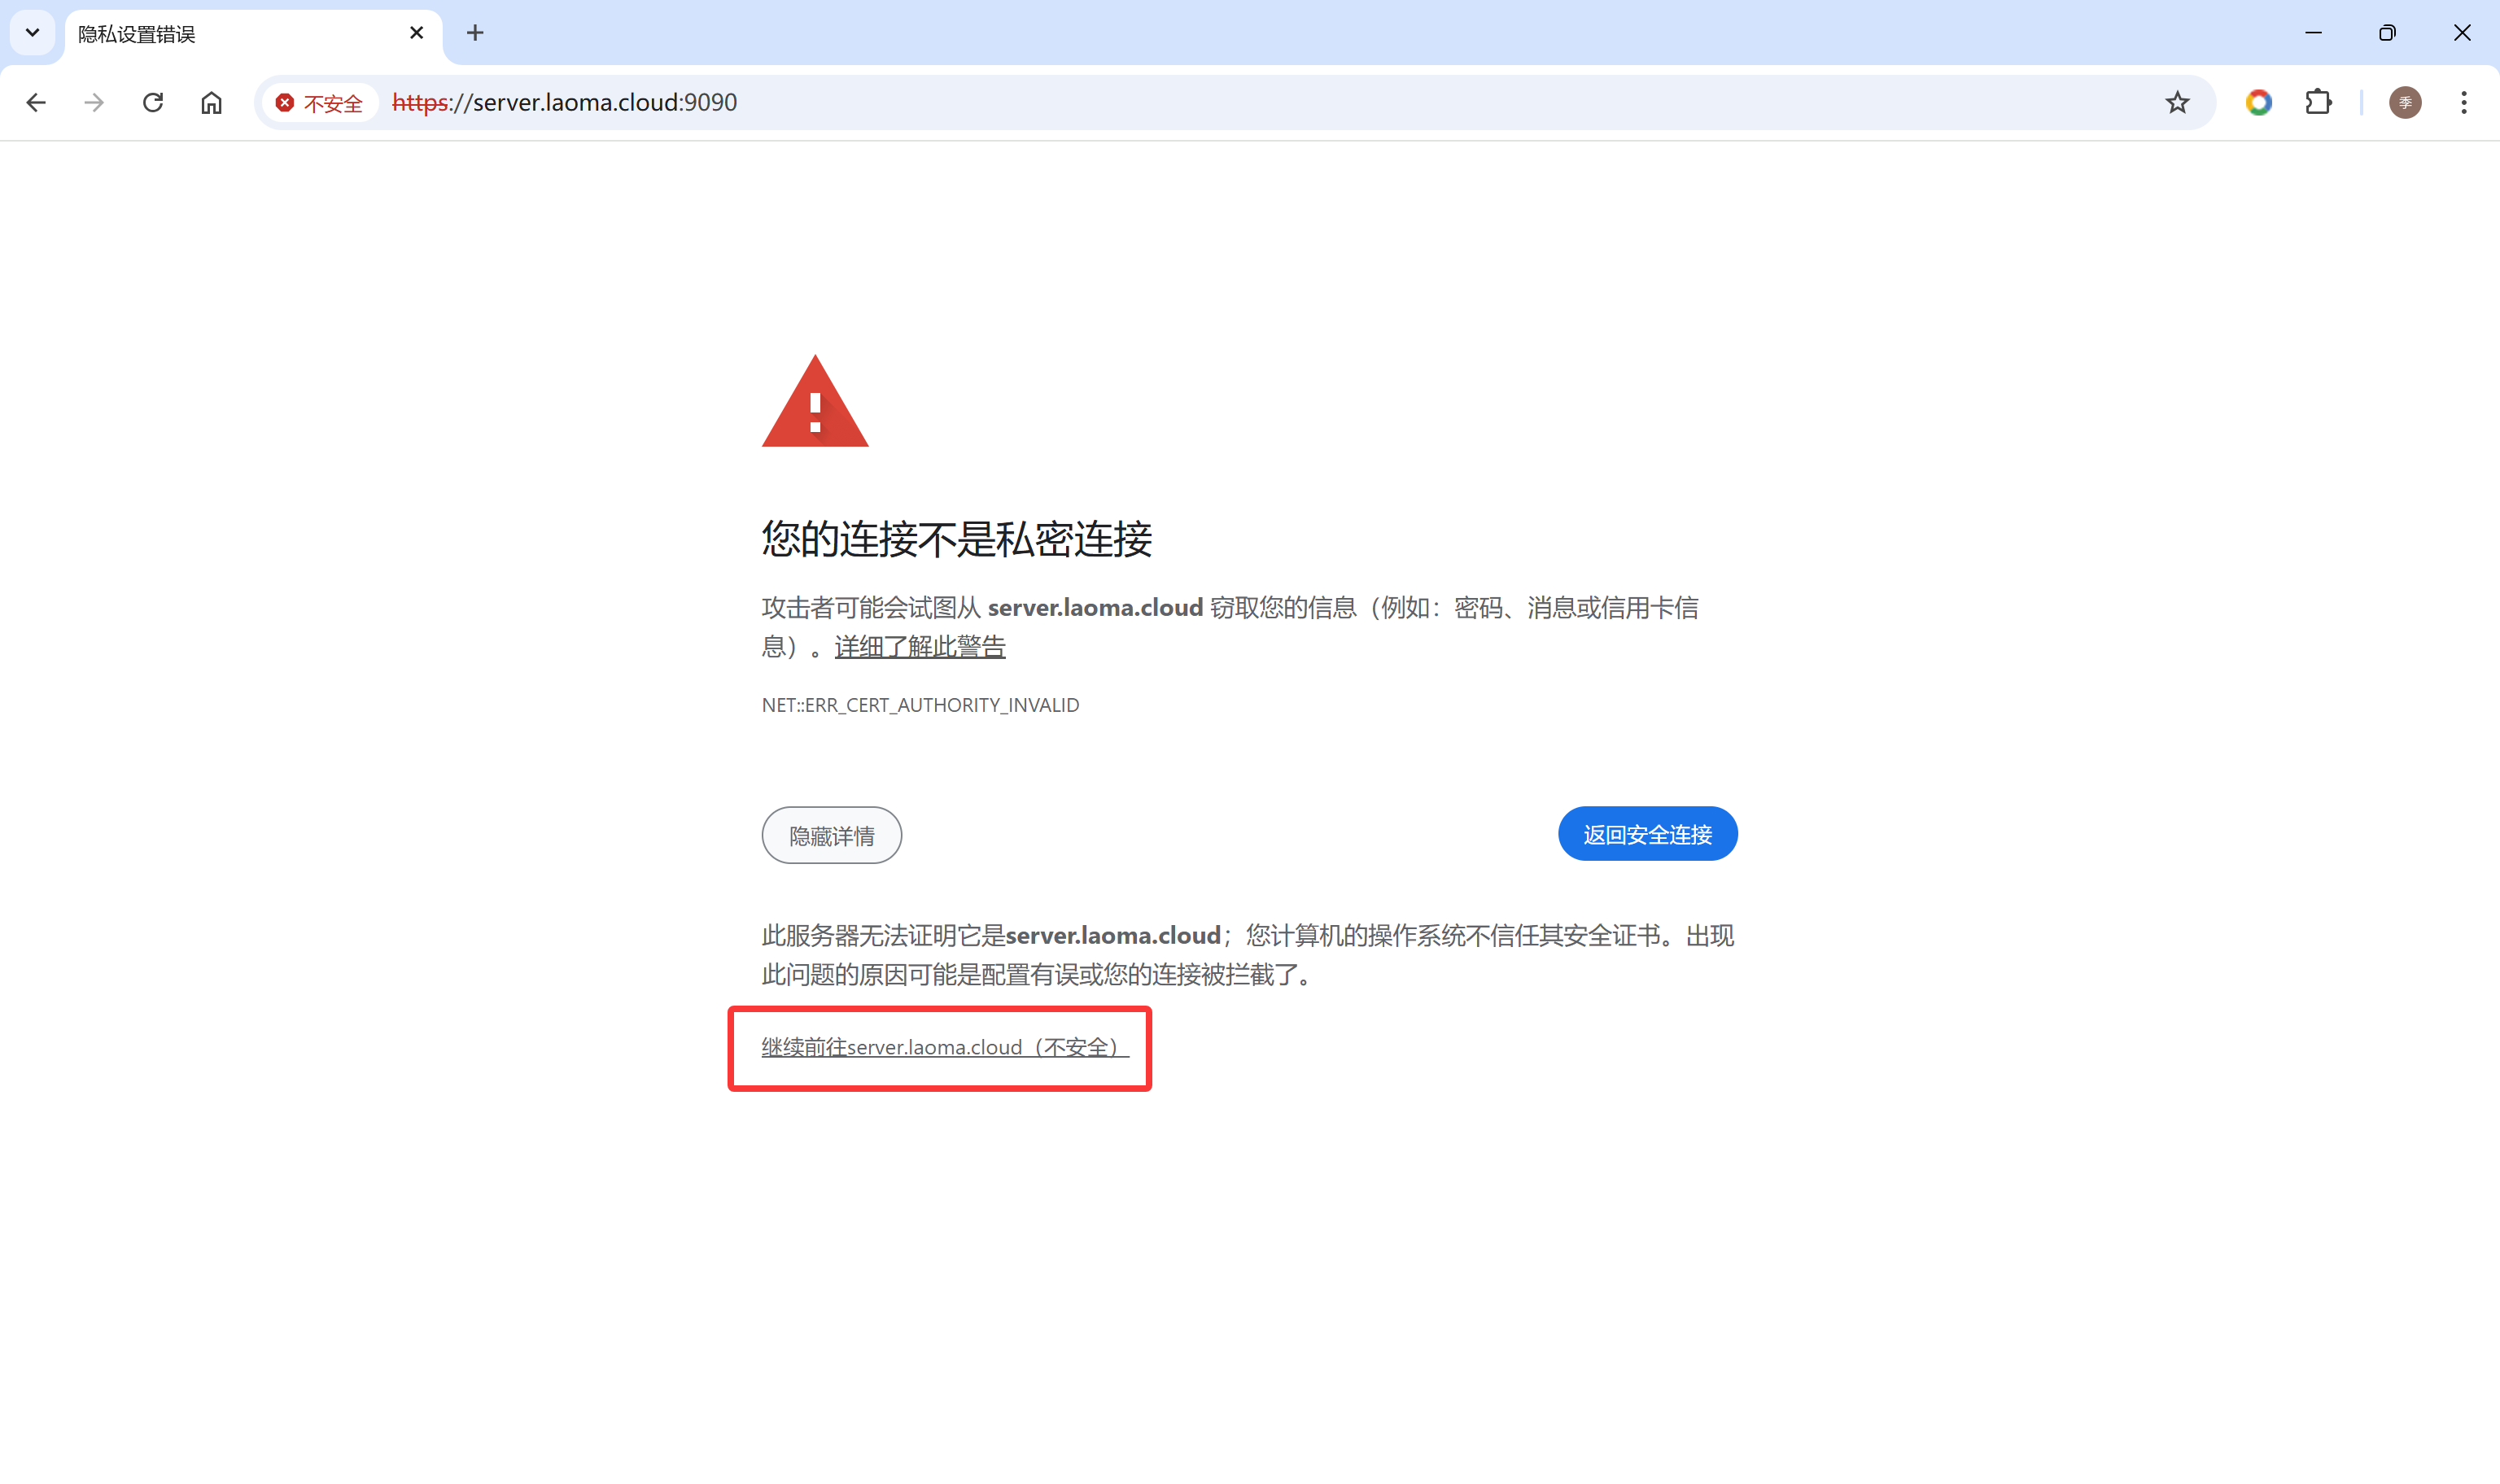
打开浏览器,访问Cockpit界面:https://hostname:9090
hostname是一个可以解析的域名或者直接使用IP地址。
windows 配置解析位置:C:\\Windows\\System32\\drivers\\etc\\hosts
添加对应记录:
10.1.8.10 server.laoma.cloud
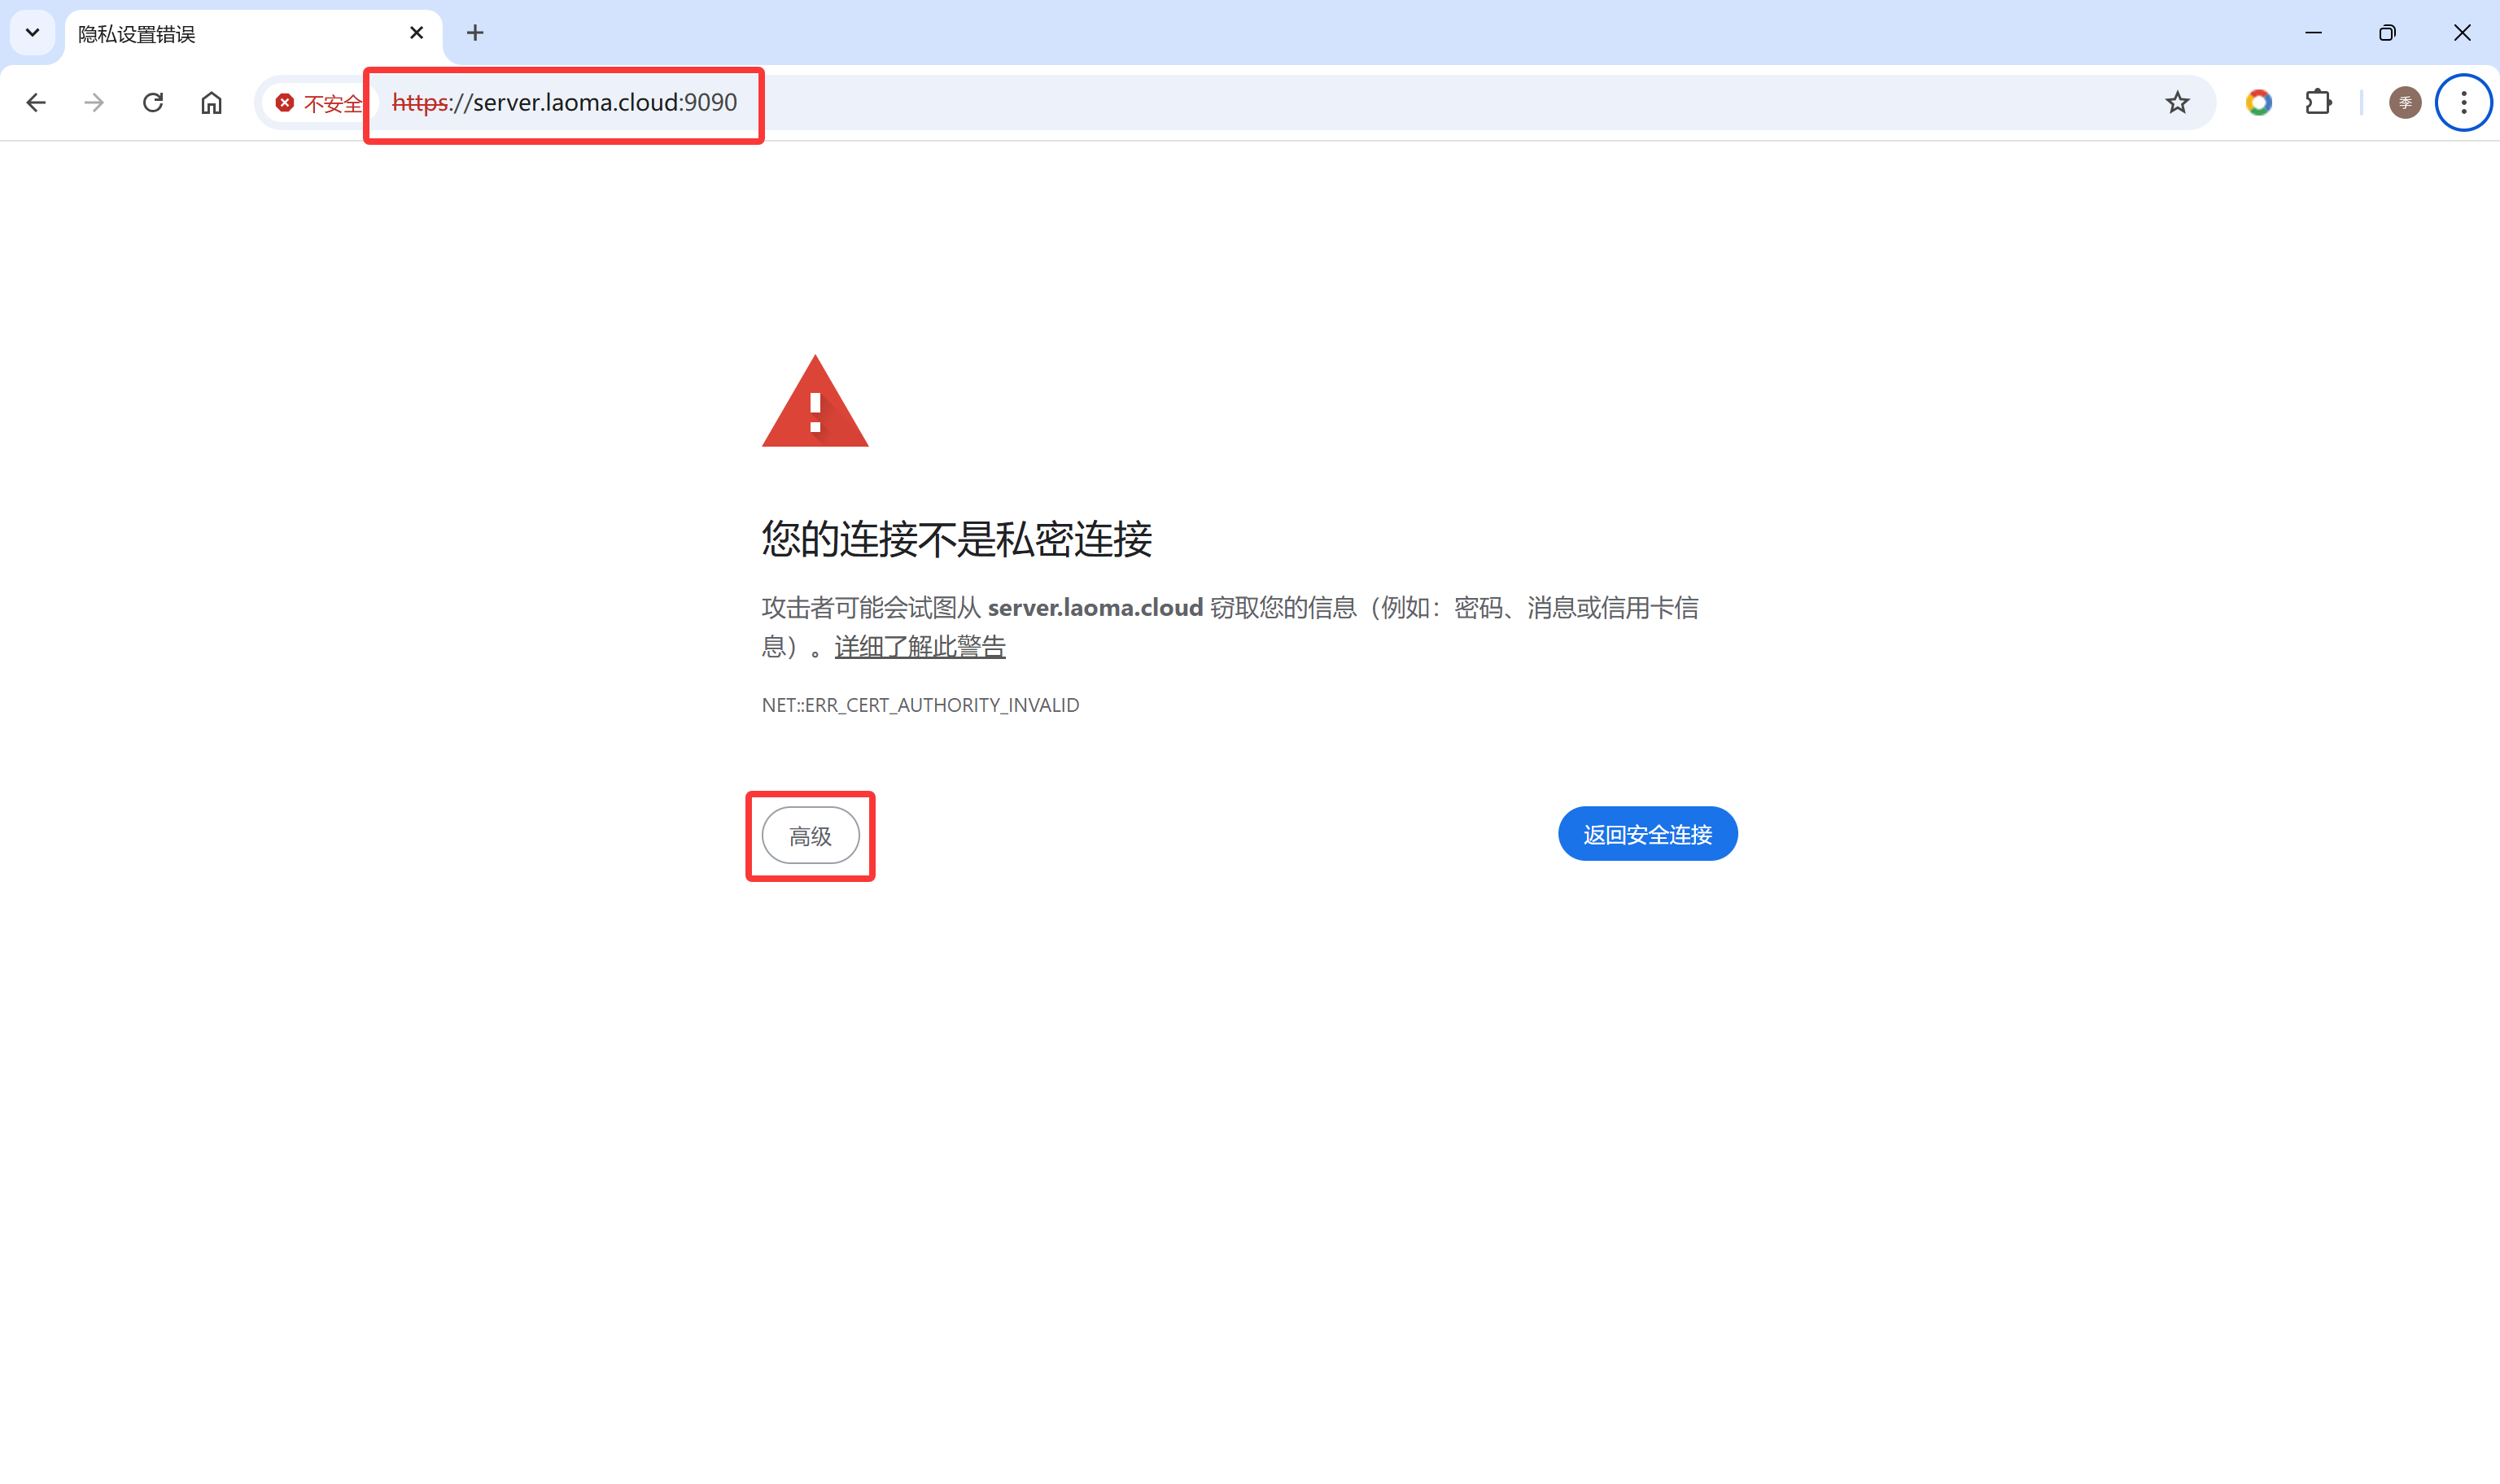
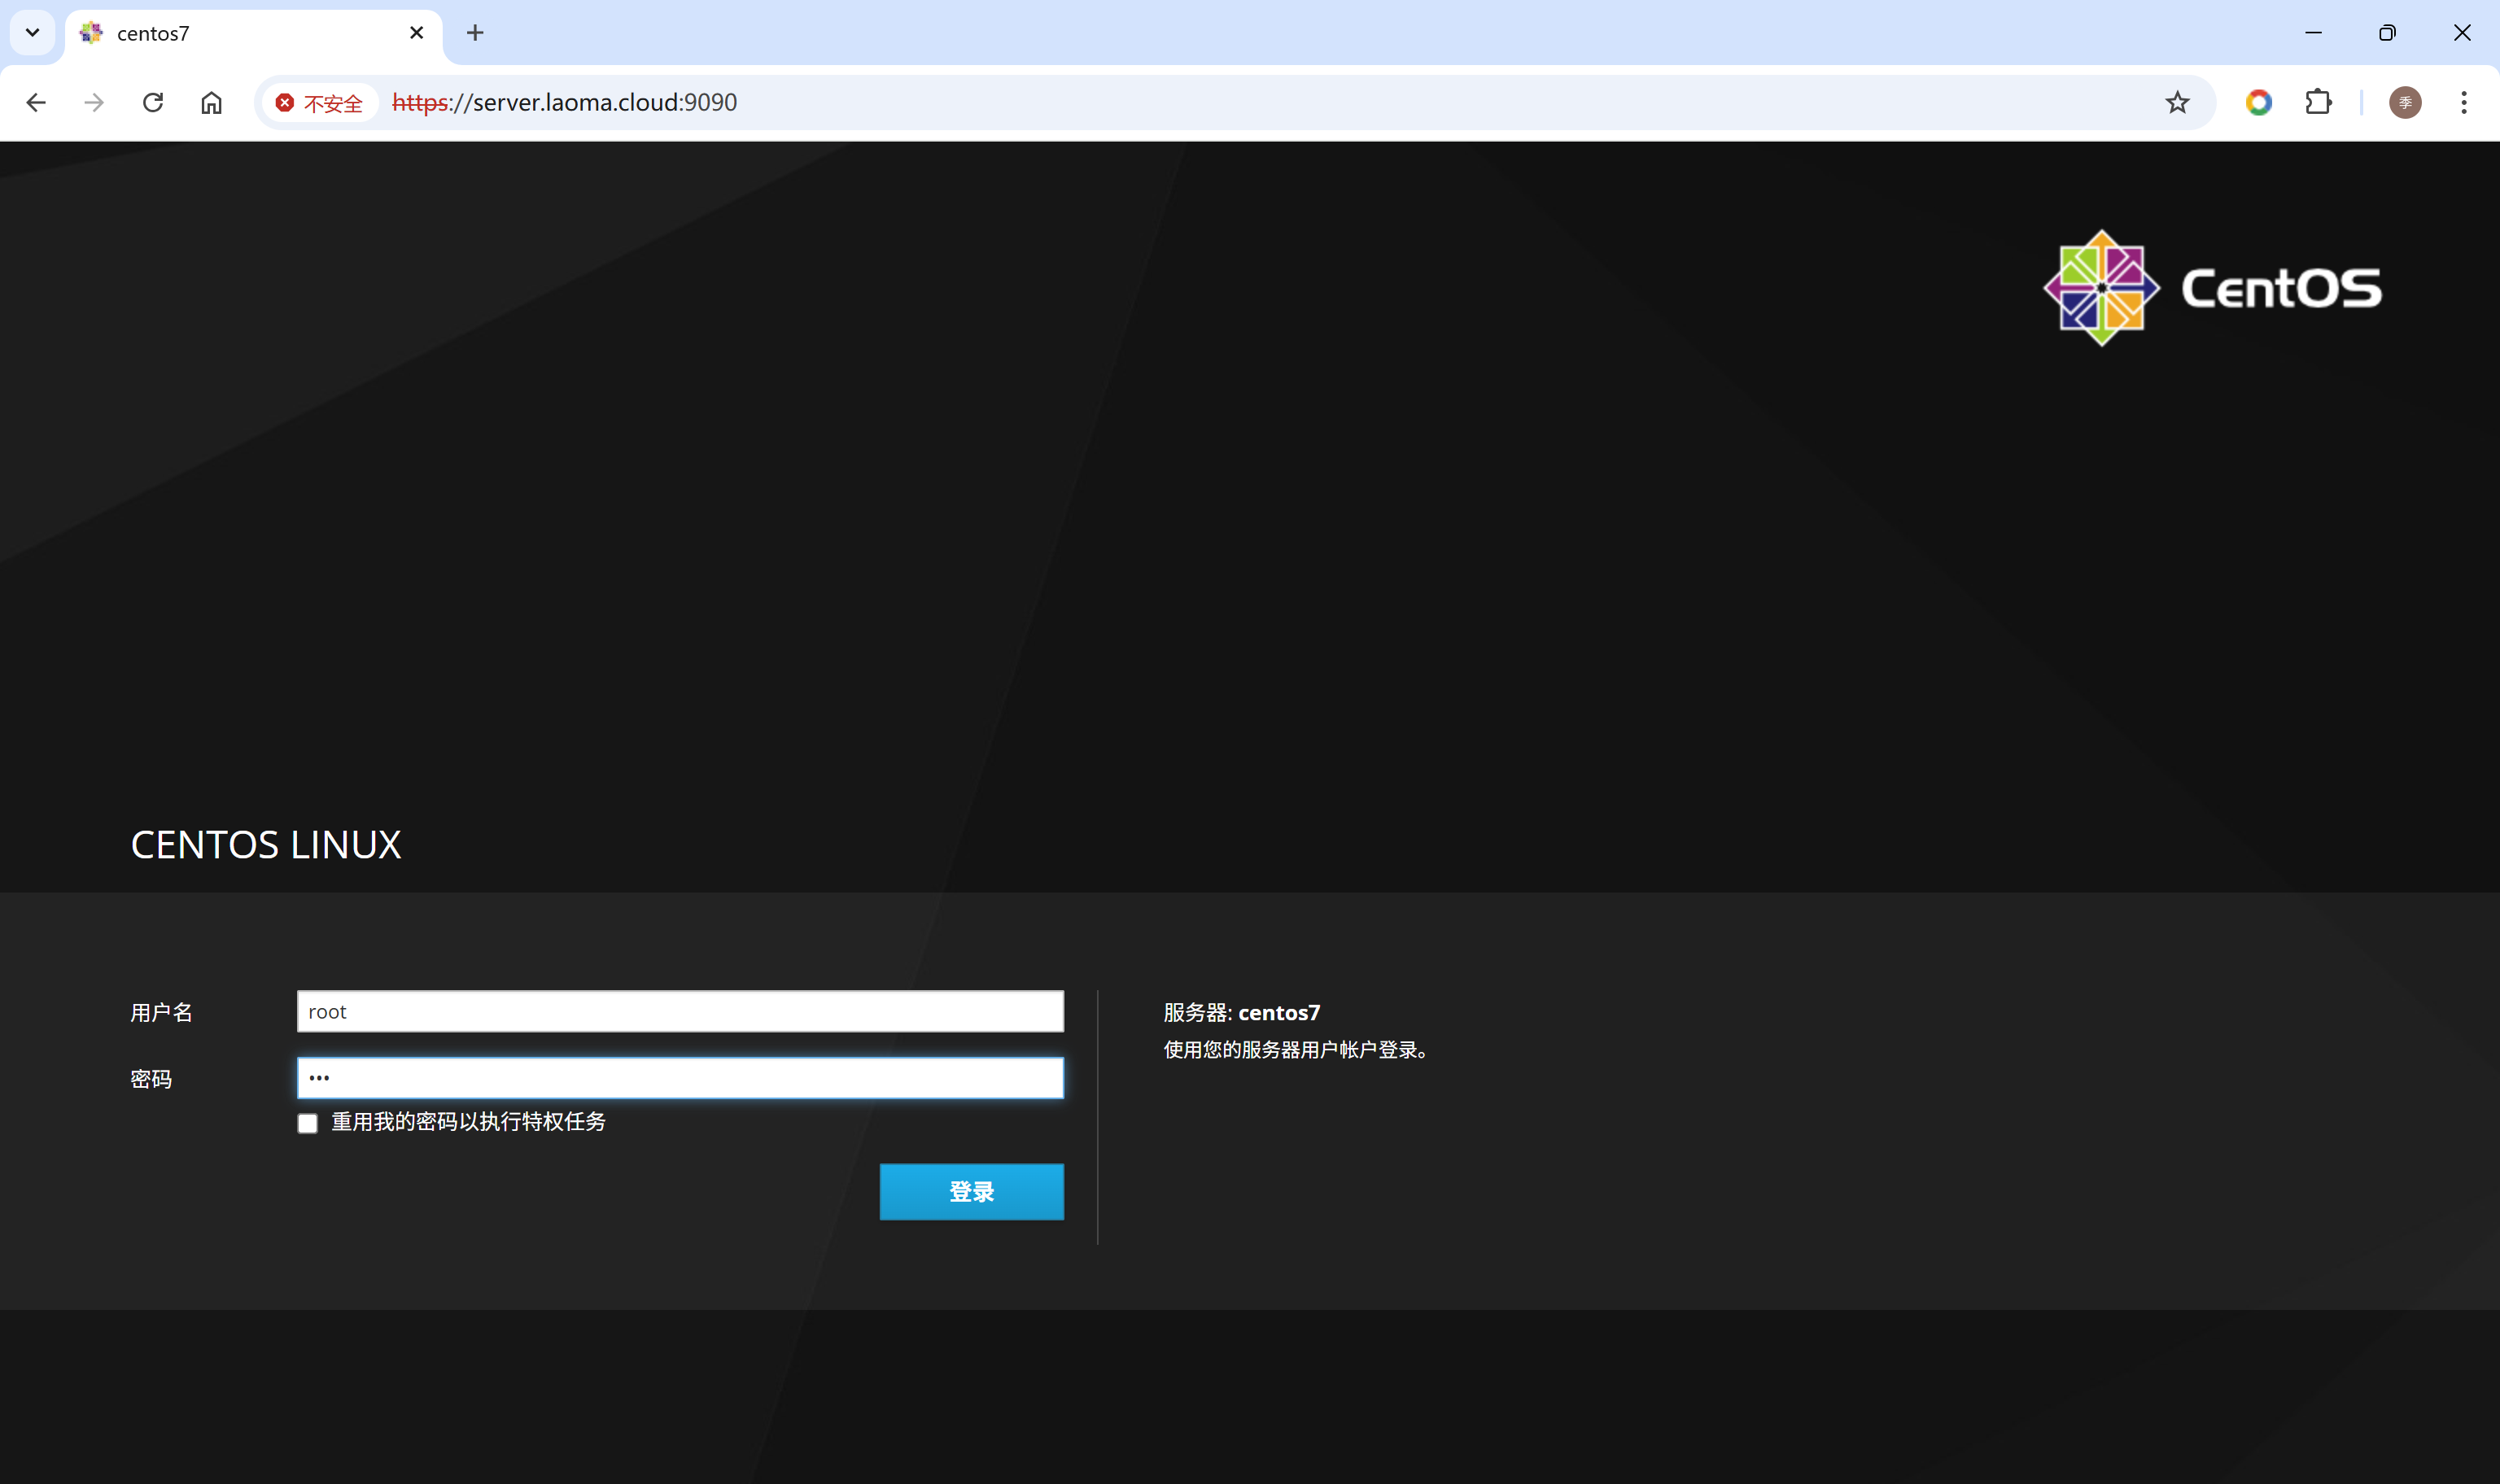
 输入操作系统账户和密码登录。
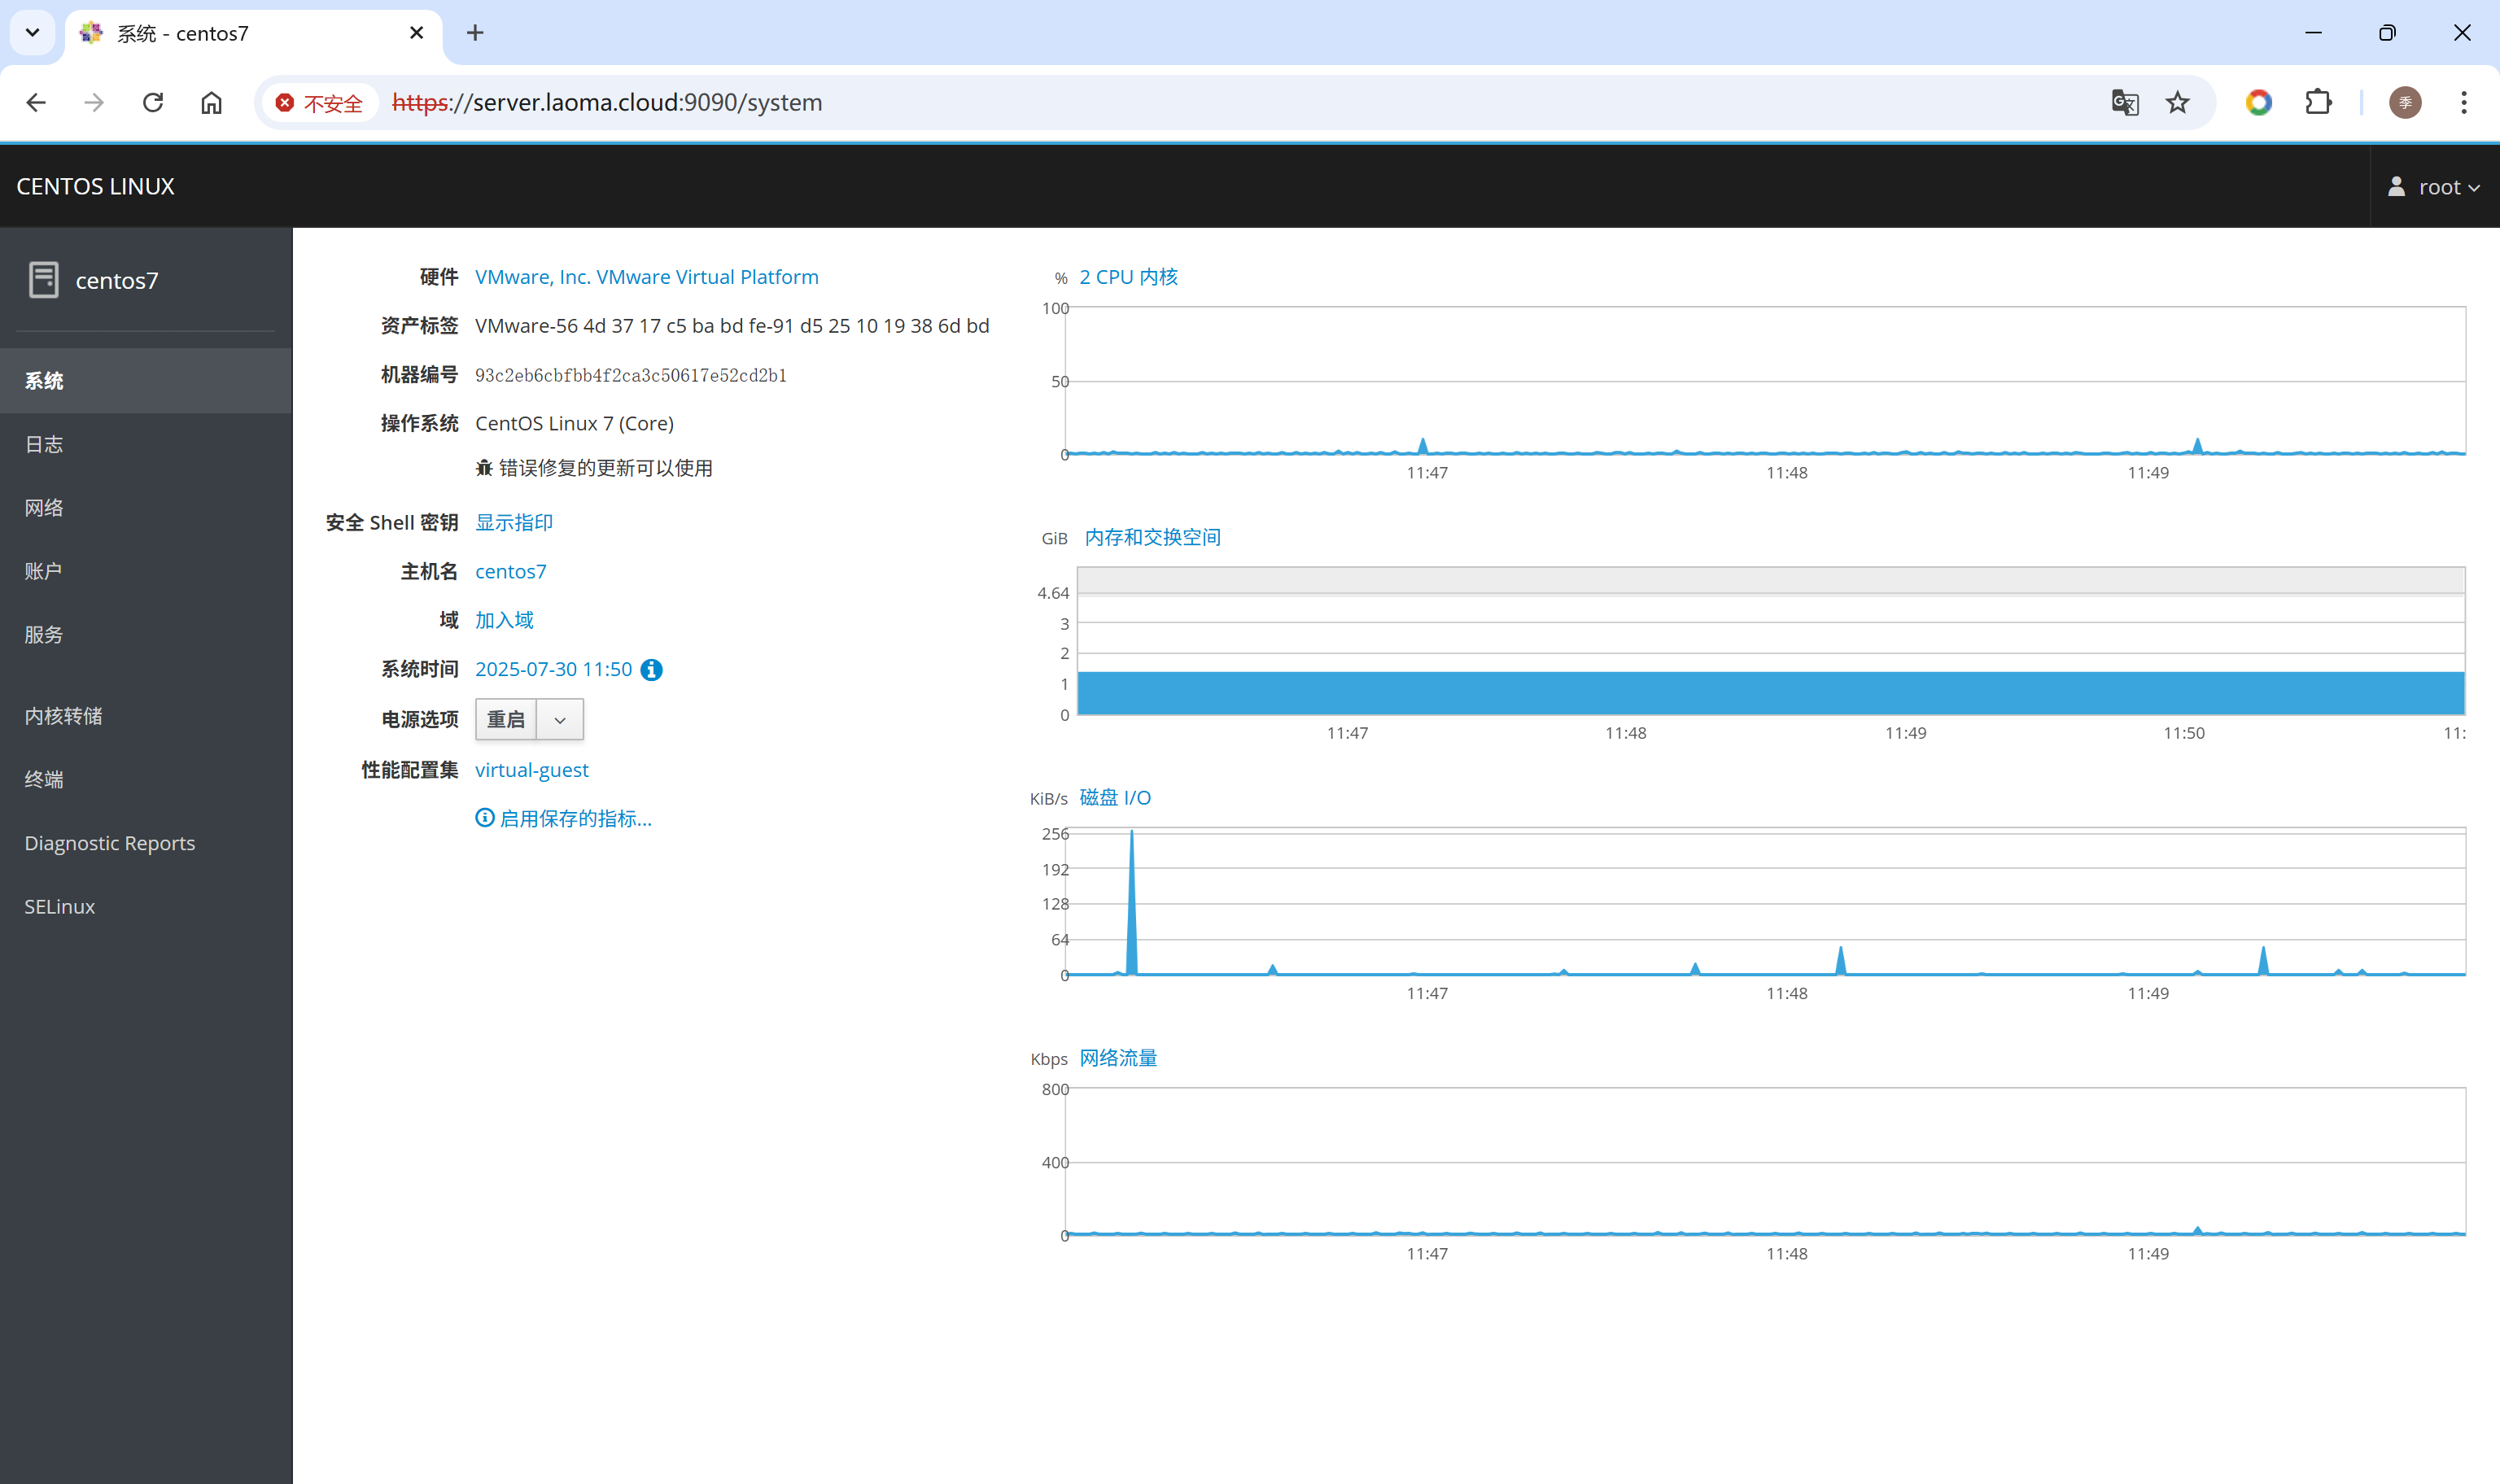
系统界面
该界面可以设置主机名,系统时间,修改性能配置集,监控系统CPU、内存、磁盘和网络使用情况。
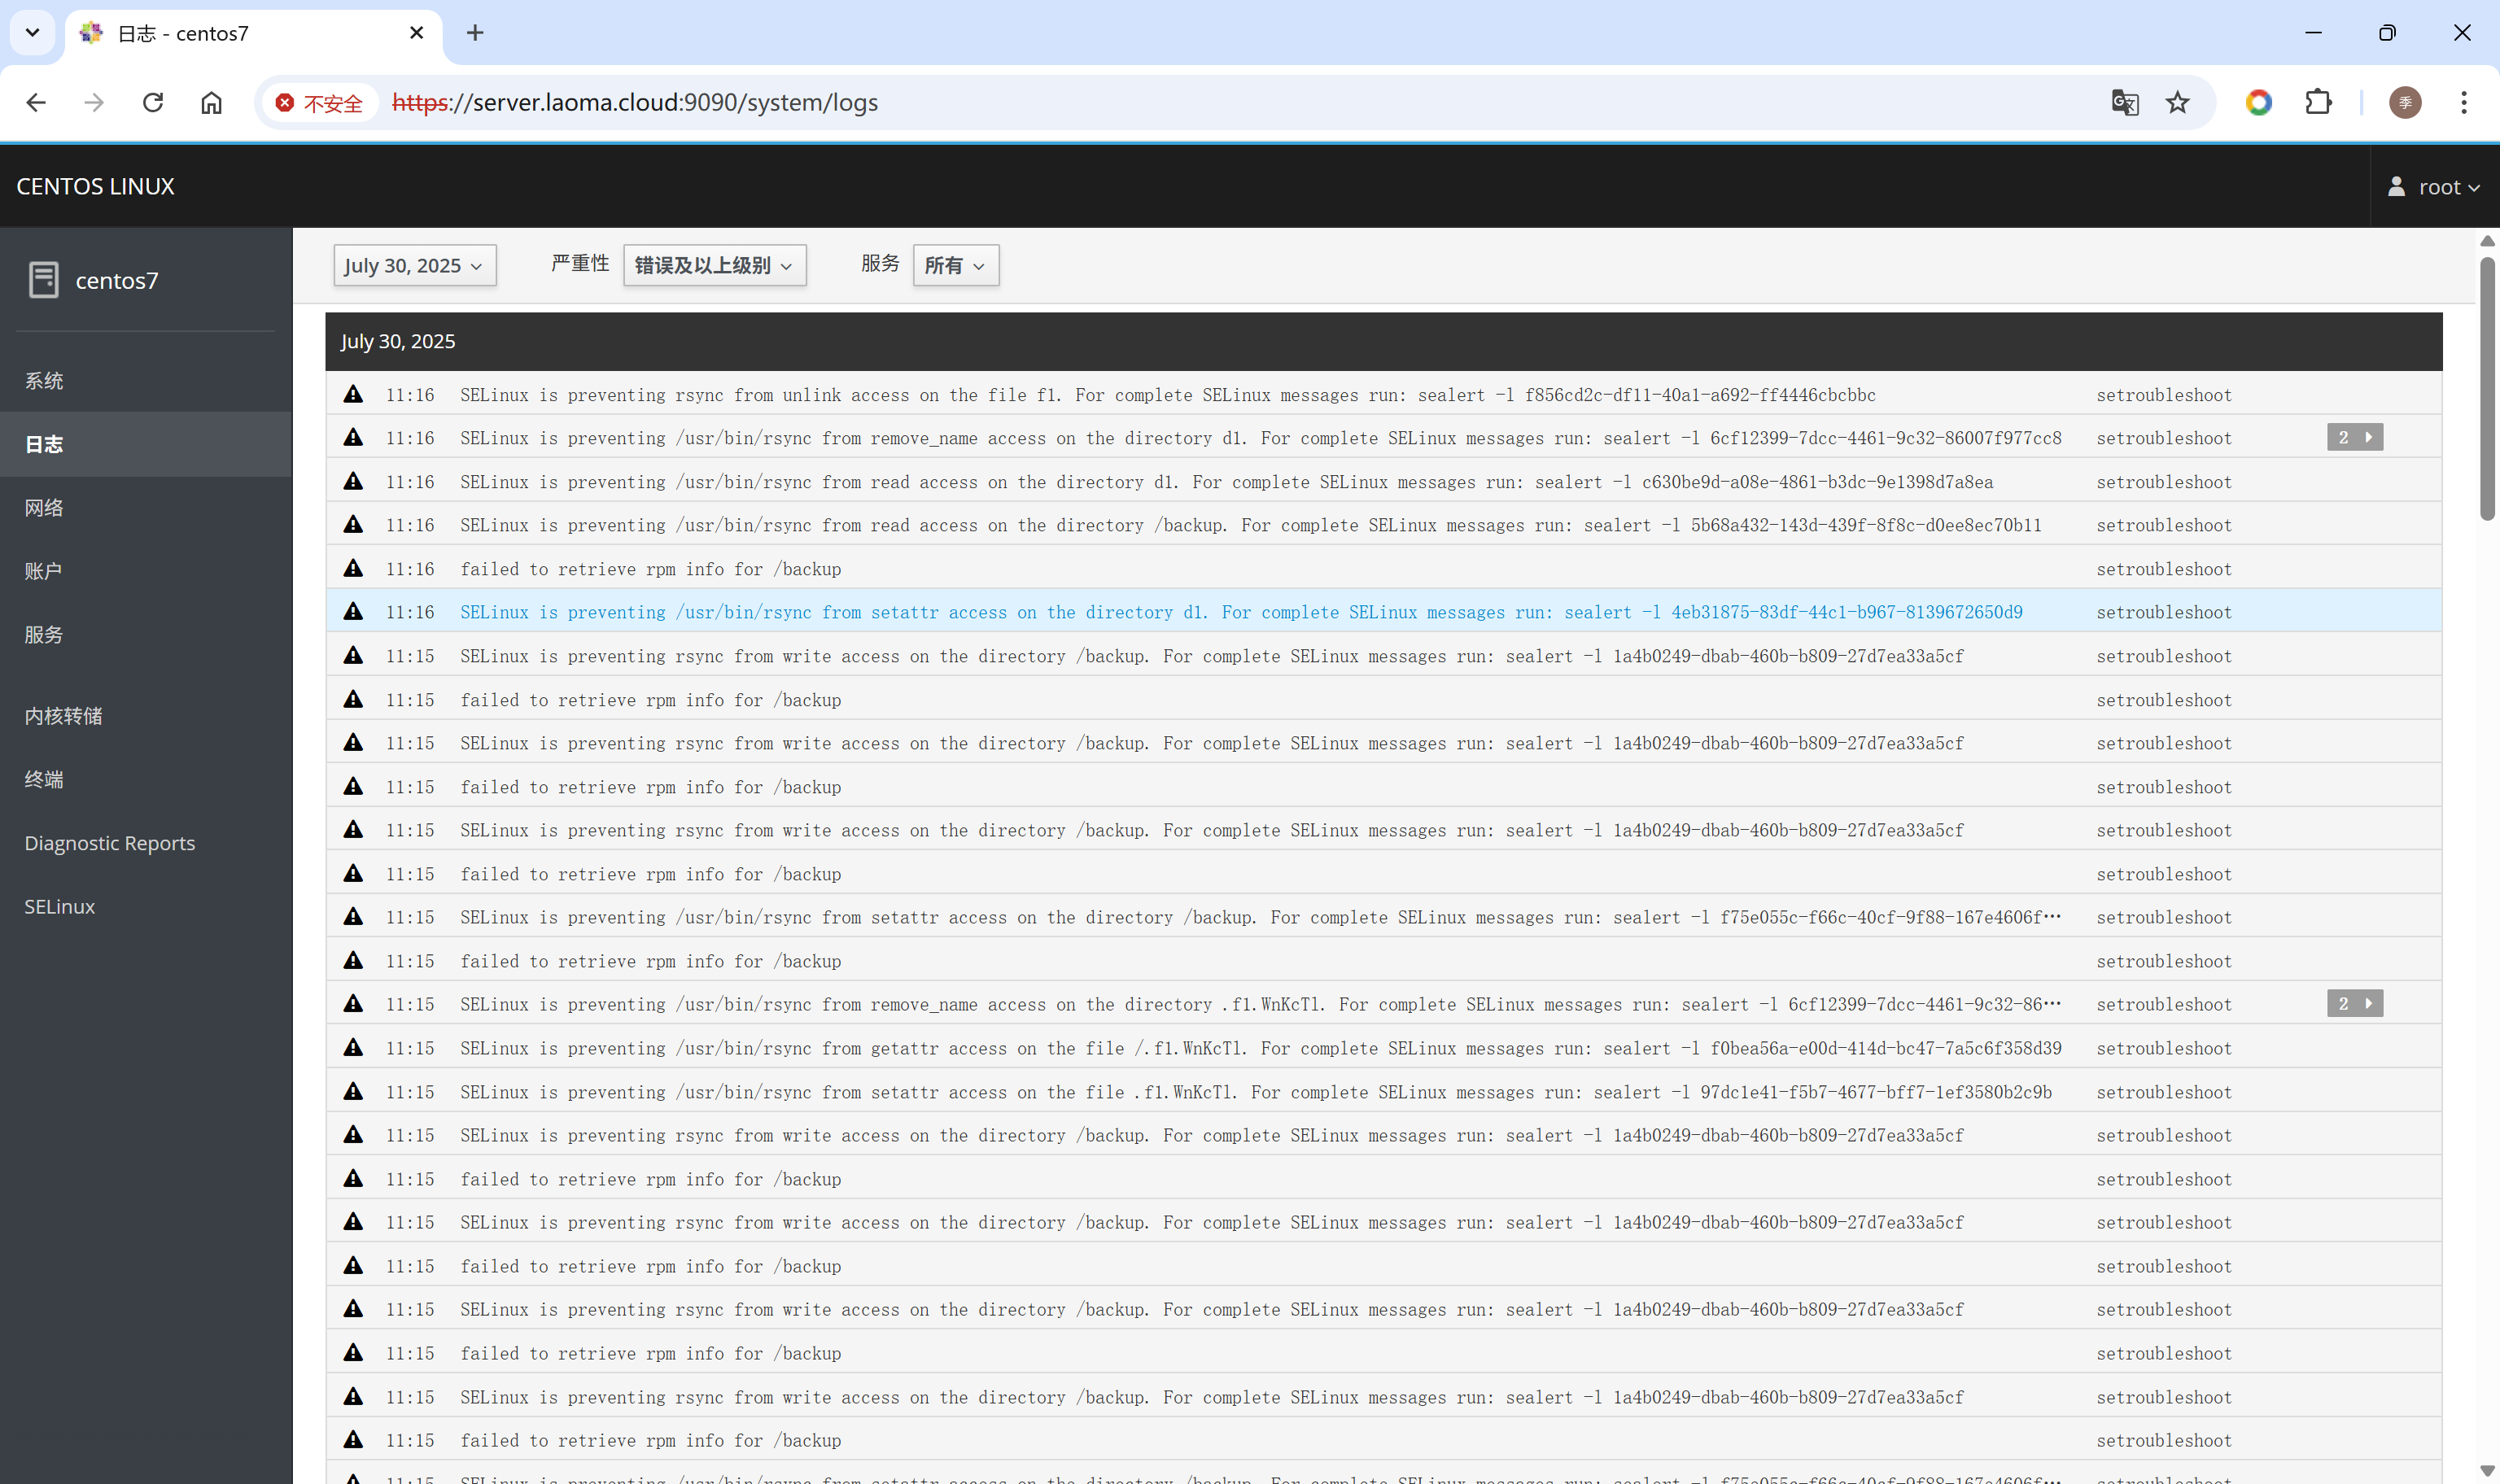
日志界面
检索系统日志。
网络界面
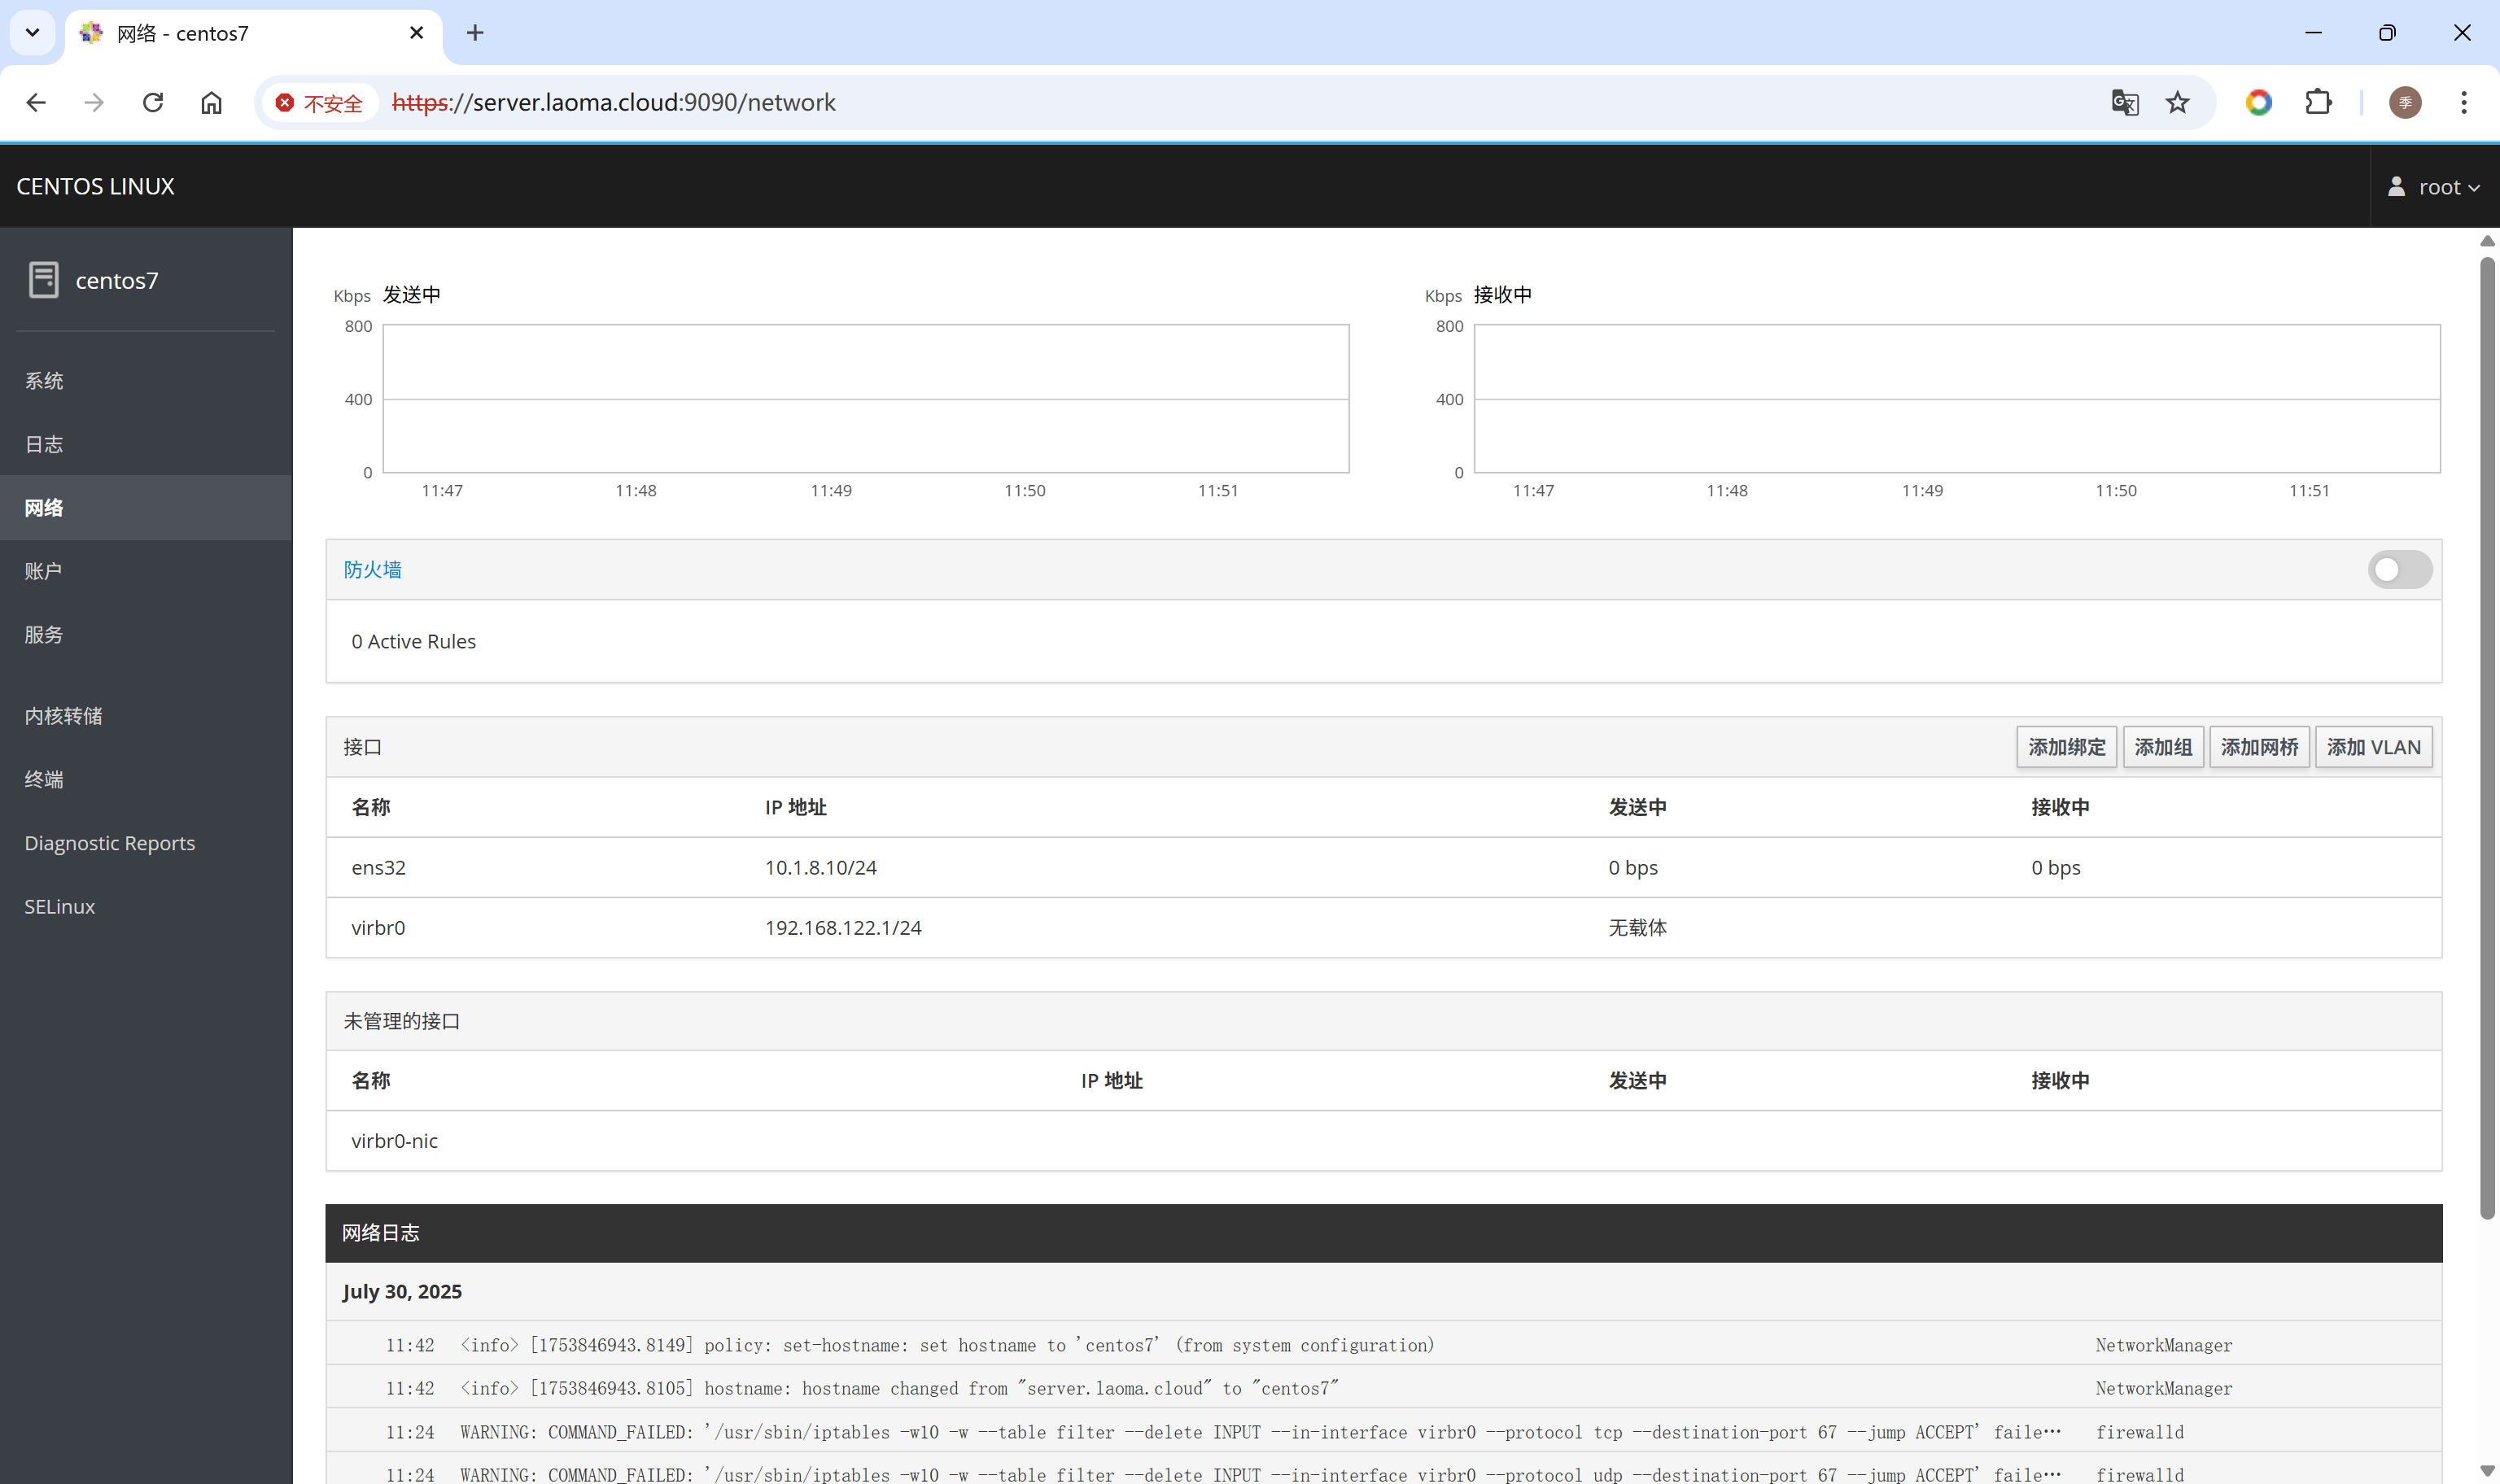
监控收发带宽、配置防火墙、配置网络接口、监控网络日志。
账户界面
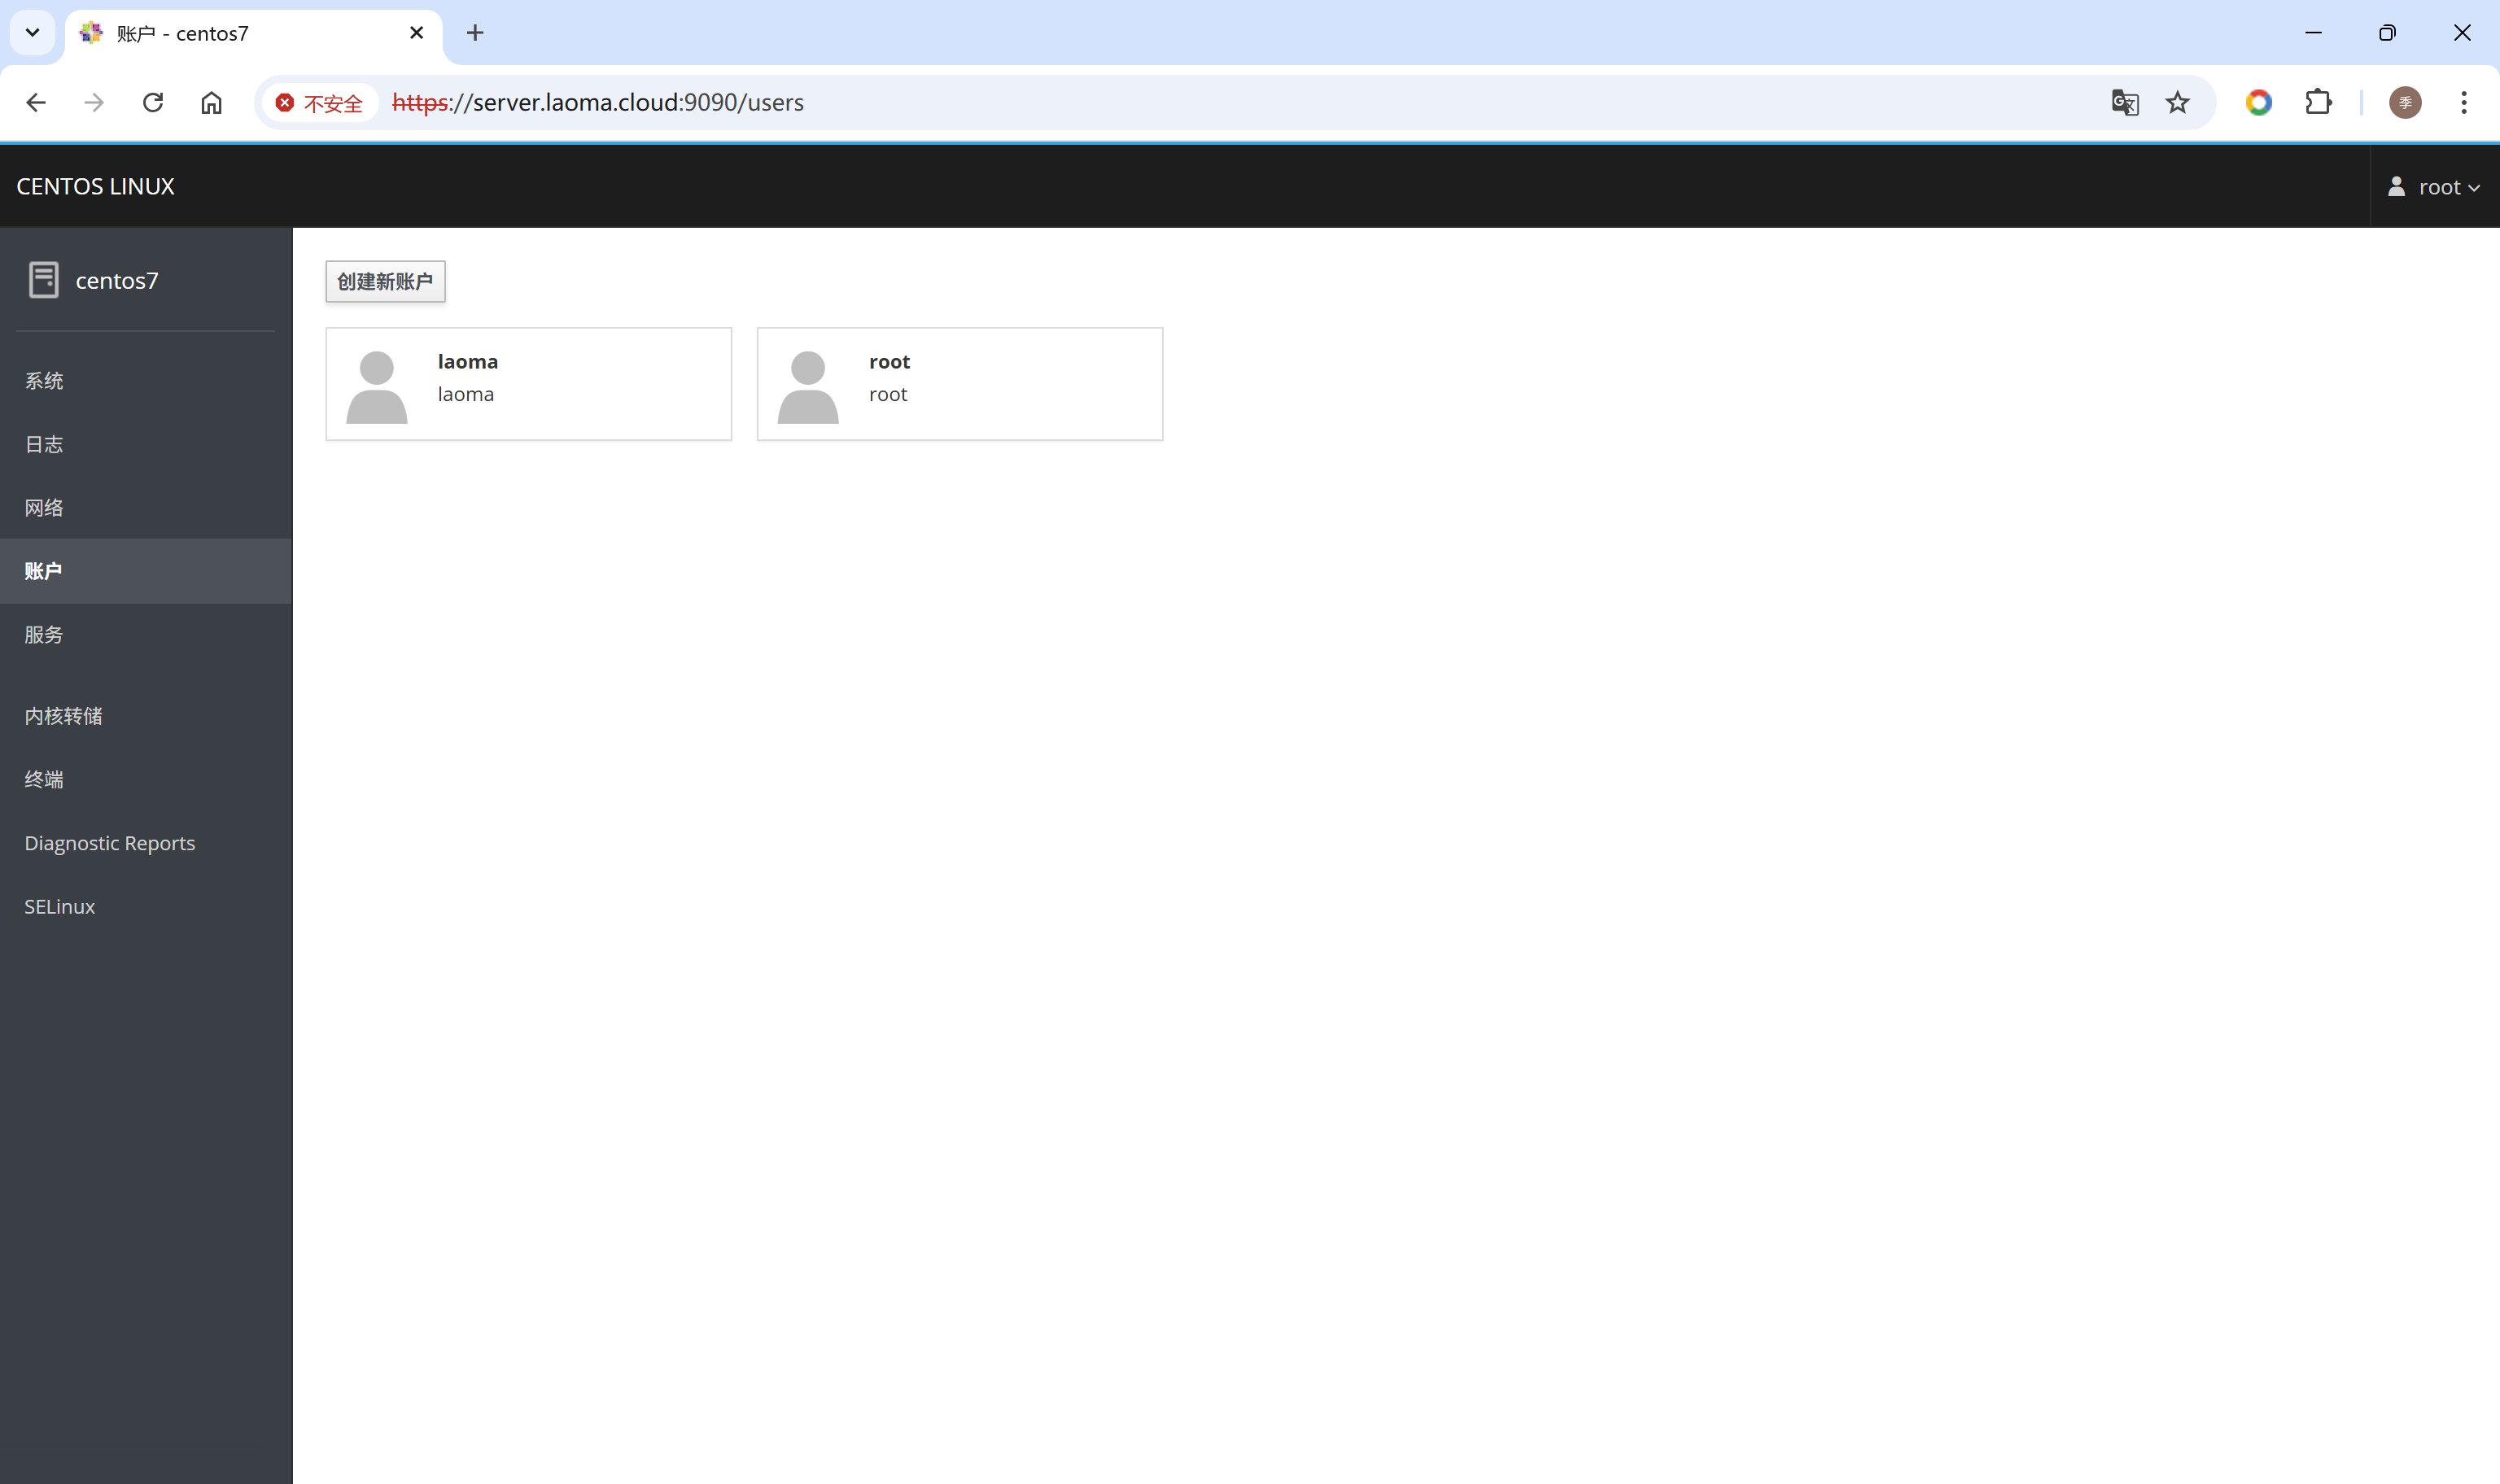
创建、修改和删除账户。
服务界面
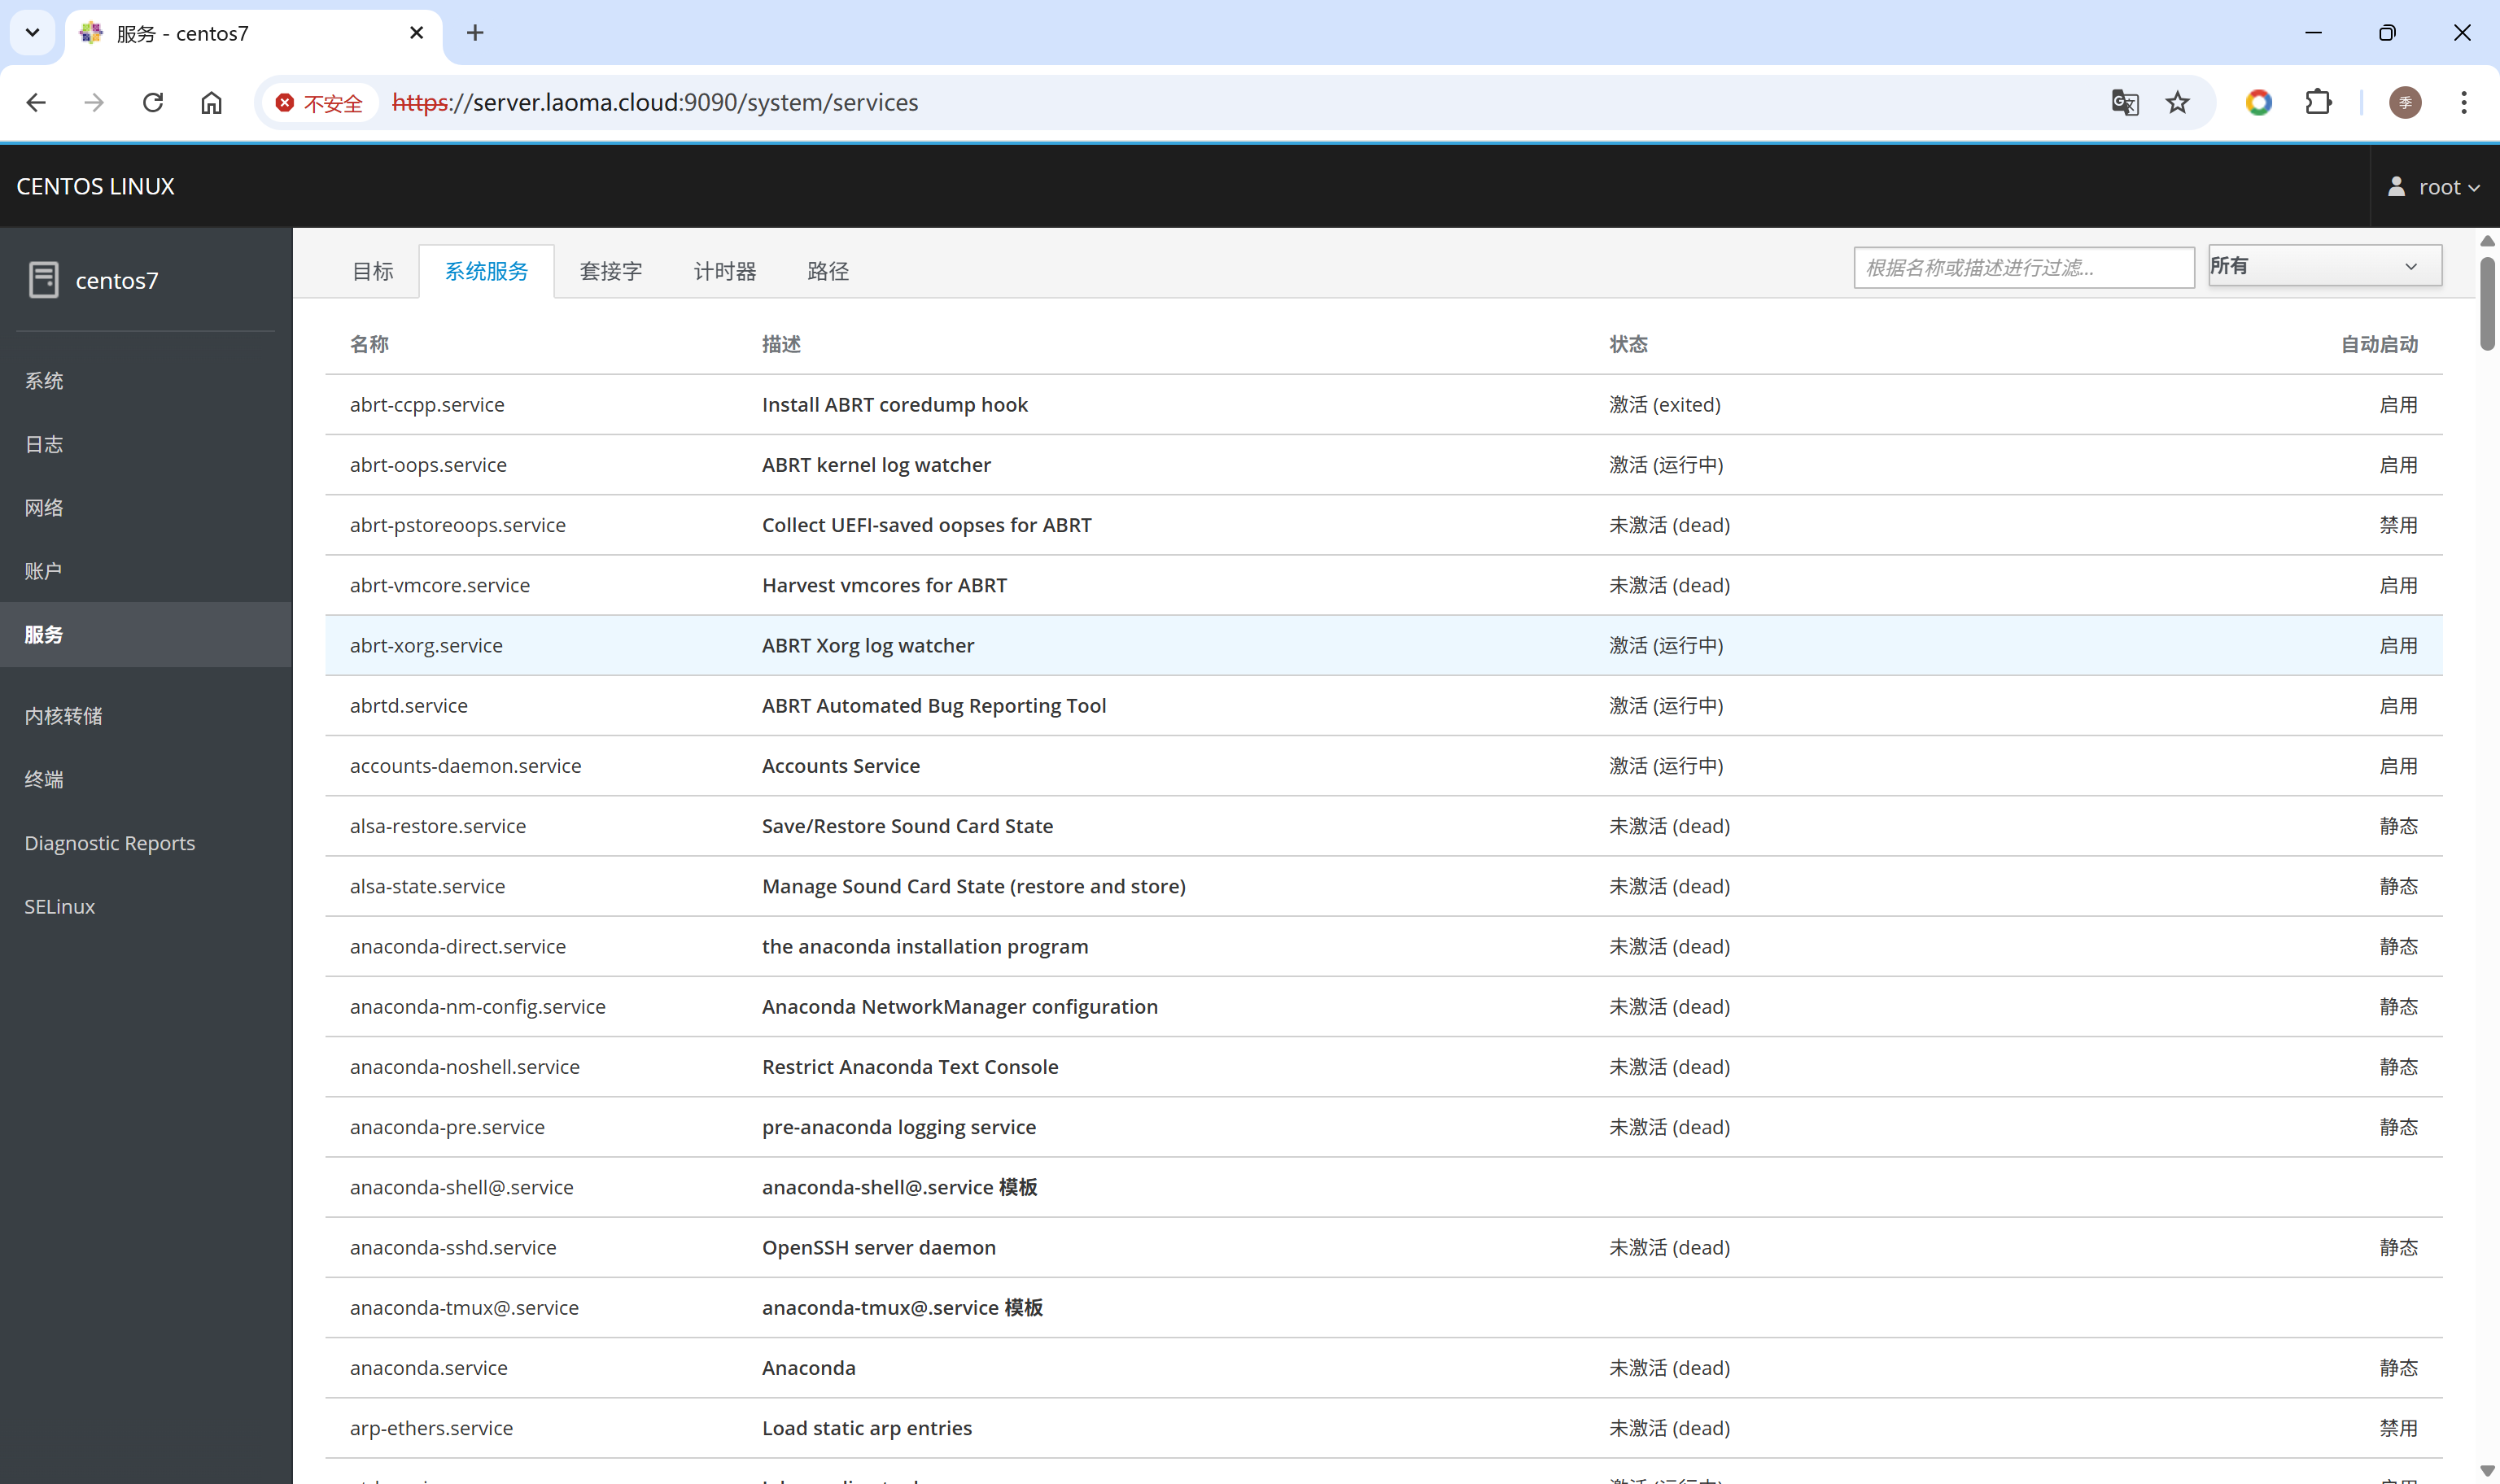
管理系统单元:目标、系统服务、套接字、计时器、路径等。
内核转储
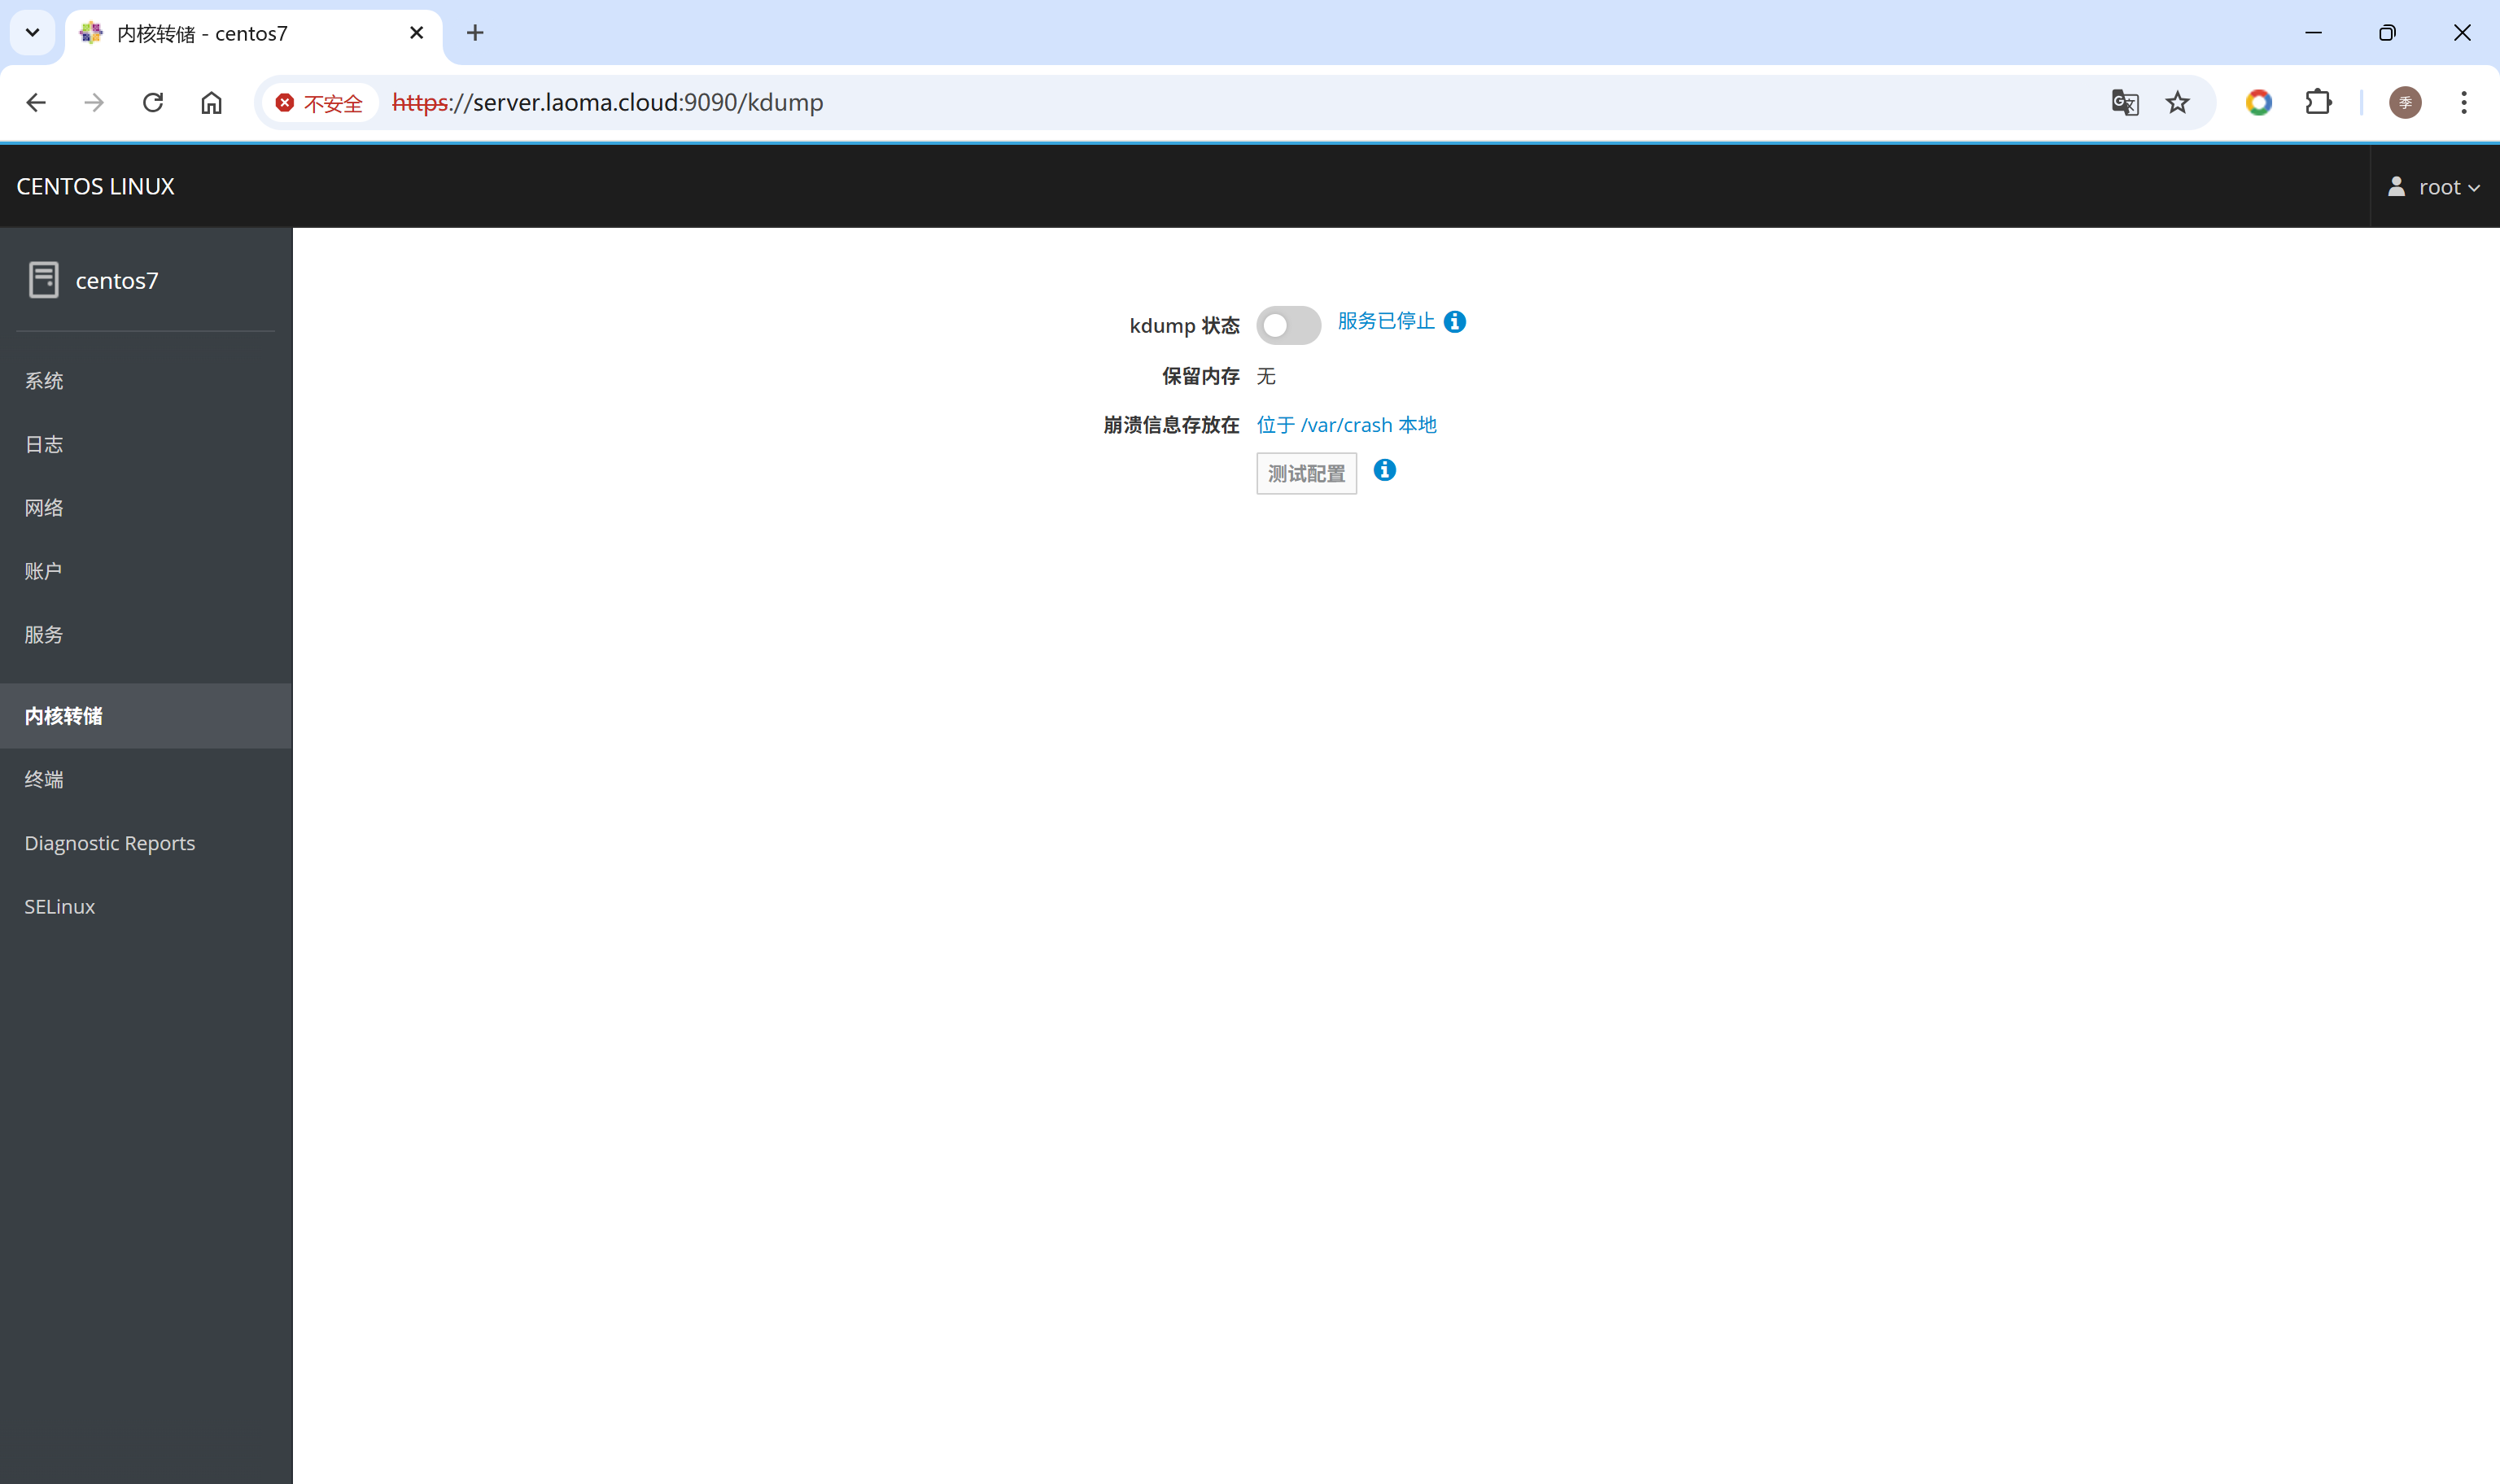
内核转储功能作用:将崩溃进程的内存中数据存储到文件系统。
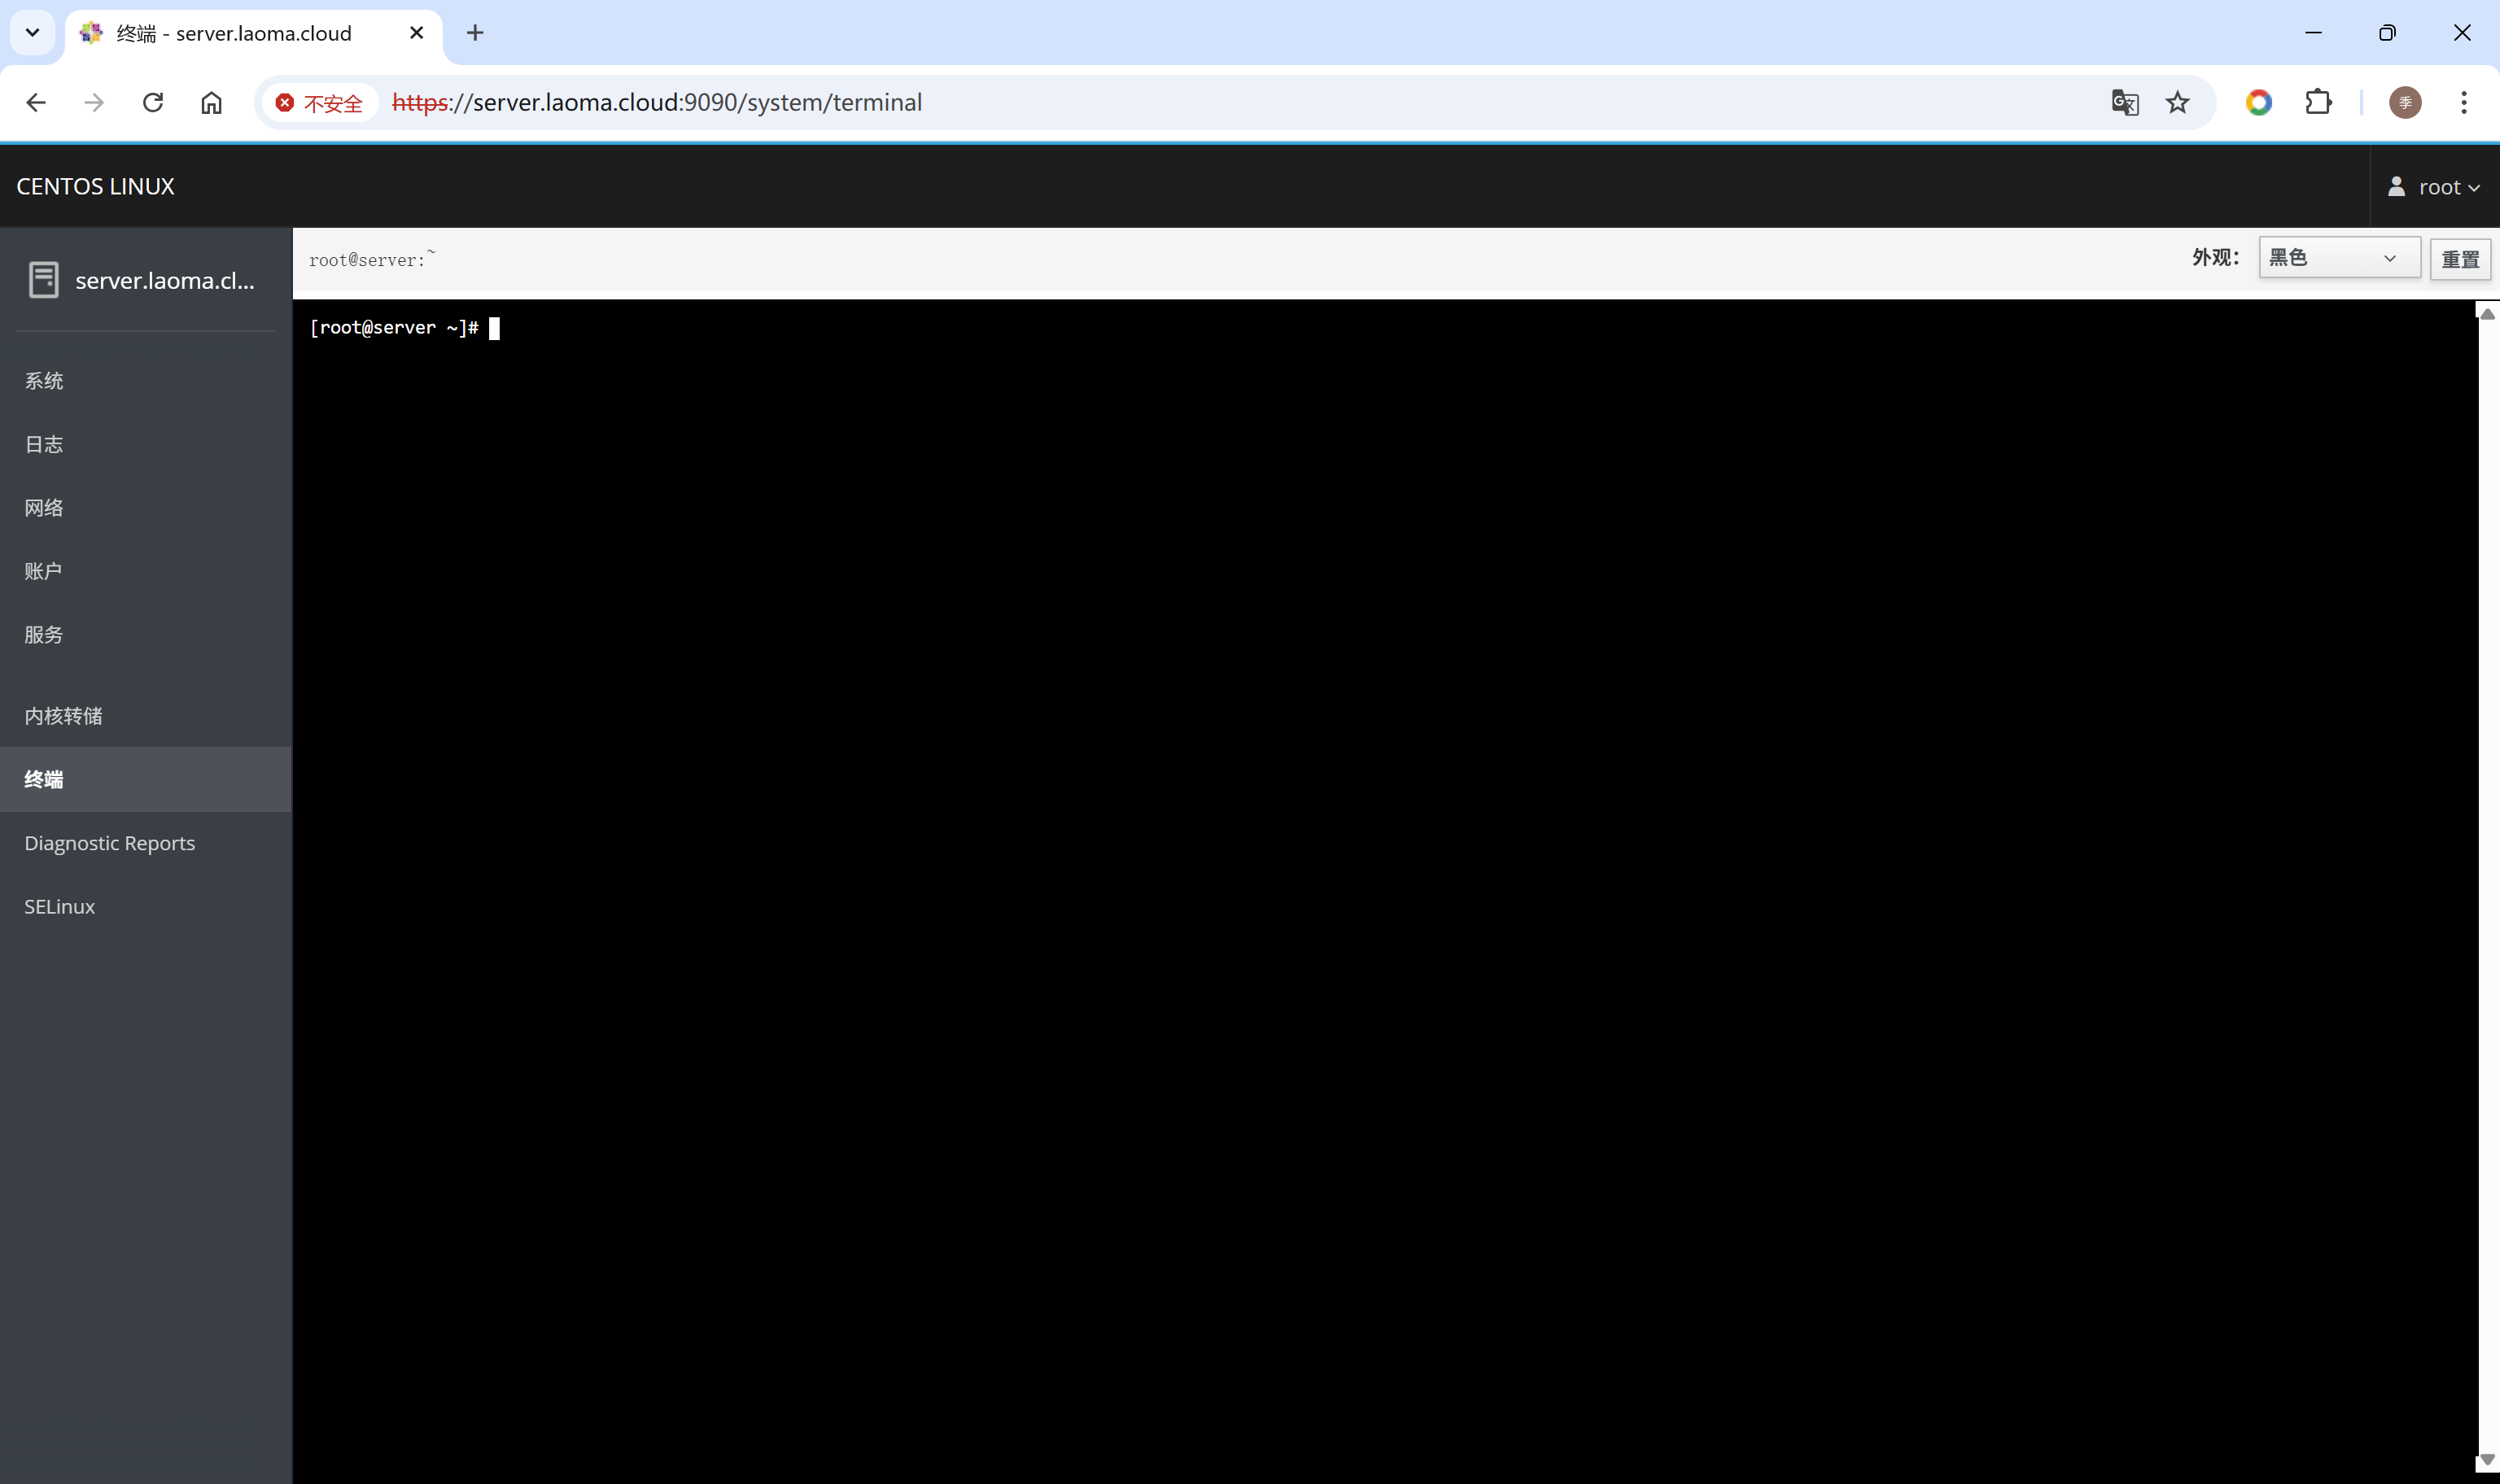
终端
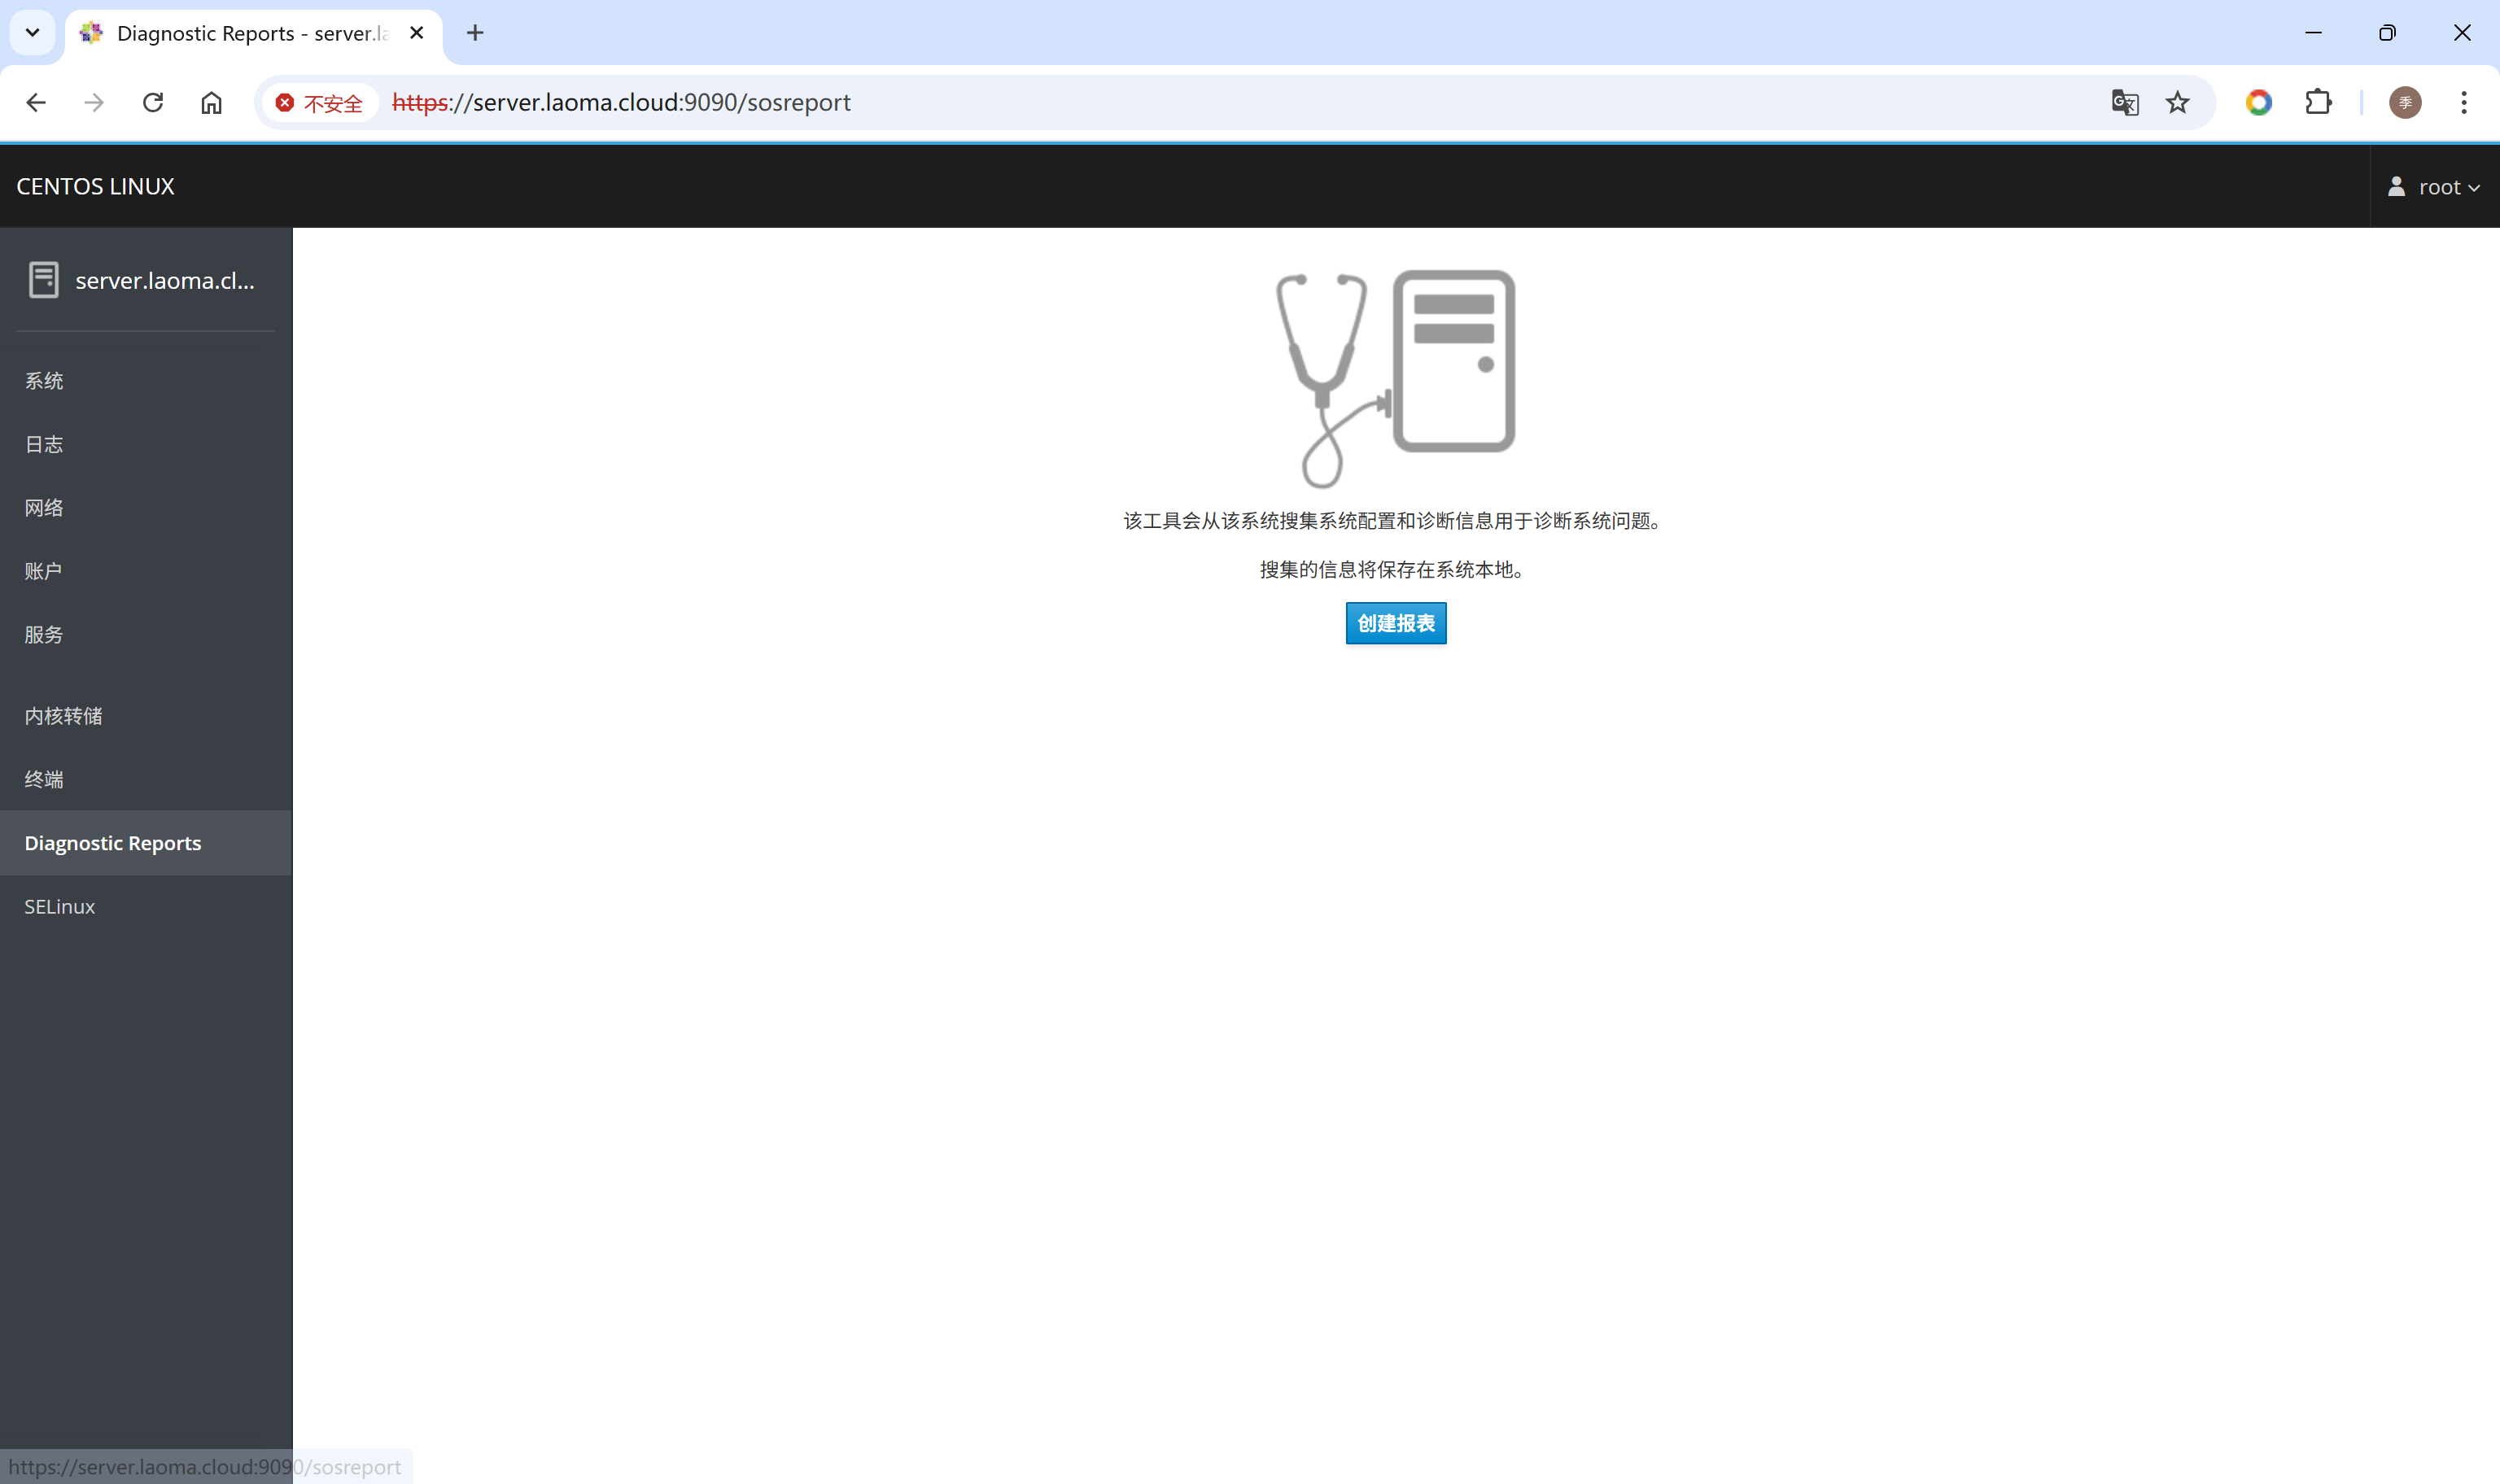
诊断报告
创建诊断报告。
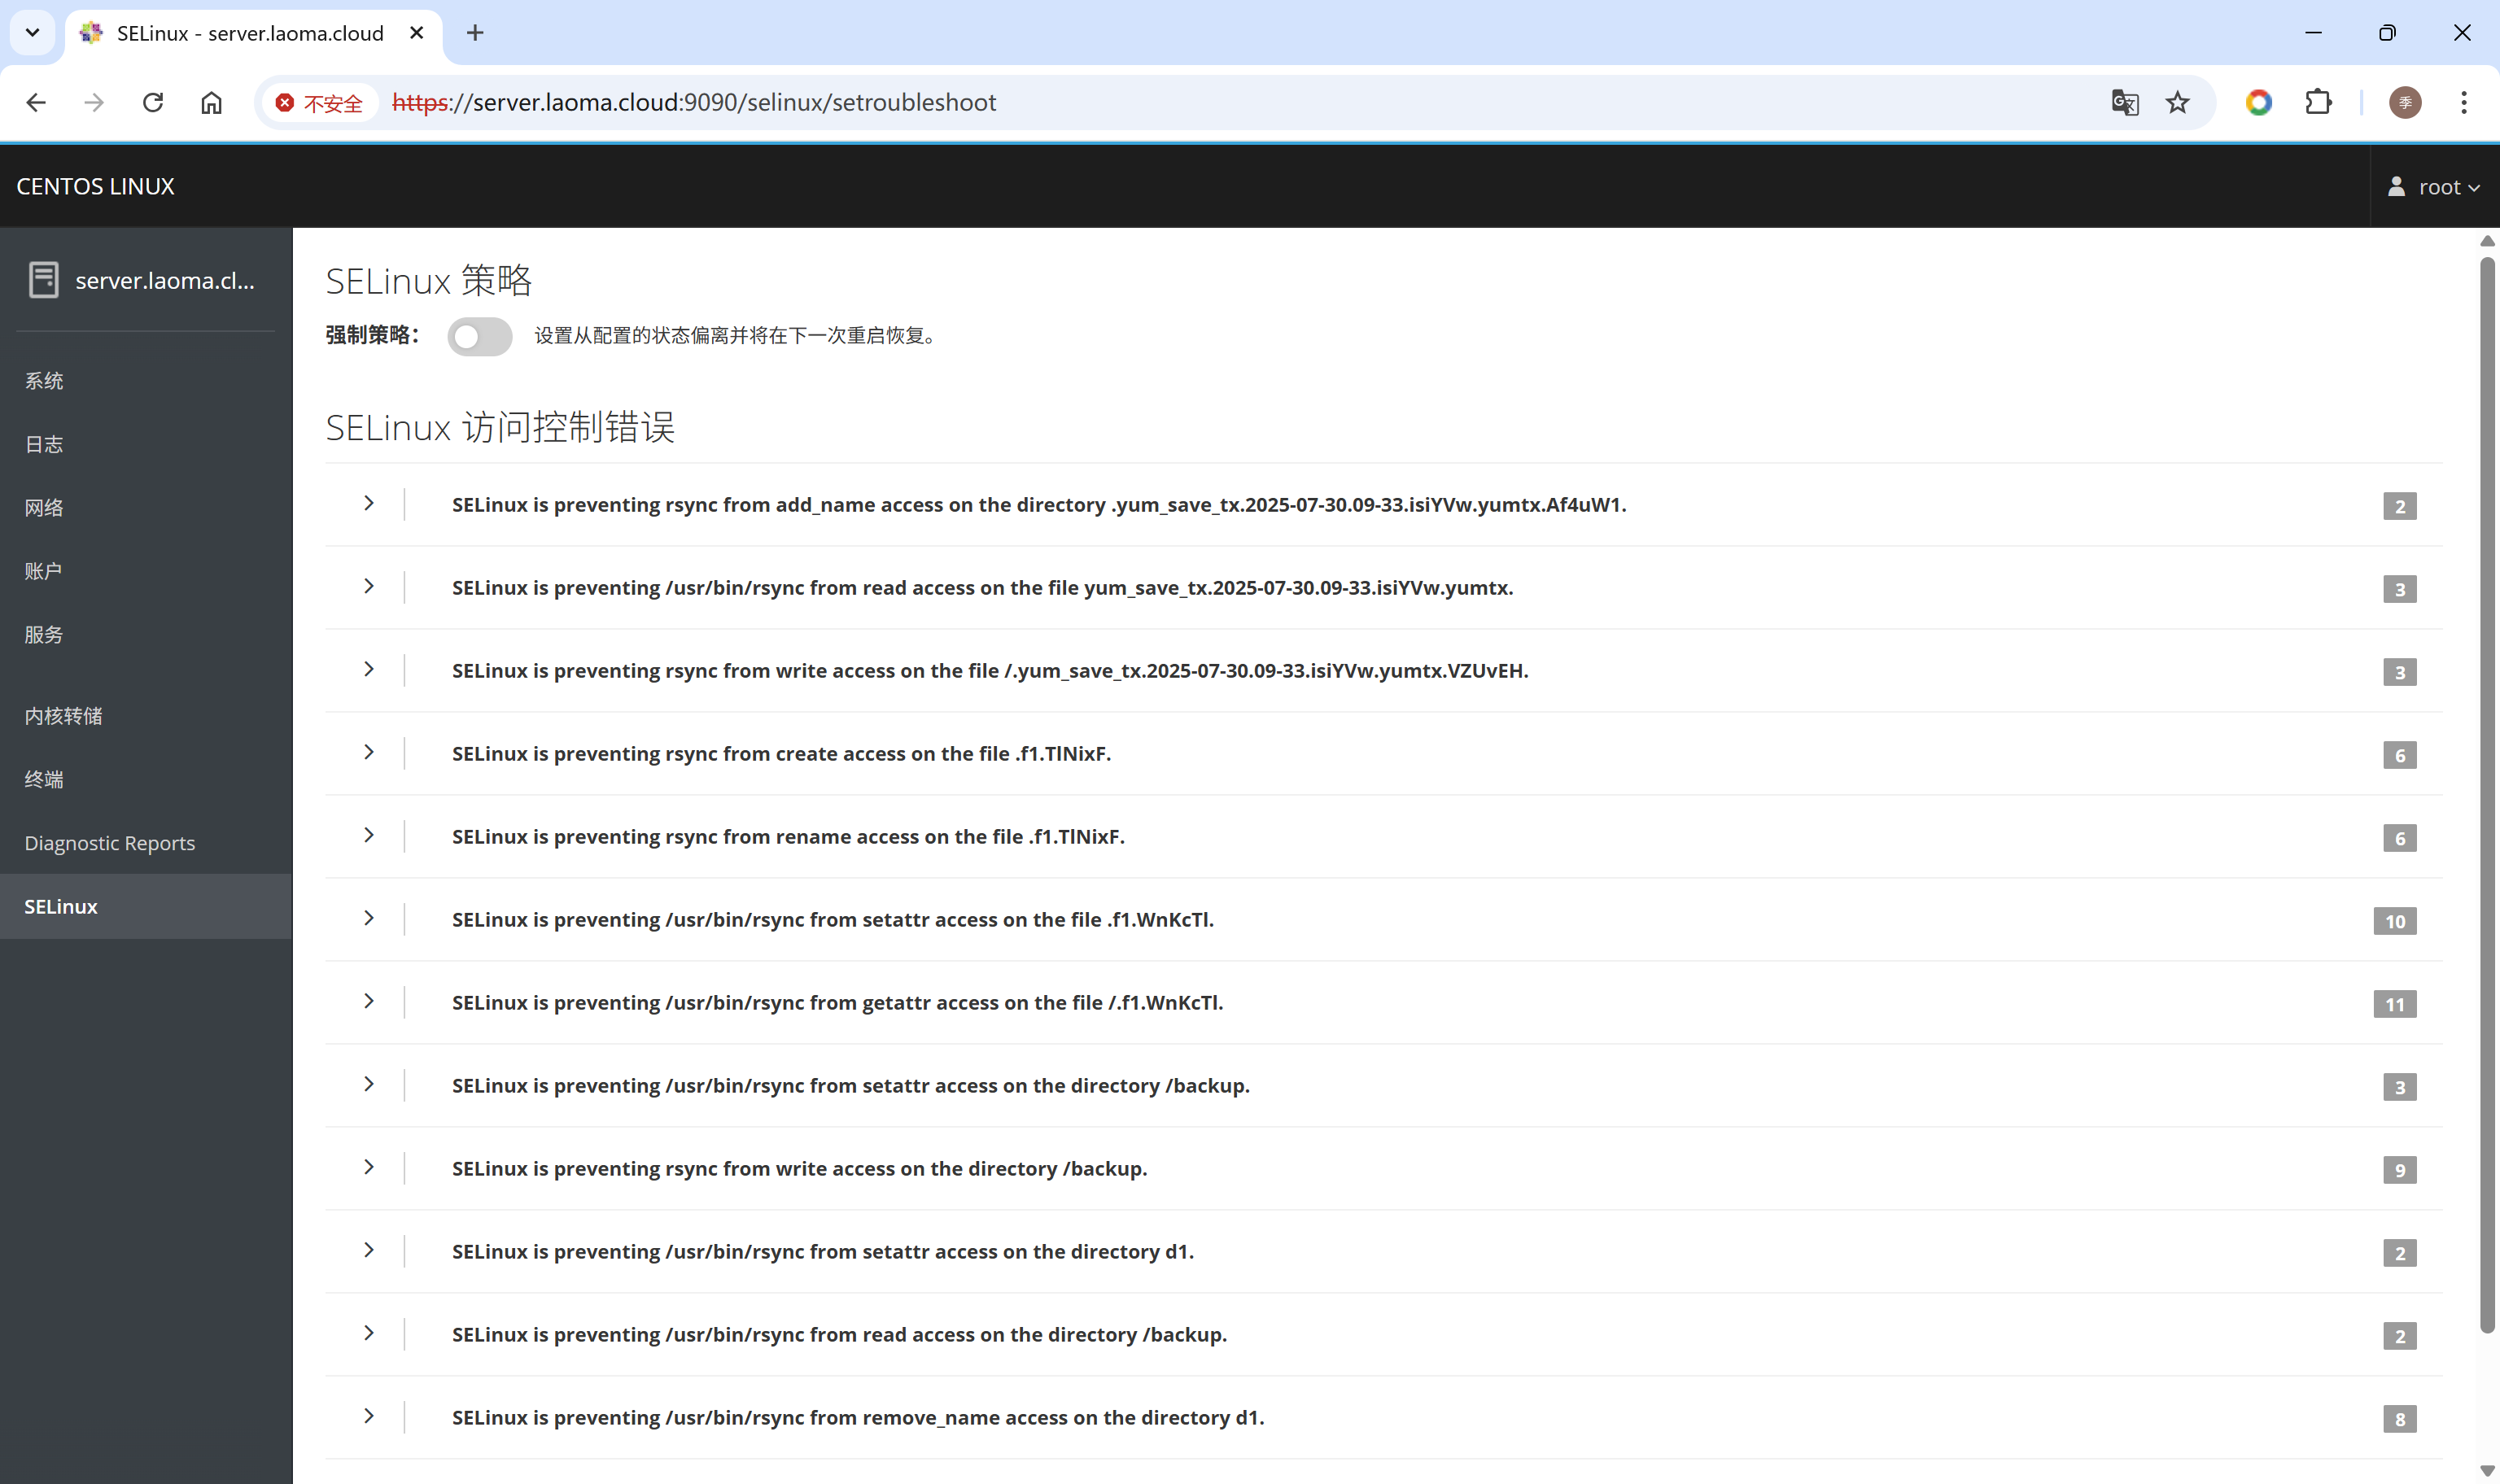
SELinux
扩展 Cockpit
安装Cockpit扩展包
查看Cockpit扩展包:
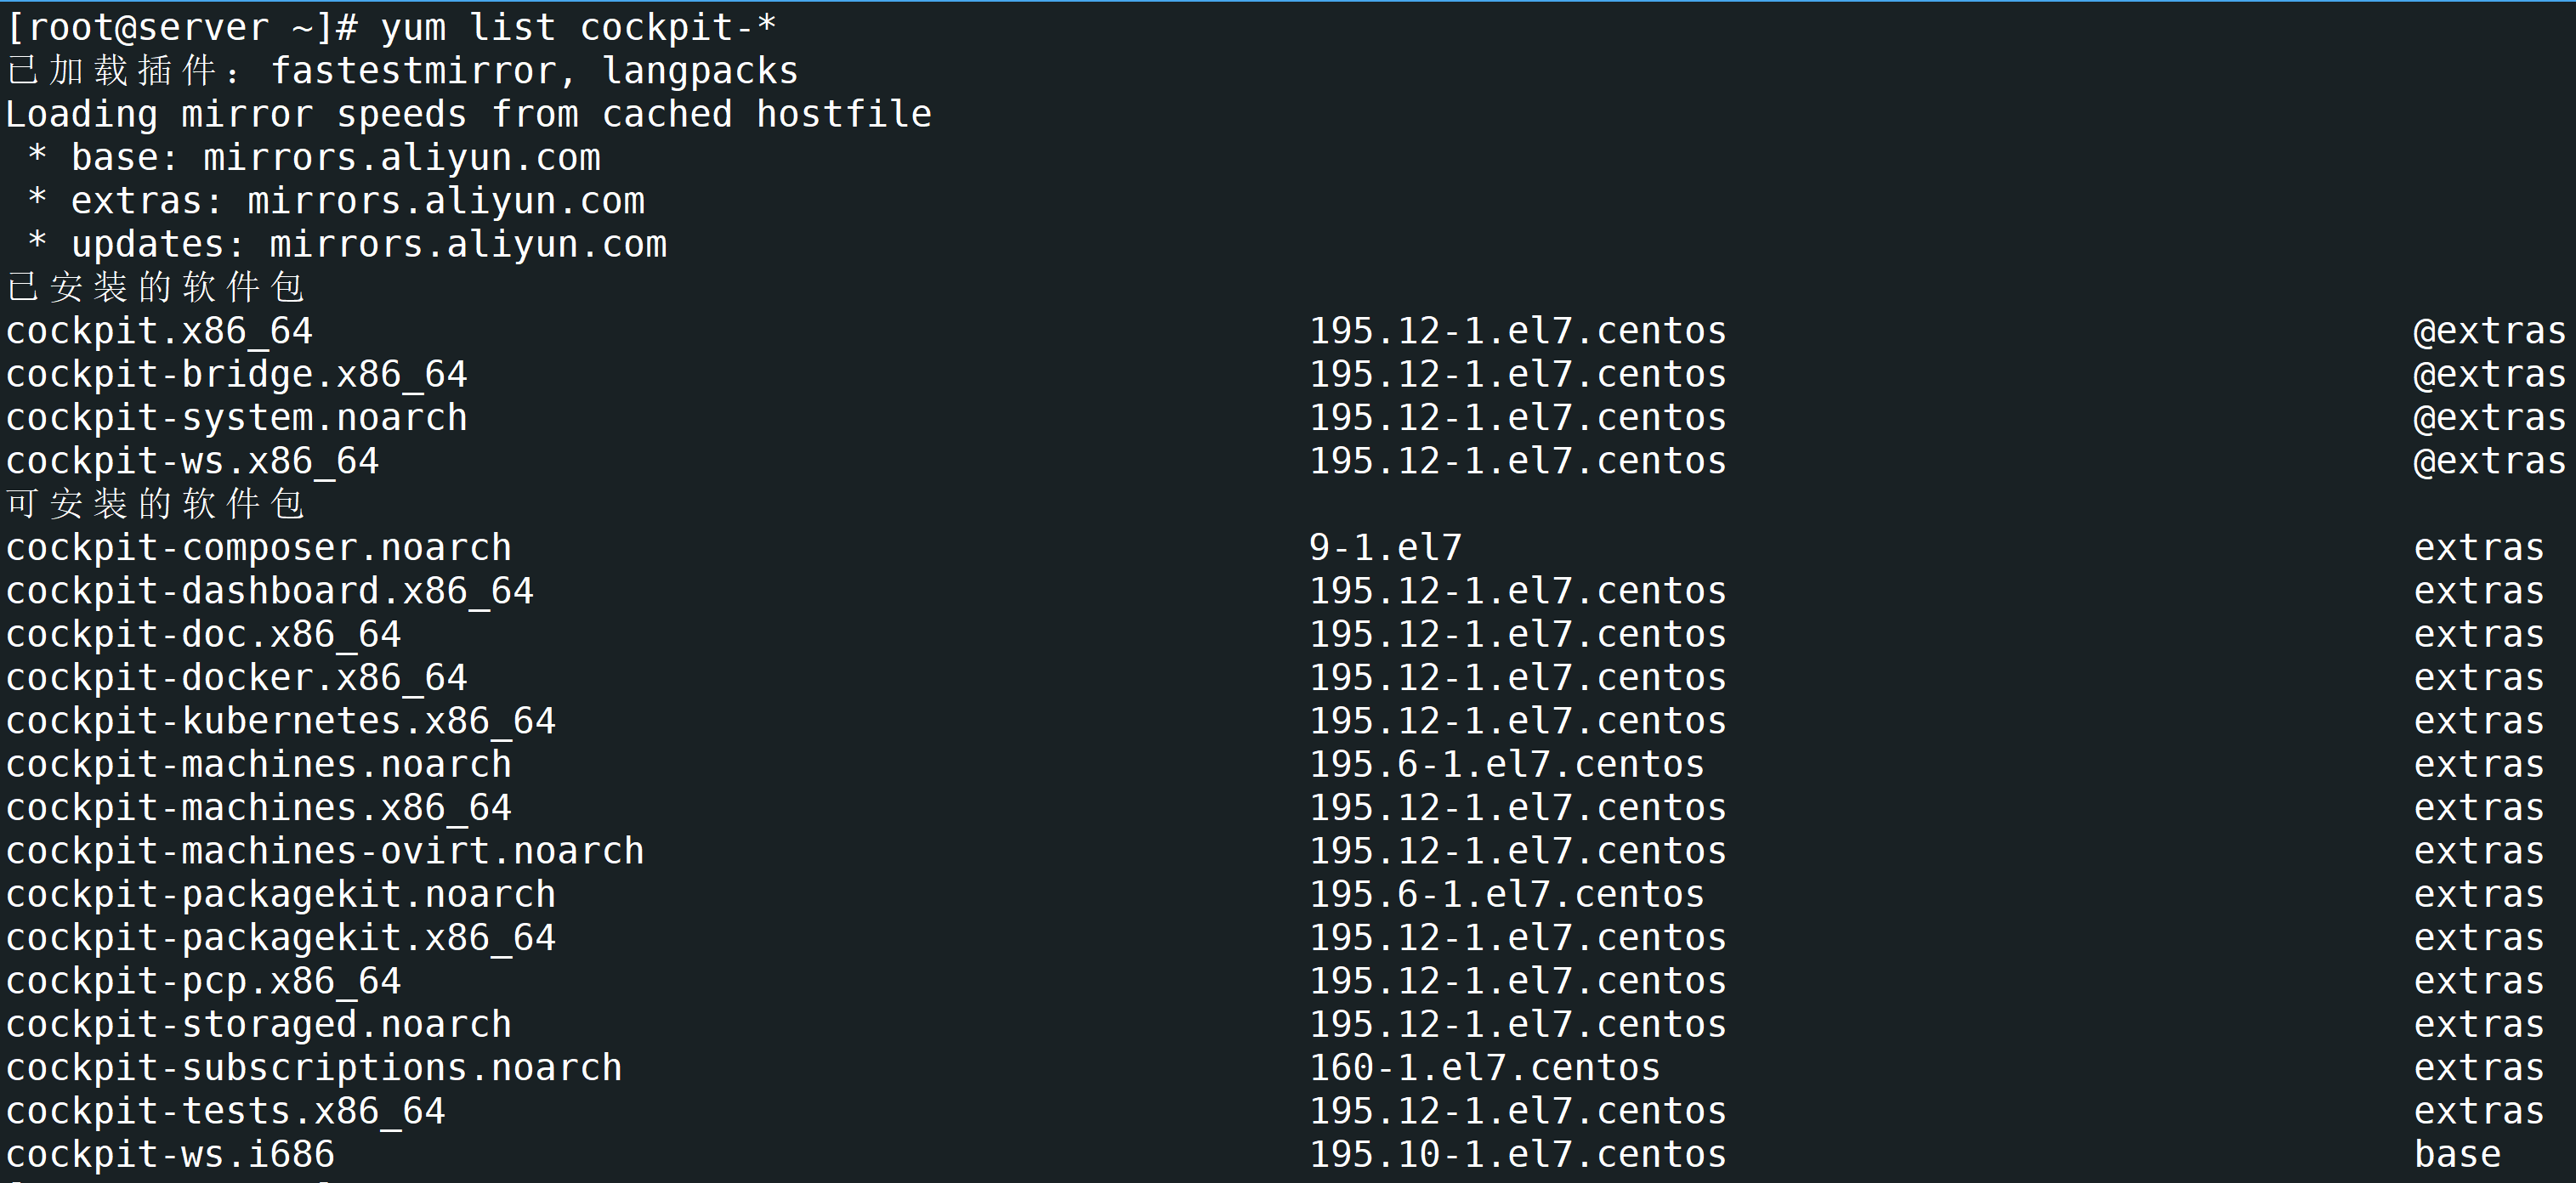
部分扩展包说明:
-
cockpit-dashboard,提供管理多个Linux界面。
-
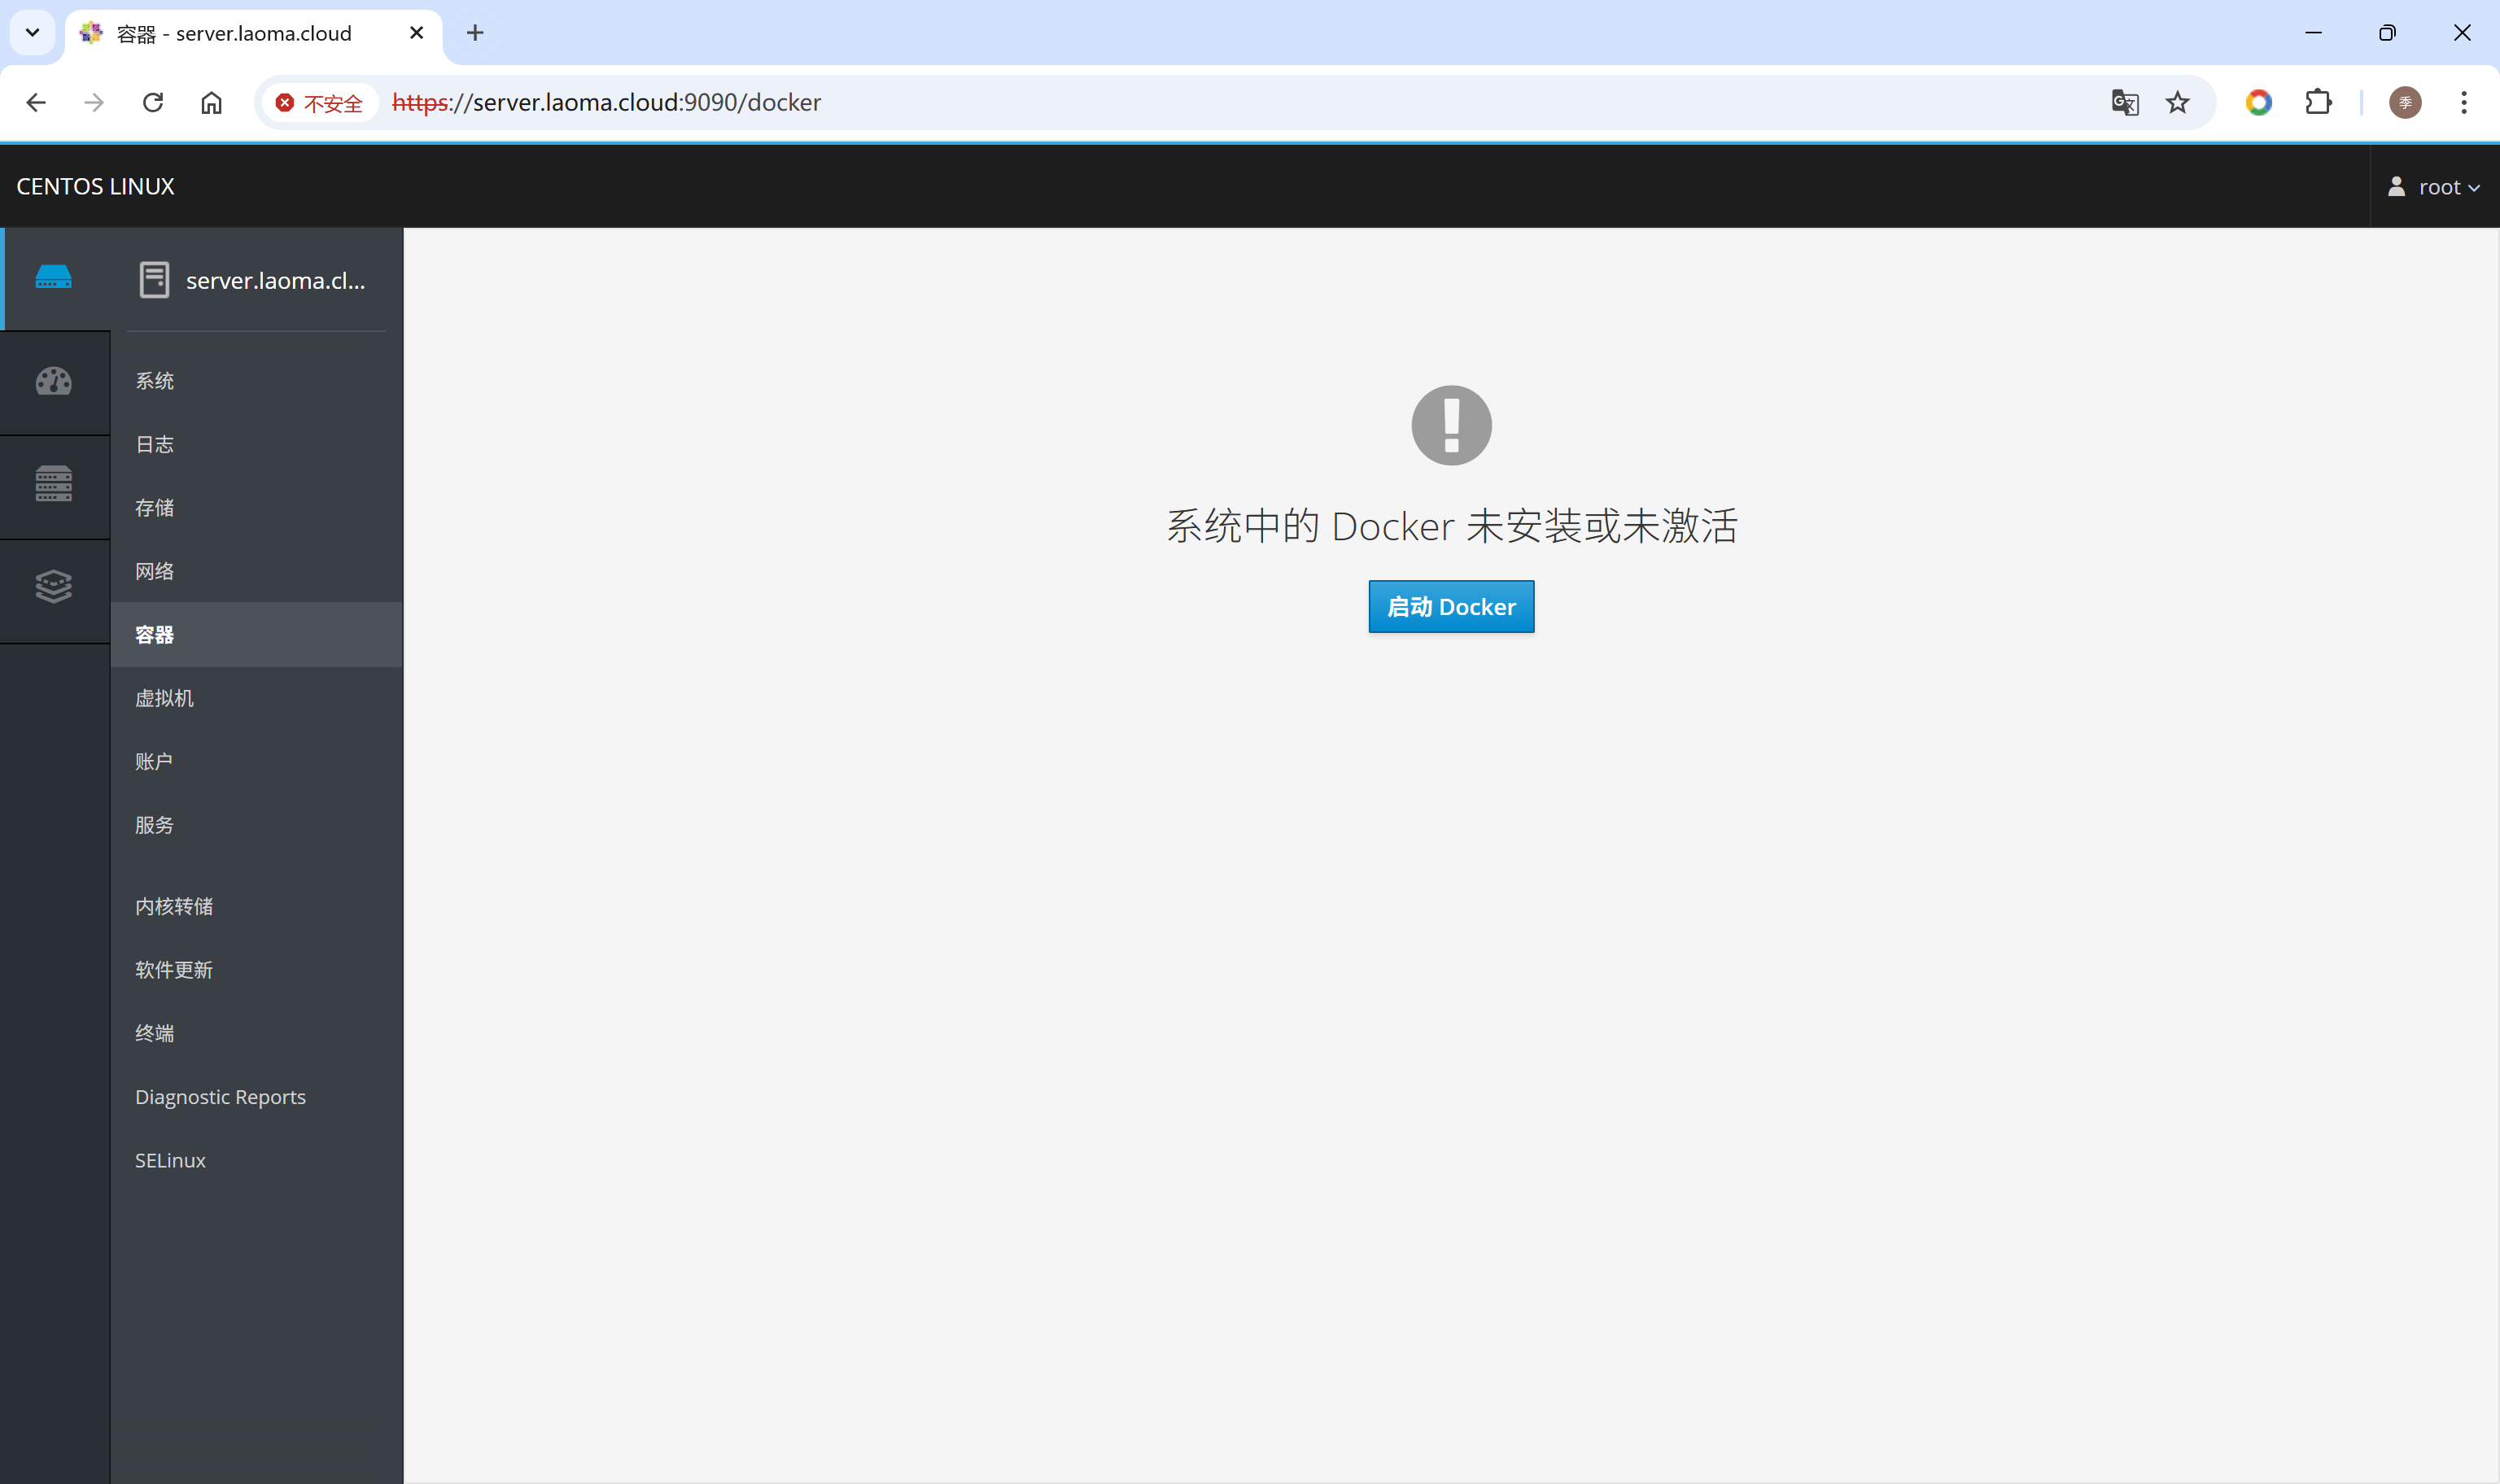
cockpit-docker,管理docker容器。
-
cockpit-composer,管理容器镜像。
-
cockpit-kubernetes,管理kubernetes。
-
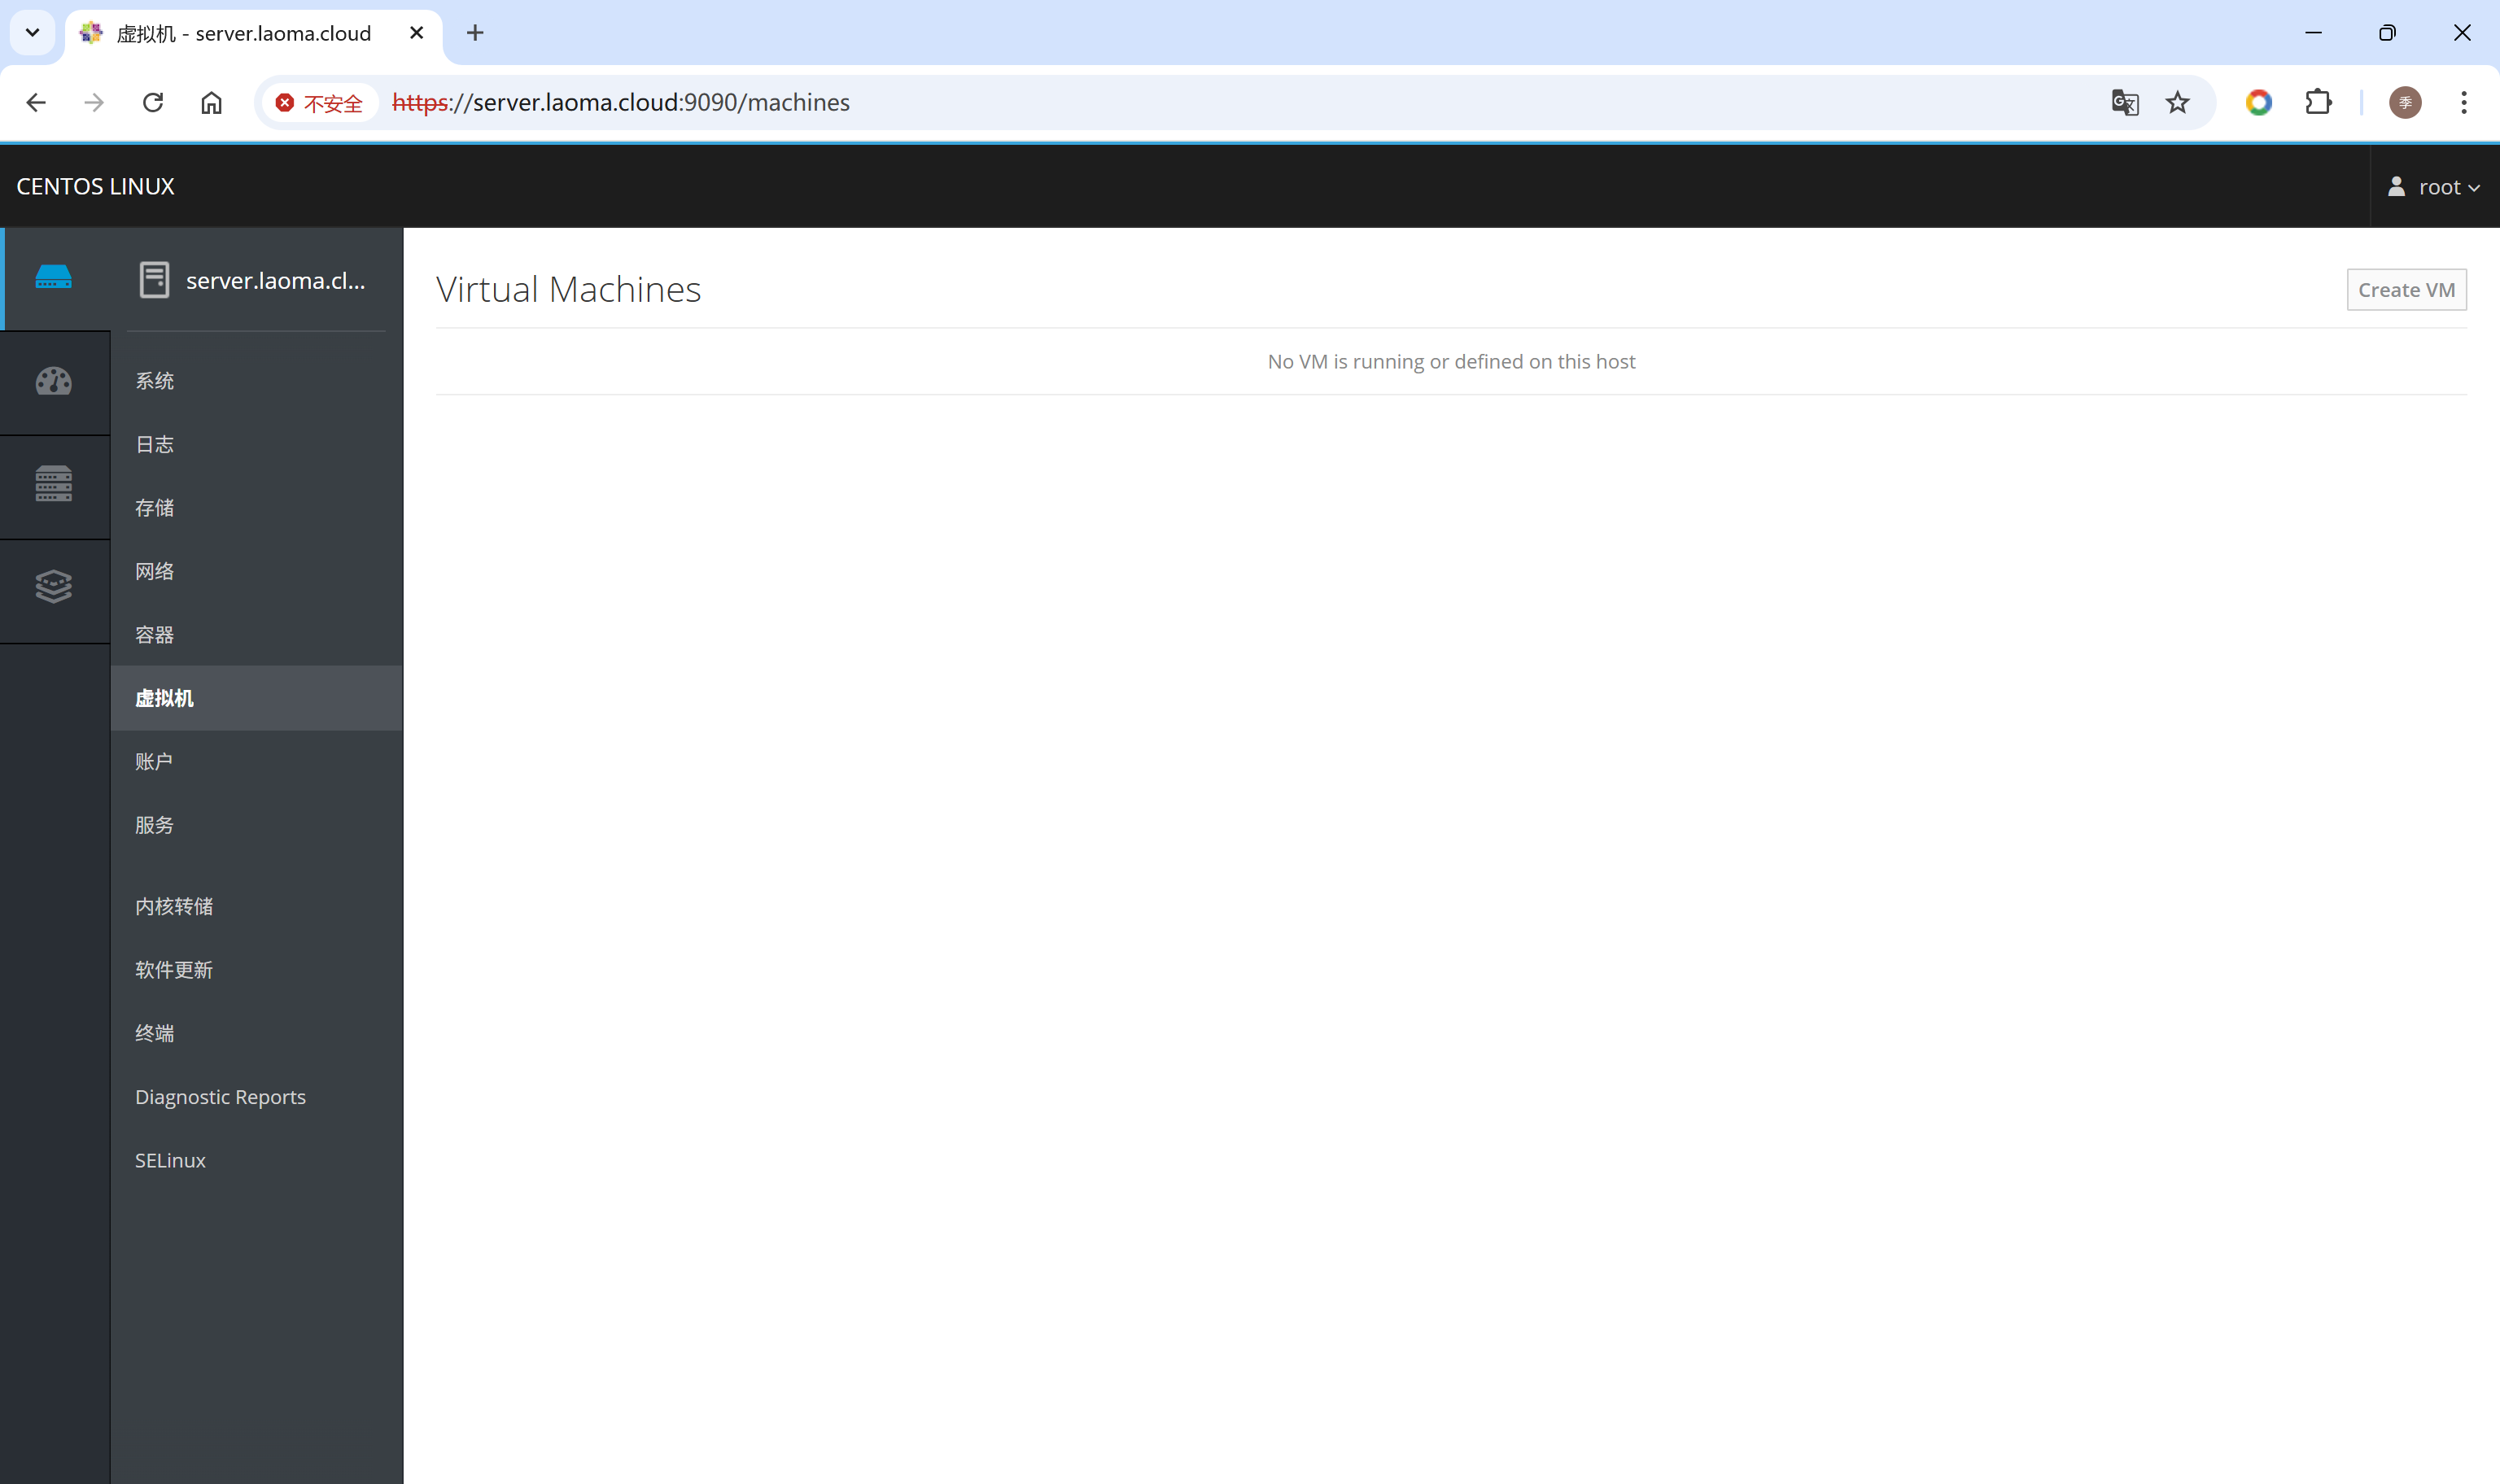
cockpit-machines,管理kvm虚拟机。
-
cockpit-packagekit,管理软件包。
-
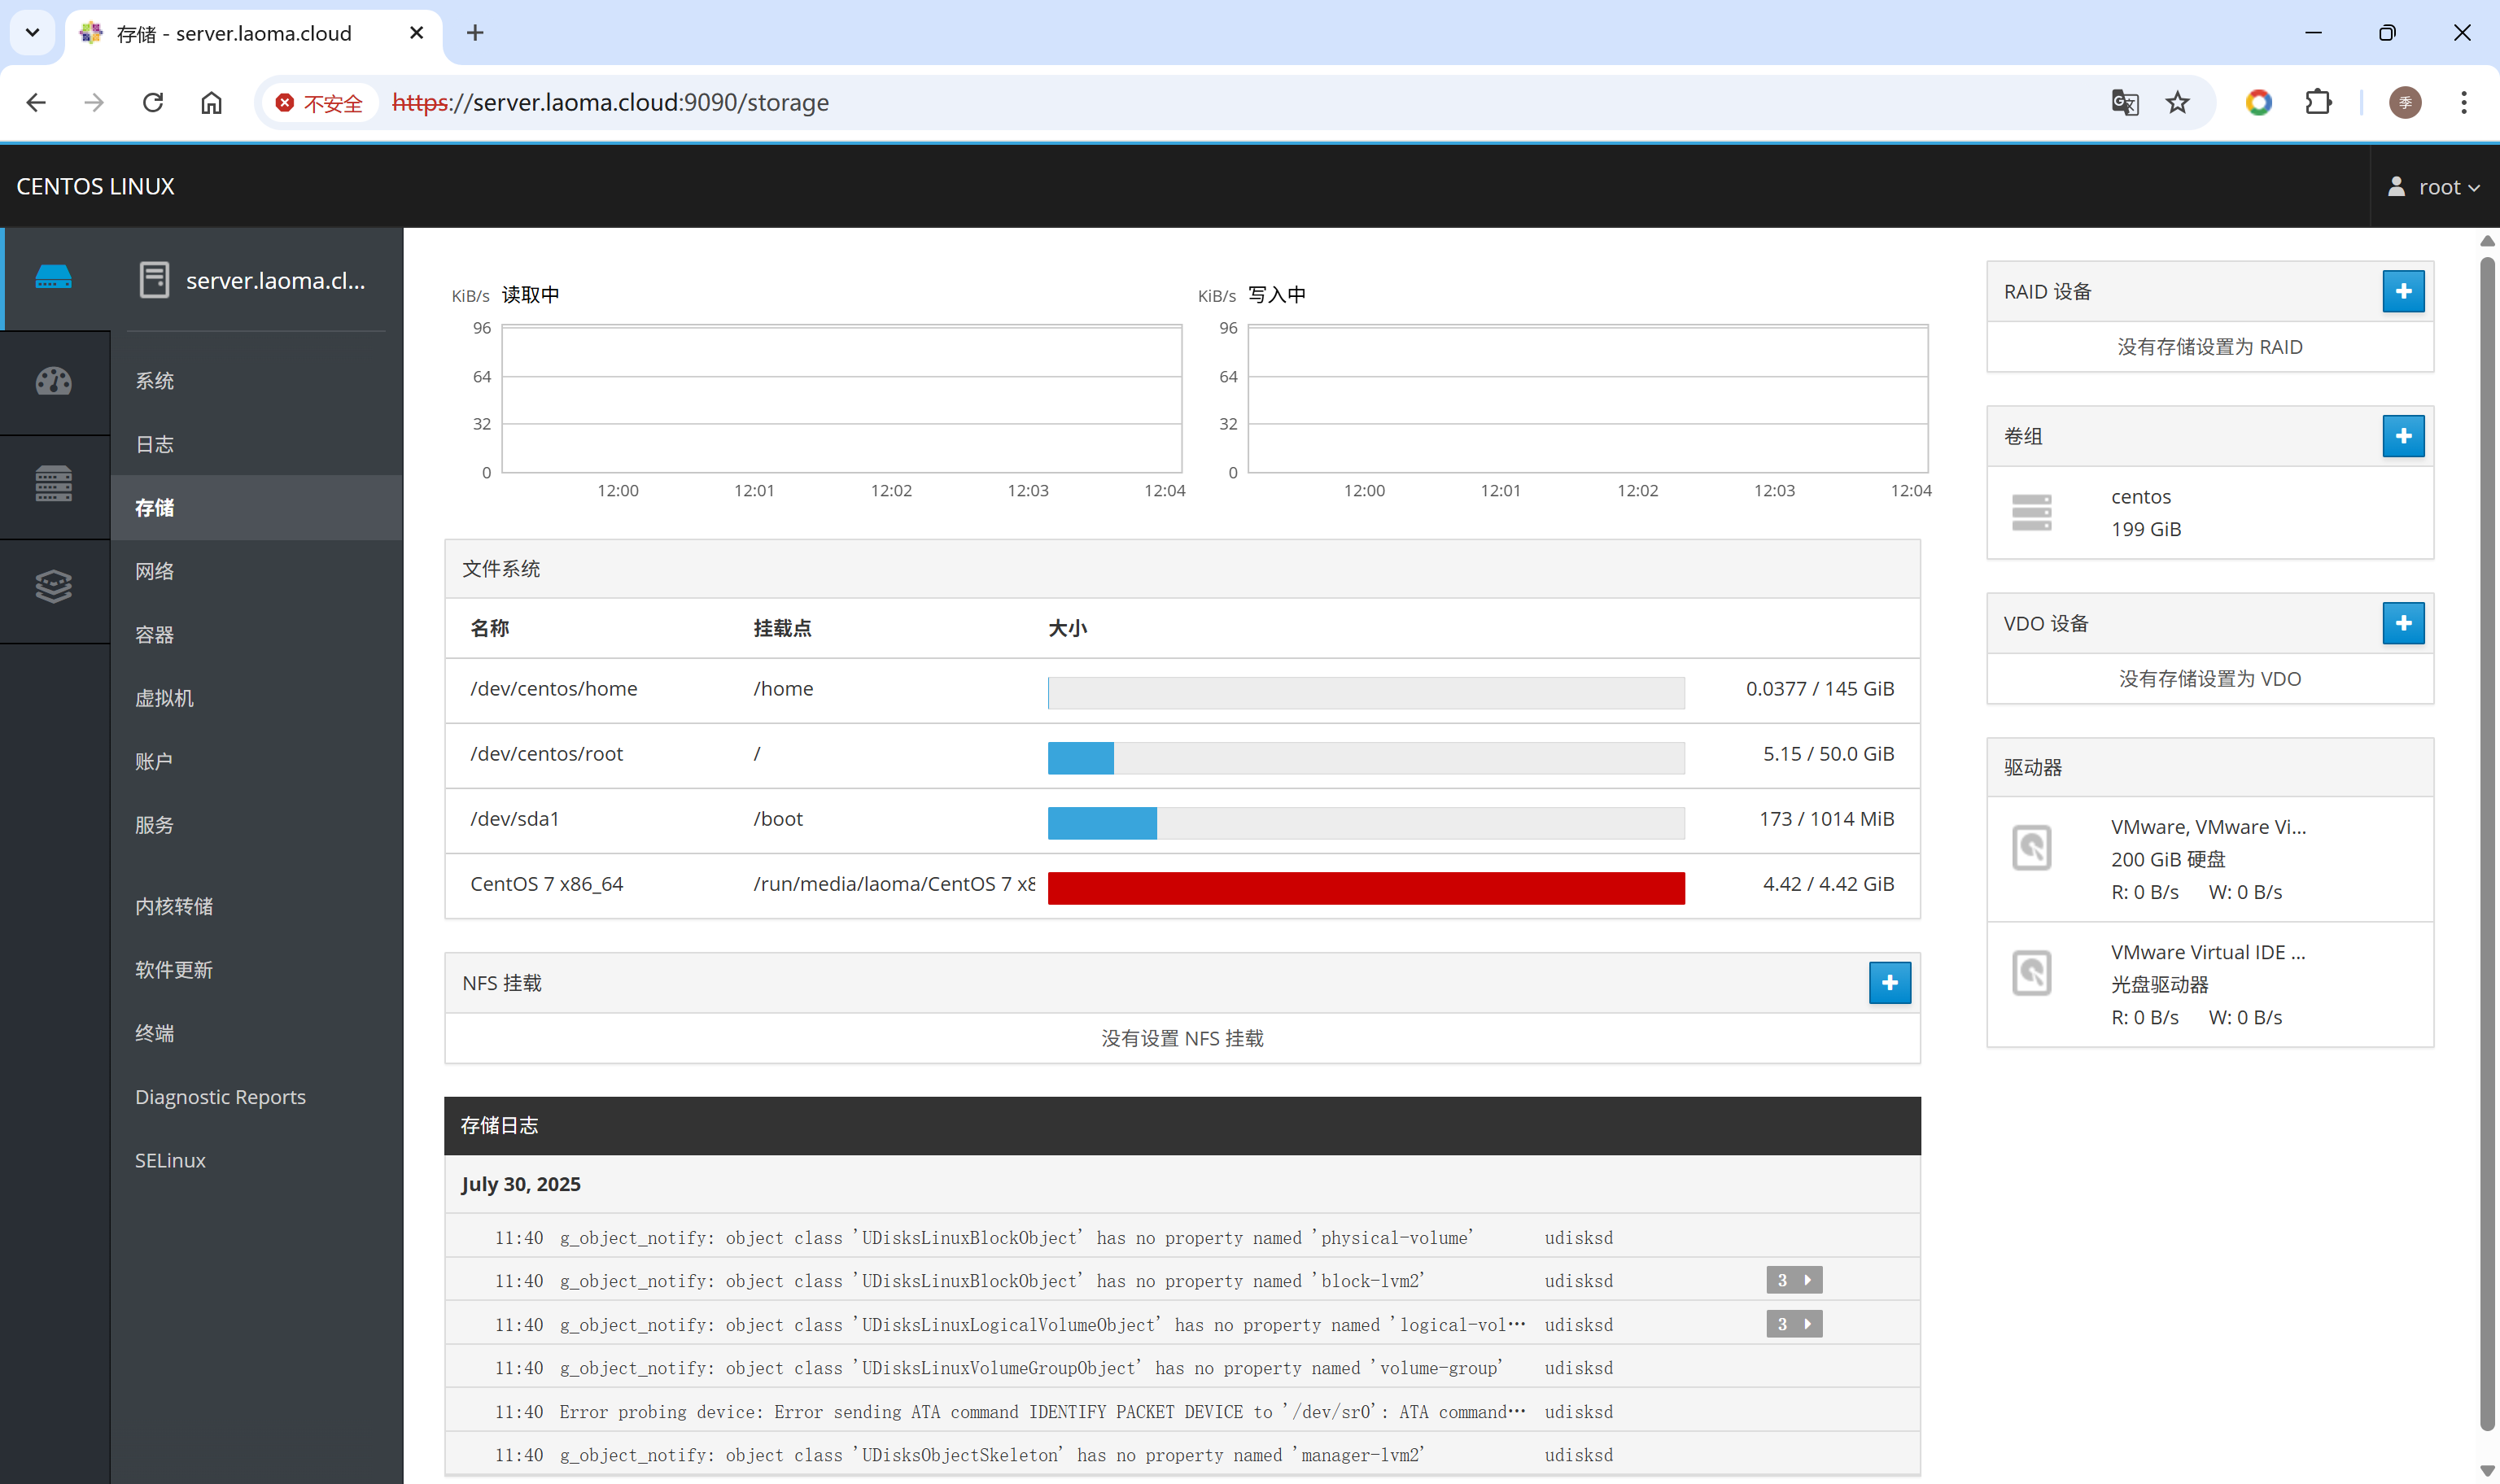
cockpit-storaged,管理存储。
-
cockpit-doc,Cockpit说明文档。
[root@server ~]# yum install -y cockpit-composer cockpit-dashboard cockpit-doc cockpit-docker cockpit-kubernetes cockpit-machines cockpit-packagekit cockpit-storaged
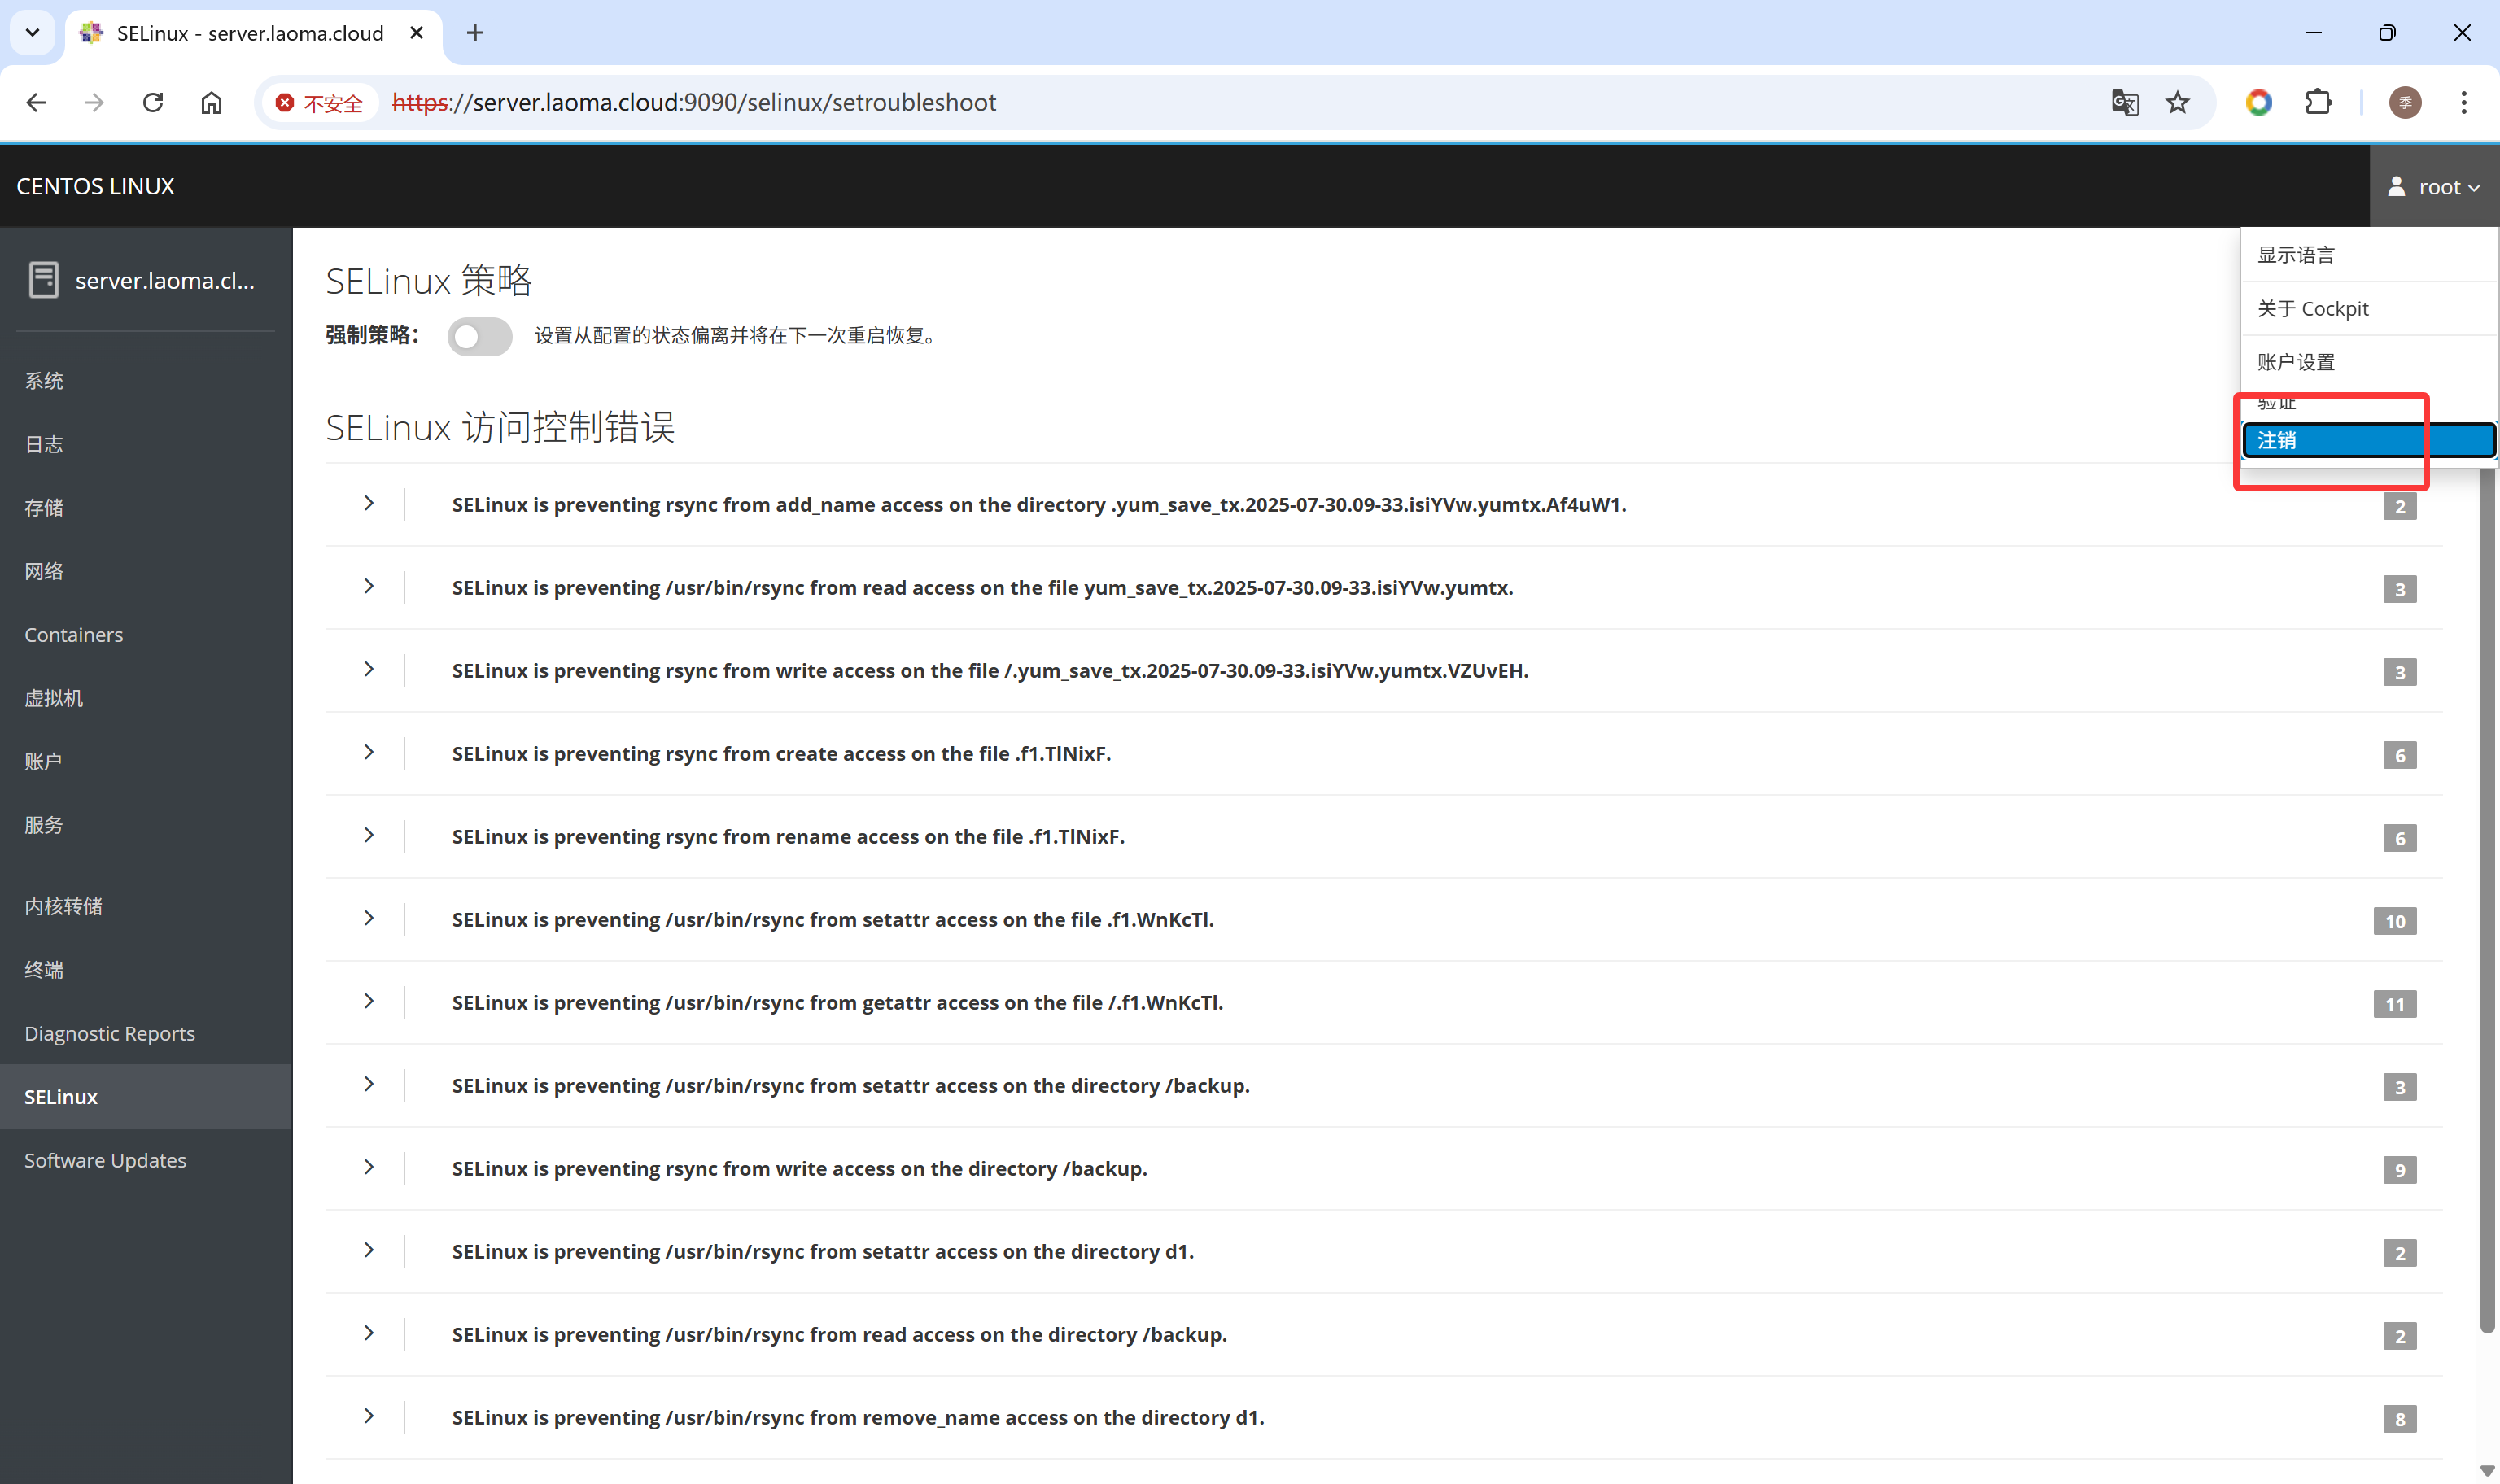
安装完成后,注销账户重新登录。
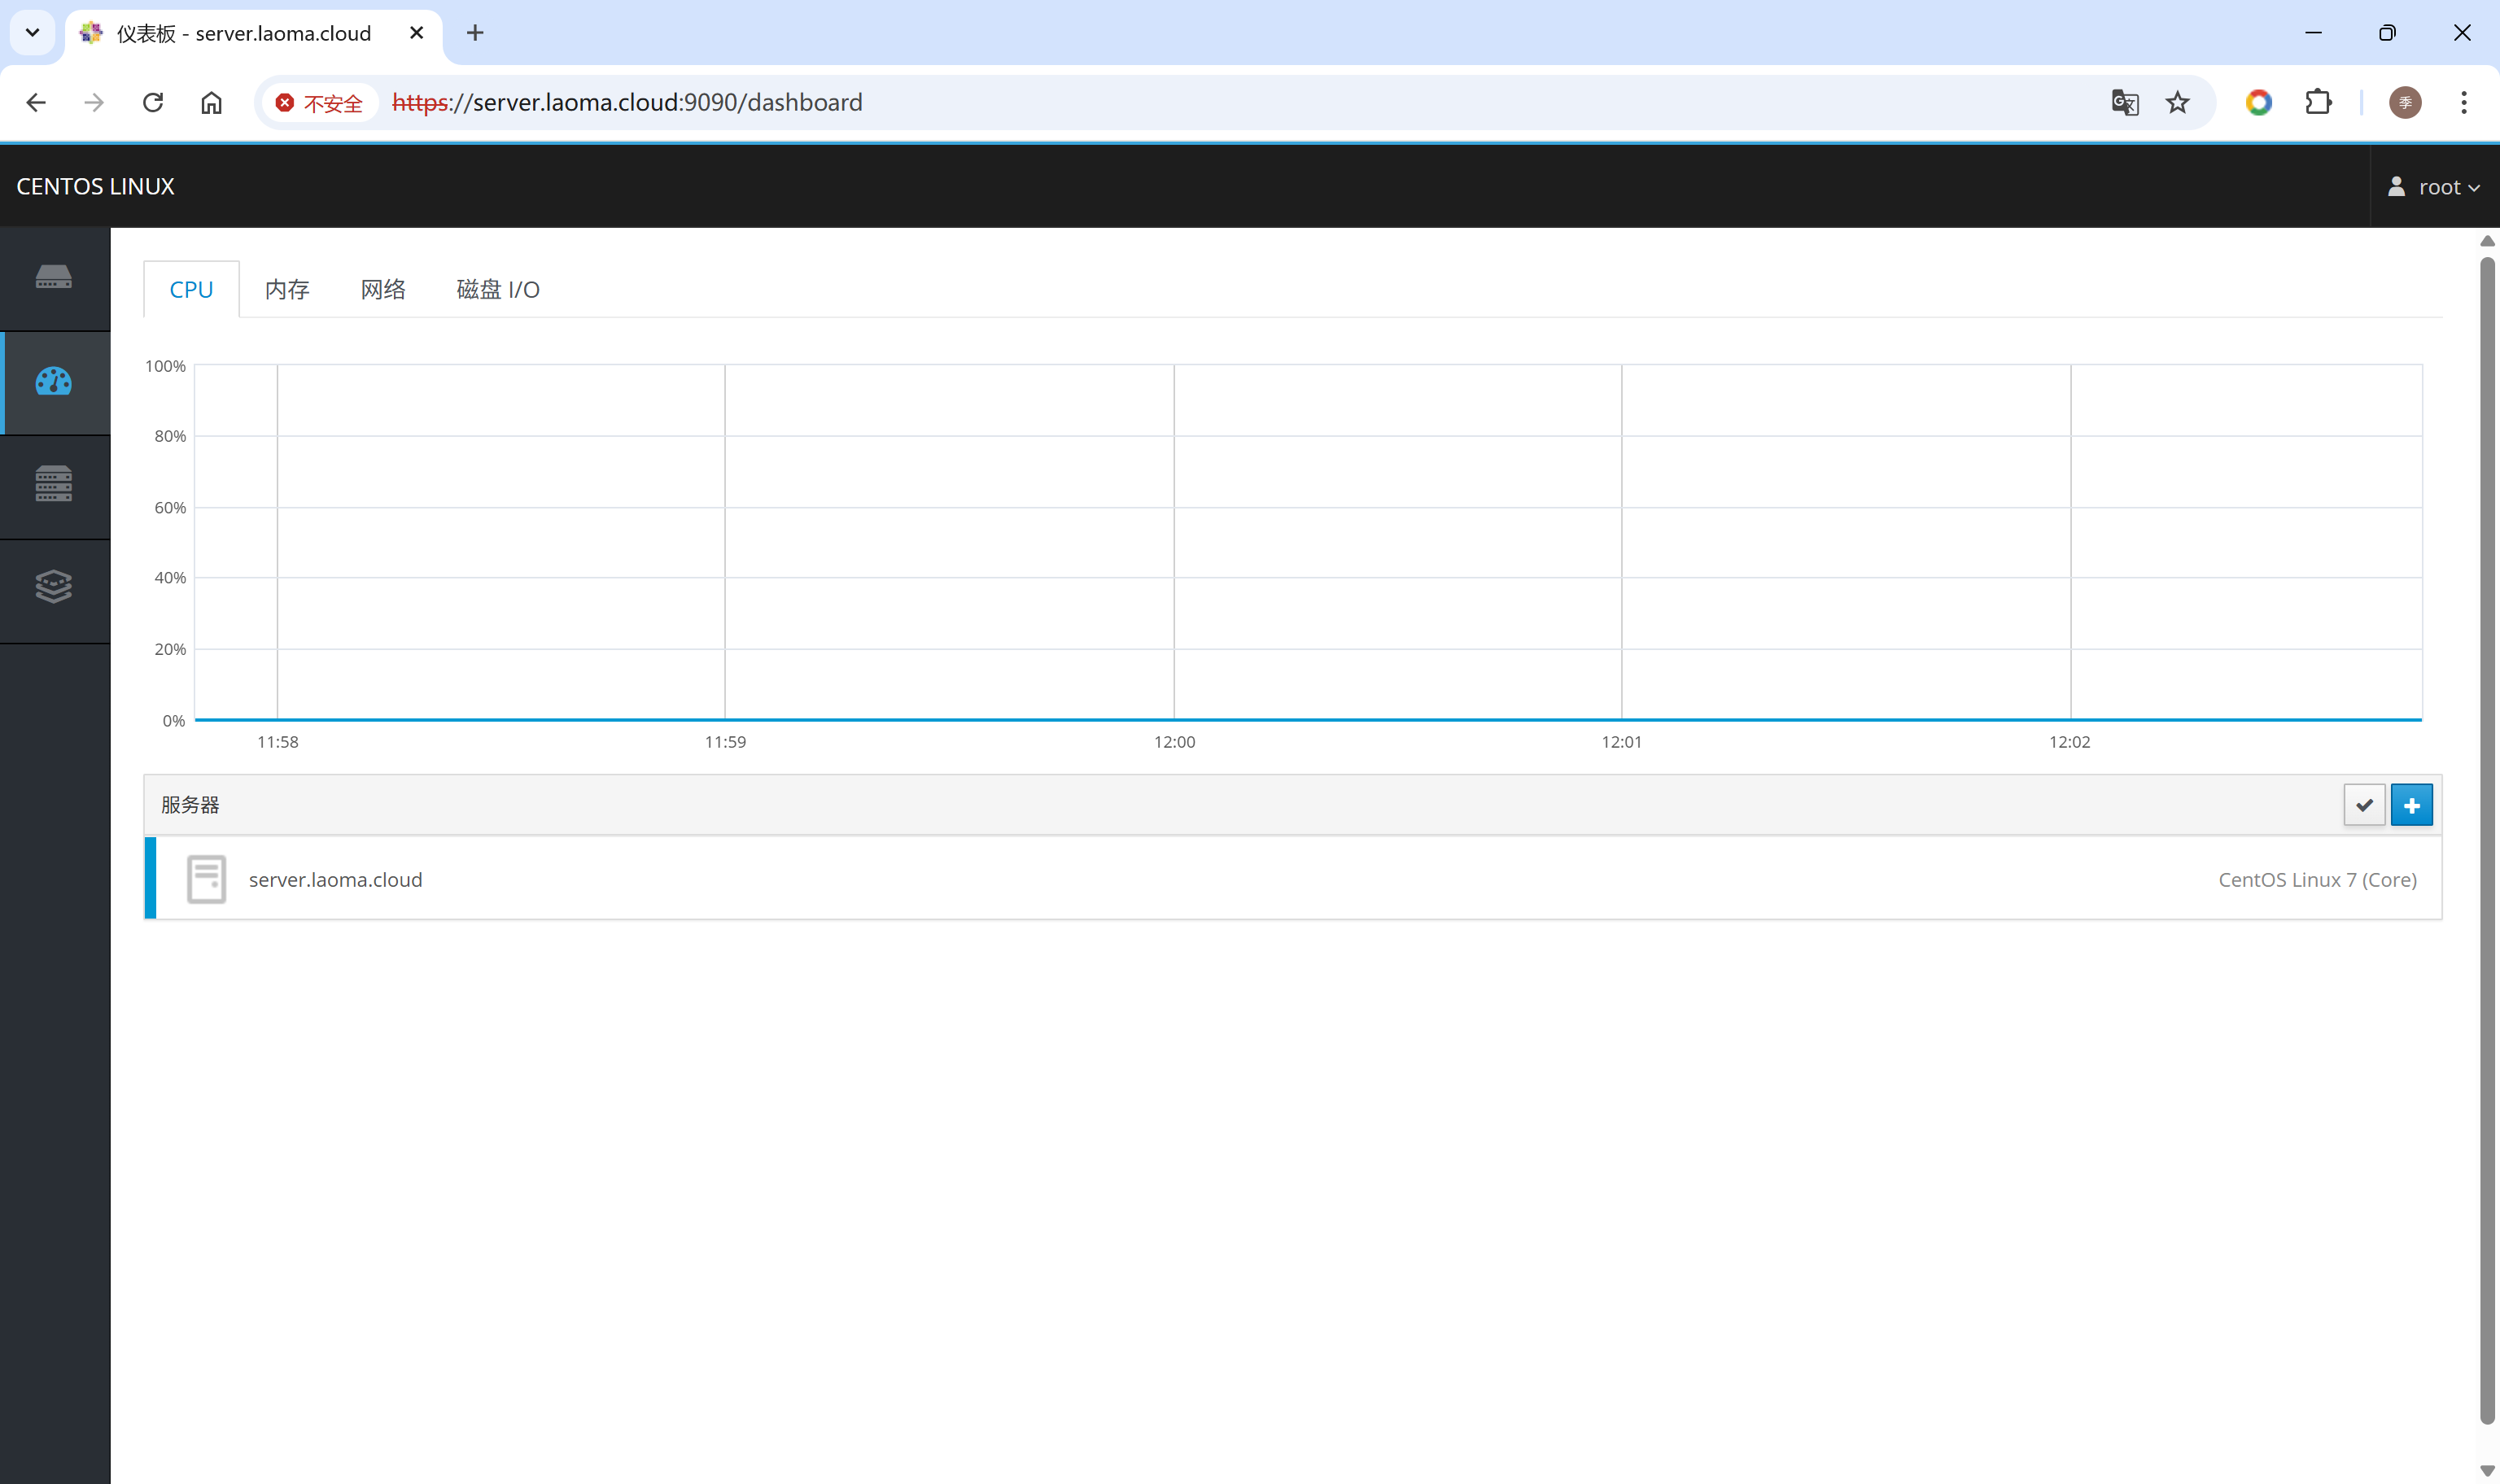
仪表盘
通过仪表盘可以添加并管理其他服务器。
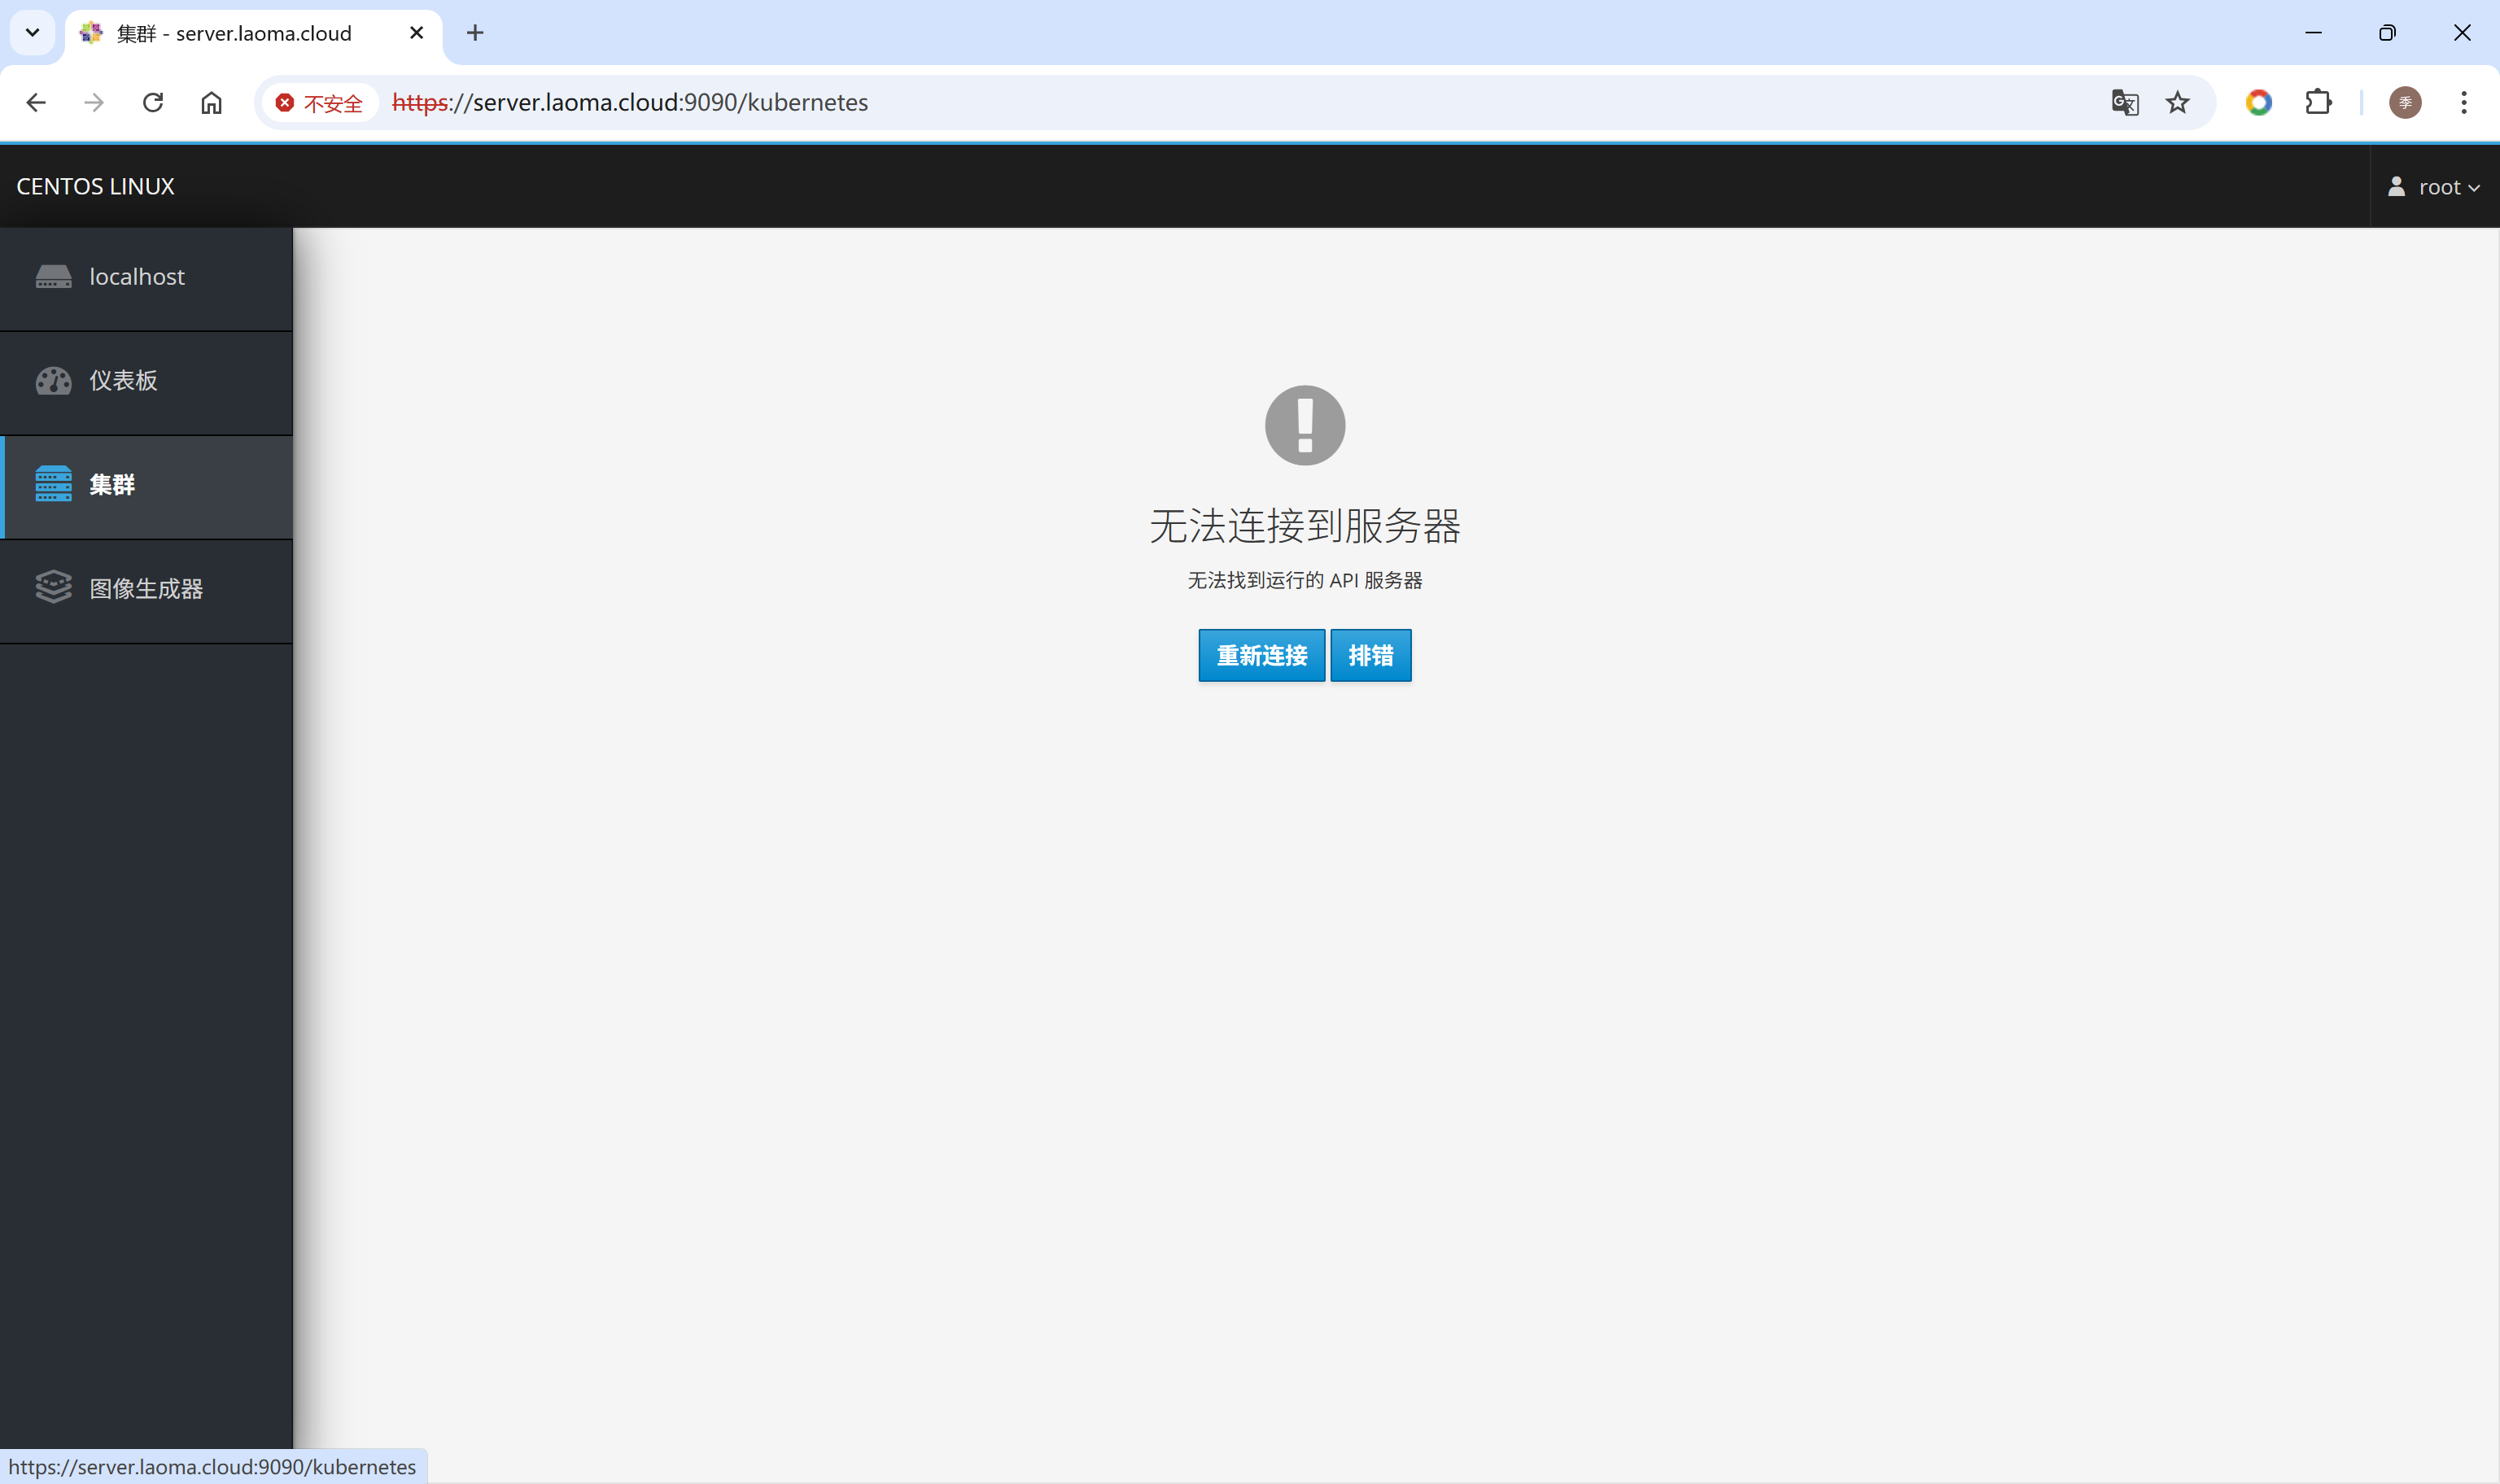
kubernetes集群
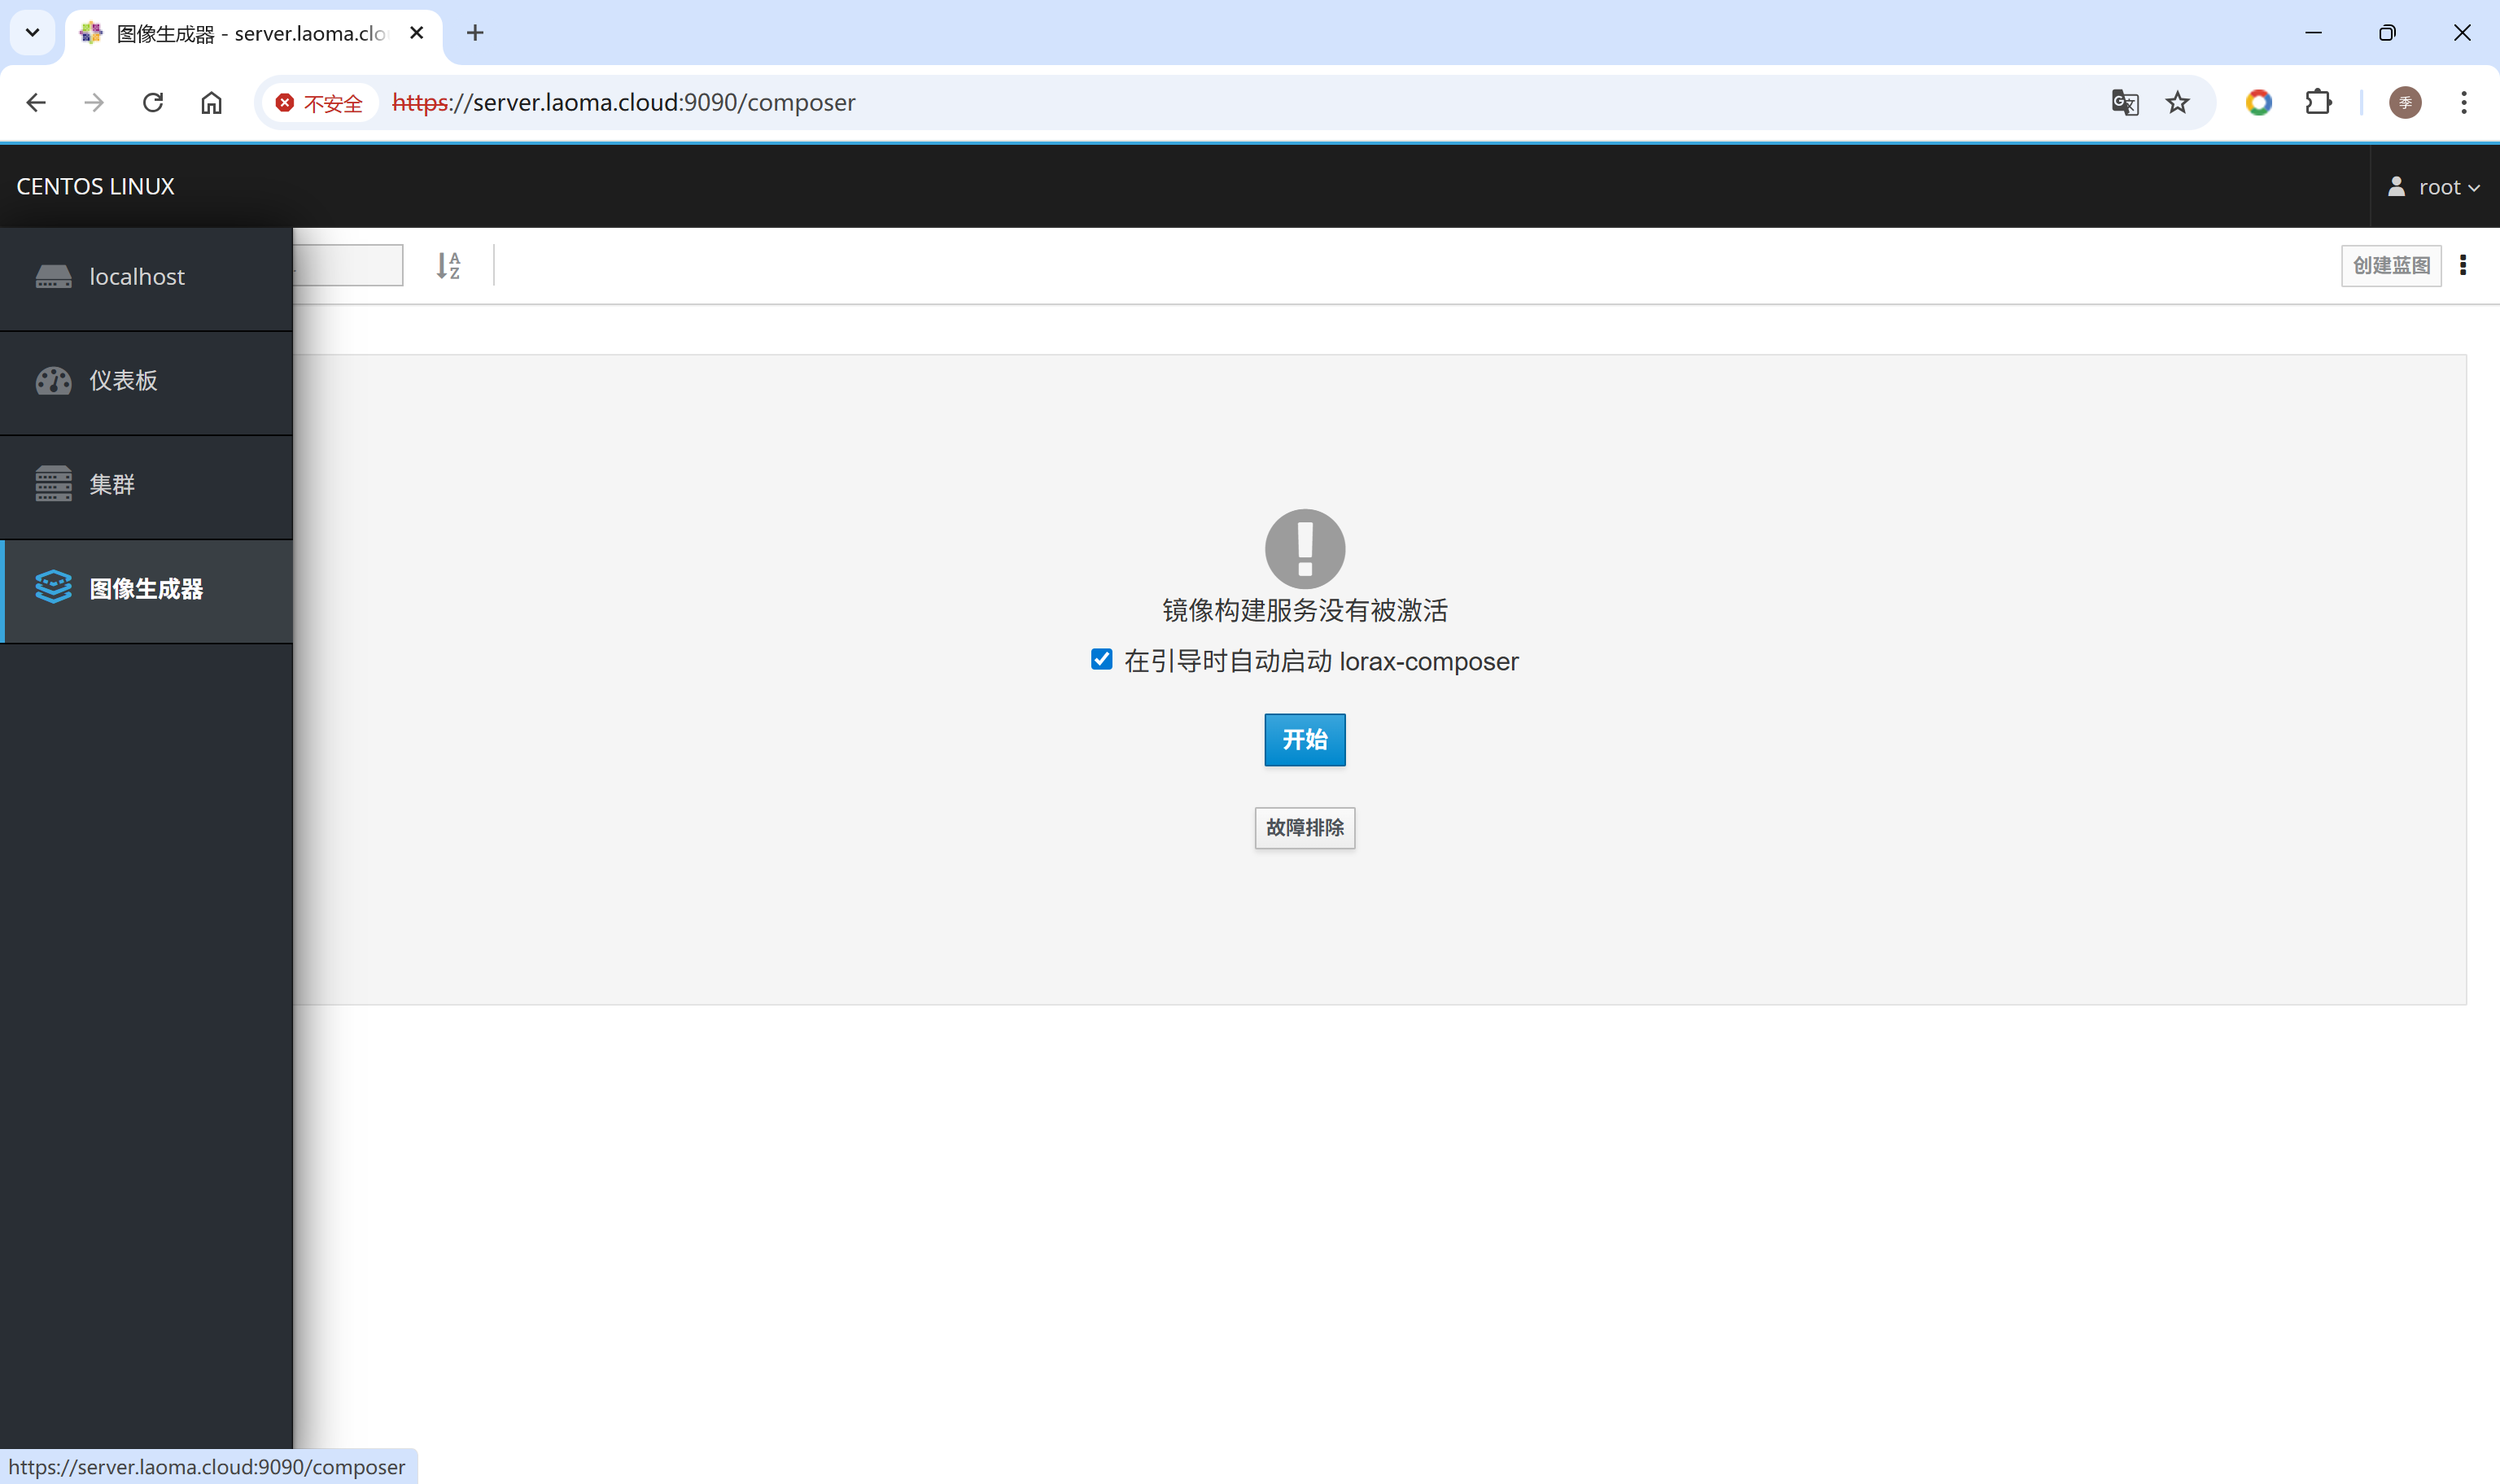
图像生成器
存储
容器
虚拟机
软件管理

Linux 软件包管理
Windows 中软件包管理
管理方式:
控制面板中程序和功能。通过安装,将信息注册到系统中。

用户下载的绿色软件。例如U盘启动盘工具rufus。
软件包来源:应用商城,第三方官方网站(qq、微信)。
分析 RPM 包
Linux 发行版本
-
以 RHEL 为代表的发行版本,使用rpm包管理系统:
- RHEL (Red Hat Enterprise Linux)
- Fedora(由原来的RedHat桌面版本发展而来,免费版本)
- CentOS(RHEL的社区克隆版本,免费)
- Rocky(RHEL的社区克隆版本,免费)
- OEL(Oralce Enterprise Linux)
-
以 Debian 为代表的发行版本,使用deb包管理系统:
-
Debian,社区Linux的典范,迄今为止最遵循GNU规范的Linux系统。
-
Ubuntu,Debian衍生版,是一个以桌面应用为主的Linux操作系统。
-
Kali Linux,Debian衍生版,旨在渗透测试和数字取证。
-
-
其他版本:ArchLinux Gentoo 等等…

RPM 包文件名格式
redhat 开发了 rpm 包管理,提供一个标准的软件版本管理方法,比从归档包解压文件到系统简单多了。CentOS 提供的所有软件都是rpm格式。
RPM软件包文件名格式:name-version-release.architecture.rpm
示例:lrzsz-0.12.20-36.el7.x86_64.rpm
- name,是描述其内容的一个或多个词语(lrzsz)。
- version,是原始软件的版本号(0.12.20)。
- release,是基于该版本的发行版号,由软件打包商设置,后者不一定是原始软件开发商(36.el7)。
- architecture,是编译的软件包运行的处理器架构。
- noarch,表示此软件包不限定架构。
- x86_64,表示此软件包限定x86 64位。
- aarch64,表示此软件包限定ARM 64位。
RPM 包组成
每个rpm包涵三个部分:
- 需要安装的文件。
- 包的元数据信息,包括包的名称、版本、架构等;软件包说明;软件包依赖关系;许可证;更变日志;其他信息。
- 脚本:软件包安装,更新,卸载需要执行的脚本。
通常,软件提供商使用GPG密钥对RPM软件包进行数字签名(Red Hat会对其发布的所有软件包进行数字签名)。 RPM系统通过确认包由相应的GPG密钥签名来验证包的完整性。 如果GPG签名不匹配,RPM系统拒绝安装包。
复习:非对称加密
非对称加密:有一对公钥和私钥。
- 公钥:分享给别人,用来加密数据。
- 私钥:自己保留,用来解密公钥加密的数据。
Linux中rpm包会被私钥签名,客户端使用公钥验证签名,确保文件的完整性。
RPM 包安装和更新
- 如果同一个软件有多个版本,只需安装最高版本。
- 在大多数情况下,一个软件只能安装一个版本。 kernel是个例外。如果构建包的文件名没有冲突,则可以安装多个版本。 由于只能通过引导到该内核来测试新内核,因此特定设计了包,以便可以一次安装多个版本。如果内核无法启动,则旧内核仍然可用且可引导。
- 软件包升级只需要安装最新版本,不需要逐步升级。
- 升级RPM包将删除旧版本的软件包并安装新版本,通常会保留配置文件。
rpm 命令
查询(重点)
基本语法:
rpm {-q|–query} [select-options] [query-options]
select-options
[PACKAGE_NAME] [-a,–all] [-f,–file FILE]
[-g,–group GROUP] {-p,–package PACKAGE_FILE]
[–hdrid SHA1] [–pkgid MD5] [–tid TID]
[–querybynumber HDRNUM] [–triggeredby PACKAGE_NAME]
[–whatprovides CAPABILITY] [–whatrequires CAPABILITY]
query-options
[–changelog] [-c,–configfiles] [–conflicts]
[-d,–docfiles] [–dump] [–filesbypkg] [-i,–info]
[–last] [-l,–list] [–obsoletes] [–provides]
[–qf,–queryformat QUERYFMT] [-R,–requires]
[–scripts] [-s,–state] [–triggers,–triggerscripts]
示例:
rpm命令使用man手册查询,–help查询不完整
1.查询系统中安装了那些软件包,-q表示查询, -a表示全部
[root@webapp ~ 14:48:50]# rpm -qa
virt-what-1.18-4.el7_9.1.x86_64
grub2-common-2.02-0.87.0.1.el7.centos.9.noarch
firewalld-filesystem-0.6.3-13.el7_9.noarch
......
2.查询系统中某个软件是否安装
[root@webapp ~ 15:10:31]# rpm -q httpd
httpd-2.4.6-99.el7.centos.1.x86_64
3.查询系统中某个已安装的软件包元数据信息,-i表示安装
[root@webapp ~ 15:11:25]# rpm -q coreutils -i
Name : coreutils
Version : 8.22
Release : 24.el7_9.2
Architecture: x86_64
Install Date: 2025年09月02日 星期二 10时19分20秒
Group : System Environment/Base
Size : 14594210
License : GPLv3+
Signature : RSA/SHA256, 2020年11月18日 星期三 22时16分51秒, Key ID 24c6a8a7f4a80eb5
Source RPM : coreutils-8.22-24.el7_9.2.src.rpm
Build Date : 2020年11月17日 星期二 06时24分59秒
Build Host : x86-01.bsys.centos.org
Relocations : (not relocatable)
Packager : CentOS BuildSystem <http://bugs.centos.org>
Vendor : CentOS
URL : http://www.gnu.org/software/coreutils/
Summary : A set of basic GNU tools commonly used in shell scripts
Description :
These are the GNU core utilities. This package is the combination of
the old GNU fileutils, sh-utils, and textutils packages
4.查询系统中某个已安装的软件包包含哪些文件,-l表示list,列表
[root@webapp ~ 15:11:47]# rpm -q openssh-server -l
/etc/pam.d/sshd
/etc/ssh/sshd_config
/etc/sysconfig/sshd
/usr/lib/systemd/system/sshd-keygen.service
/usr/lib/systemd/system/sshd.service
/usr/lib/systemd/system/sshd.socket
/usr/lib/systemd/system/sshd@.service
/usr/lib64/fipscheck/sshd.hmac
/usr/libexec/openssh/sftp-server
/usr/sbin/sshd
/usr/sbin/sshd-keygen
/usr/share/man/man5/moduli.5.gz
/usr/share/man/man5/sshd_config.5.gz
/usr/share/man/man8/sftp-server.8.gz
/usr/share/man/man8/sshd.8.gz
/var/empty/sshd
5.查询系统中某个原装的软件包包含哪些配置文件,-c表示配置文件
[root@webapp ~ 15:13:27]# rpm -q openssh-server -c
/etc/pam.d/sshd
/etc/ssh/sshd_config
/etc/sysconfig/sshd
6.查询系统中某个已安装的软件包包含哪些文档文件,-d表示文档文件
[root@webapp ~ 15:13:49]# rpm -q openssh-server -d
/usr/share/man/man5/moduli.5.gz
/usr/share/man/man5/sshd_config.5.gz
/usr/share/man/man8/sftp-server.8.gz
/usr/share/man/man8/sshd.8.gz
7.查询系统中某个文件属于哪个已安装的软件包,-f表示文件
[root@webapp ~ 15:13:56]# rpm -q -f /etc/ssh/sshd_config
openssh-server-7.4p1-22.el7_9.x86_64
8.查询系统中某个已安装的软件包包含的脚本
[root@webapp ~ 15:14:27]# rpm -q openssh-server –scripts
preinstall scriptlet (using /bin/sh):
getent group sshd >/dev/null || groupadd -g 74 -r sshd || :
getent passwd sshd >/dev/null || \\
useradd -c "Privilege-separated SSH" -u 74 -g sshd \\
-s /sbin/nologin -r -d /var/empty/sshd sshd 2> /dev/null || :
postinstall scriptlet (using /bin/sh):
......
9.查询系统中某个已安装的软件包变更日志
[root@webapp ~ 15:32:10]# rpm -q openssh-server –changelog
* 四 9月 30 2021 Dmitry Belyavskiy <dbelyavs@redhat.com> – 7.4p1-22 + 0.10.3-2
– avoid segfault in Kerberos cache cleanup (#1999263)
– fix CVE-2021-41617 (#2008884)
......
10.下载 httpd 软件包,以及依赖的其他软件包
[root@webapp ~ 18:38:59]# yumdownloader httpd
11.查询系统中某个软件包文件包含哪些配置文件,-p表示软件包
[root@webapp ~ 18:43:35]# rpm -q -p httpd-2.4.6-99.el7.centos.1.x86_64.rpm -c
/etc/httpd/conf.d/autoindex.conf
/etc/httpd/conf.d/userdir.conf
/etc/httpd/conf.d/welcome.conf
同样-l -d -i也可以配置-p使用
12.查询系统中某个软件包组中包涵哪些软件包,-g,group
[root@webapp ~ 18:47:48]# rpm -qg 'System Environment/Base'
grub2-common-2.02-0.87.0.1.el7.centos.9.noarch
centos-release-7-9.2009.1.el7.centos.x86_64
setup-2.8.71-11.el7.noarch
.......
13.扩展
# 查看软件包所在仓库精确位置
[root@webapp ~ 15:33:47]# repoquery –location httpd
http://mirrors.aliyun.com/centos/7/updates/x86_64/Packages/httpd-2.4.6-99.el7.centos.1.x86_64.rpm
# 此时可以通过 wget 下载特定文件
[root@webapp ~ 18:50:20]# wget \\
http://mirrors.aliyun.com/centos/7/updates/x86_64/Packages/httpd-2.4.6-99.el7.centos.1.x86_64.rpm
验证
基本语法:
rpm {-V|–verify} [select-options] [verify-options]
select-options
[PACKAGE_NAME] [-a,–all] [-f,–file FILE]
[-g,–group GROUP] {-p,–package PACKAGE_FILE]
[–hdrid SHA1] [–pkgid MD5] [–tid TID]
[–querybynumber HDRNUM] [–triggeredby PACKAGE_NAME]
[–whatprovides CAPABILITY] [–whatrequires CAPABILITY]
verify-options
[–nodeps] [–nofiles] [–noscripts]
[–nodigest] [–nosignature]
[–nolinkto] [–nofiledigest] [–nosize] [–nouser]
[–nogroup] [–nomtime] [–nomode] [–nordev]
[–nocaps] [–noconfig] [–noghost]
示例:
1.查看openssh-server软件安装是否有问题
[root@webapp ~ 15:34:14]# rpm -V openssh-server
S.5....T. c /etc/ssh/sshd_config
# 没有问题
2.移走 /etc/ssh/sshd_config 文件,再次查看
[root@webapp ~ 15:48:10]# mv /etc/ssh/sshd_config .
[root@webapp ~ 15:48:34]# rpm -V openssh-server
遗漏 c /etc/ssh/sshd_config
# 恢复该文件到原来位置
[root@webapp ~ 15:48:37]# mv sshd_config /etc/ssh
[root@webapp ~ 15:48:55]# rpm -V openssh-server
S.5....T. c /etc/ssh/sshd_config
安装和卸载
基本语法:
rpm {-i|–install} [install-options] PACKAGE_FILE …
install-options
[–allfiles] [–badreloc] [–excludepath OLDPATH]
[–excludedocs] [–force] [-h,–hash]
[–ignoresize] [–ignorearch] [–ignoreos]
[–includedocs] [–justdb] [–nocollections]
[–nodeps] [–nodigest] [–nosignature] [–noplugins]
[–noorder] [–noscripts] [–notriggers]
[–oldpackage] [–percent] [–prefix NEWPATH]
[–relocate OLDPATH=NEWPATH]
[–replacefiles] [–replacepkgs]
[–test]
示例:
1.下载软件包
2.卸载
[root@webapp ~ 15:50:42]# rpm -e lrzsz
[root@webapp ~ 15:51:32]# rpm -q lrzsz
未安装软件包 lrzsz
3.安装
[root@webapp ~ 15:51:48]# rpm -i lrzsz-0.12.20-36.el7.x86_64.rpm
[root@webapp ~ 15:52:18]# rpm -q lrzsz
lrzsz-0.12.20-36.el7.x86_64
4.友好方式卸载
[root@webapp ~ 15:52:27]# rpm -evh lrzsz
准备中... ################################# [100%]
正在清理/删除...
1:lrzsz-0.12.20-36.el7 ################################# [100%]
5.友好方式安装
.rpm表示已经下载了该软件包,未安装
[root@webapp ~ 15:54:10]# rpm -ivh lrzsz-0.12.20-36.el7.x86_64.rpm
准备中... ################################# [100%]
正在升级/安装...
1:lrzsz-0.12.20-36.el7 ################################# [100%]
重新安装
rpm {–reinstall} [install-options] PACKAGE_FILE ...
示例:
[root@webapp ~ 19:04:12]# rpm –reinstall -vh lrzsz*
准备中... ################################# [100%]
正在升级/安装...
1:lrzsz-0.12.20-36.el7 ################################# [100%]
使用 yum 管理软件包
yum 介绍
- rpm 命令是一个管理软件包的工具,不适用于软件包存储库或自动解决来自多个源的依赖项。
- Yum(Yellowdog Updater Modified)旨在成为管理基于RPM的软件安装和更新的更好系统。yum命令允许安装,更新,删除和获取有关软件包及其依赖项的信息。
yum 命令
1.查看yum命令帮助信息
[root@webapp ~ 15:57:27]# yum help
2.查看仓库中httpd包信息
[root@webapp ~ 16:30:55]# yum info httpd
已加载插件:fastestmirror
Loading mirror speeds from cached hostfile
* base: mirrors.aliyun.com
* extras: mirrors.aliyun.com
* updates: mirrors.aliyun.com
已安装的软件包
名称 :httpd
架构 :x86_64
版本 :2.4.6
发布 :99.el7.centos.1
大小 :9.4 M
源 :installed
来自源:updates
简介 : Apache HTTP Server
网址 :http://httpd.apache.org/
协议 : ASL 2.0
描述 : The Apache HTTP Server is a powerful,
: efficient, and extensible web server.
3.查看仓库中http开头的包有哪些
[root@webapp ~ 16:31:46]# yum list 'http*'
已加载插件:fastestmirror
Loading mirror speeds from cached hostfile
* base: mirrors.aliyun.com
* extras: mirrors.aliyun.com
* updates: mirrors.aliyun.com
已安装的软件包
httpd.x86_64 2.4.6-99.el7.centos.1 @updates
httpd-tools.x86_64 2.4.6-99.el7.centos.1 @updates
可安装的软件包
http-parser.i686 2.7.1-9.el7 base
http-parser.x86_64 2.7.1-9.el7 base
http-parser-devel.i686 2.7.1-9.el7 base
http-parser-devel.x86_64
......
4.查看仓库中httpd包有哪些版本
[root@webapp ~ 16:31:52]# yum list httpd –showduplicates
已加载插件:fastestmirror
Loading mirror speeds from cached hostfile
* base: mirrors.aliyun.com
* extras: mirrors.aliyun.com
* updates: mirrors.aliyun.com
已安装的软件包
httpd.x86_64 2.4.6-99.el7.centos.1 @updates
可安装的软件包
httpd.x86_64 2.4.6-95.el7.centos base
httpd.x86_64 2.4.6-97.el7.centos updates
httpd.x86_64 2.4.6-97.el7.centos.1 updates
httpd.x86_64 2.4.6-97.el7.centos.2 updates
httpd.x86_64 2.4.6-97.el7.centos.4 updates
httpd.x86_64 2.4.6-97.el7.centos.5 updates
httpd.x86_64 2.4.6-98.el7.centos.6 updates
httpd.x86_64 2.4.6-98.el7.centos.7 updates
httpd.x86_64 2.4.6-99.el7.centos.1 updates
# 查看简介包含关键字的软件包
[root@webapp ~ 16:32:57]# yum search 'web server'
# 查看描述和简介包含关键字的软件包
[root@webapp ~ 16:34:41]# yum search all 'web server'
6.查看仓库中哪个包可以提供文件sar程序
[root@webapp ~ 16:34:41]# yum provides sar
已加载插件:fastestmirror
Loading mirror speeds from cached hostfile
* base: mirrors.aliyun.com
* extras: mirrors.aliyun.com
* updates: mirrors.aliyun.com
base/7/x86_64/filelists_db | 7.2 MB 00:09
epel/x86_64/filelists_db | 15 MB 00:17
extras/7/x86_64/filelists_db | 305 kB 00:00
updates/7/x86_64/filelists_db | 15 MB 00:20
sysstat-10.1.5-19.el7.x86_64 : Collection of performance
...: monitoring tools for Linux
源 :base
匹配来源:
文件名 :/usr/bin/sar
sysstat-10.1.5-20.el7_9.x86_64 : Collection of
...: performance monitoring tools for Linux
源 :updates
匹配来源:
文件名 :/usr/bin/sar
# 安装sar工具对应的软件包
[root@webapp ~ 16:36:53]# yum install -y sysstat
7.只下载不安装
[root@webapp ~ 16:36:53]# yum install vsftpd –downloadonly –downloaddir=/root/
[root@webapp ~ 16:38:30]# ls vsftpd-*
vsftpd-3.0.2-29.el7_9.x86_64.rpm
# 安装本地文件系统中vsftpd包
[root@webapp ~ 16:38:43]# yum localinstall ./vsftpd-3.0.2-29.el7_9.x86_64.rpm
8.降级和升级
# 降级 vsftpd 版本为 3.0.2-28.el7
[root@webapp ~ 16:39:58]# yum downgrade -y vsftpd-3.0.2-28.el7
# 升级 vsftpd 版本为 3.0.2-29.el7_9
[root@webapp ~ 16:41:07]# yum update vsftpd-3.0.2-29.el7_9
# 升级系统中所有软件为最新版本
[root@webapp ~ 16:41:43]# yum update
# 卸载软件包
[root@webapp ~ 16:41:43]# yum remove -y vsftpd
注意:yum update升级全部软件包,慎用!!!
依赖降级示例:
# 环境准备:安装最新版httpd
[root@webapp ~ 19:08:53]# yum install -y httpd
# 降级到特定版本:降级失败,因为已安装的 httpd-tools 无法满足当前httpd版本
[root@webapp ~ 16:48:43]# yum downgrade -y httpd-2.4.6-97.el7.centos
已加载插件:fastestmirror
Loading mirror speeds from cached hostfile
* base: mirrors.aliyun.com
* extras: mirrors.aliyun.com
* updates: mirrors.aliyun.com
正在解决依赖关系
—> 正在检查事务
—> 软件包 httpd.x86_64.0.2.4.6-97.el7.centos 将被 降级
—> 正在处理依赖关系 httpd-tools = 2.4.6-97.el7.centos,它被软件包 httpd-2.4.6-97.el7.centos.x86_64 需要
—> 软件包 httpd.x86_64.0.2.4.6-99.el7.centos.1 将被 删除
—> 解决依赖关系完成
错误:软件包:httpd-2.4.6-97.el7.centos.x86_64 (updates)
需要:httpd-tools = 2.4.6-97.el7.centos
已安装: httpd-tools-2.4.6-99.el7.centos.1.x86_64 (@updates)
httpd-tools = 2.4.6-99.el7.centos.1
可用: httpd-tools-2.4.6-95.el7.centos.x86_64 (base)
httpd-tools = 2.4.6-95.el7.centos
可用: httpd-tools-2.4.6-97.el7.centos.x86_64 (updates)
httpd-tools = 2.4.6-97.el7.centos
可用: httpd-tools-2.4.6-97.el7.centos.1.x86_64 (updates)
httpd-tools = 2.4.6-97.el7.centos.1
可用: httpd-tools-2.4.6-97.el7.centos.2.x86_64 (updates)
httpd-tools = 2.4.6-97.el7.centos.2
可用: httpd-tools-2.4.6-97.el7.centos.4.x86_64 (updates)
httpd-tools = 2.4.6-97.el7.centos.4
可用: httpd-tools-2.4.6-97.el7.centos.5.x86_64 (updates)
httpd-tools = 2.4.6-97.el7.centos.5
可用: httpd-tools-2.4.6-98.el7.centos.6.x86_64 (updates)
httpd-tools = 2.4.6-98.el7.centos.6
可用: httpd-tools-2.4.6-98.el7.centos.7.x86_64 (updates)
httpd-tools = 2.4.6-98.el7.centos.7
您可以尝试添加 –skip-broken 选项来解决该问题
您可以尝试执行:rpm -Va –nofiles –nodigest
# 解决方法:httpd-tools与httpd一起降级到相同版本
[root@webapp ~ 16:49:06]# yum downgrade -y httpd-tools-2.4.6-97.el7.centos httpd-2.4.6-97.el7.centos
软件包组管理
# 查看仓库中软件包组清单
[root@webapp ~ 17:01:25]# yum grouplist
.......
基本网页服务器
虚拟化主机
带 GUI 的服务器
GNOME 桌面
KDE Plasma Workspaces
开发及生成工作站
......
# `-v`详尽操作过程
[root@webapp ~ 19:16:01]# yum grouplist -v
可用的环境分组:
最小安装 (minimal)
基础设施服务器 (infrastructure-server-environment)
......
系统管理工具 (system-admin-tools)
通用桌面 (general-desktop)
完成
# 查看仓库中软件包组信息
[root@webapp ~ 17:02:45]# yum groupinfo <tab><tab>
[root@webapp ~ 17:06:08]# yum groupinfo 'GNOME 桌面'
# 安装仓库中软件包组
[root@webapp ~ 17:08:37]# yum groupinstall 'GNOME 桌面'
# 卸载仓库中软件包组
[root@webapp ~ 17:08:37]# yum groupremove 'GNOME 桌面'
注意:'GNOME 桌面'需要用引号引起来,不然会被当成两个,即GMOME和桌面
配置 yum 仓库
yum 仓库配置
yum 工具的配置文件是 /etc/yum.conf,/etc/yum/yum.conf(新版,用得少)该文件包括两部分:
- main,yum全局配置,提供每个仓库部分参数默认值。
- 每个仓库的独立配置。
[root@backup ~ 08:57:19]# cat /etc/yum.conf
[main]
cachedir=/var/cache/yum/$basearch/$releasever
keepcache=0
debuglevel=2
logfile=/var/log/yum.log
exactarch=1
obsoletes=1
gpgcheck=1
plugins=1
installonly_limit=5
bugtracker_url=http://bugs.centos.org/set_project.php?project_id=23&ref=http://bugs.centos.org/bug_report_page.php?category=yum
distroverpkg=centos-release
# This is the default, if you make this bigger yum won't see if the metadata
# is newer on the remote and so you'll "gain" the bandwidth of not having to
# download the new metadata and "pay" for it by yum not having correct
# information.
# It is esp. important, to have correct metadata, for distributions like
# Fedora which don't keep old packages around. If you don't like this checking
# interupting your command line usage, it's much better to have something
# manually check the metadata once an hour (yum-updatesd will do this).
# metadata_expire=90m
# PUT YOUR REPOS HERE OR IN separate files named file.repo
# in /etc/yum.repos.d
使用如下命令查看完整的配置内容:
[root@backup ~ 10:33:37]# yum install -y yum-utils
[root@backup ~ 10:35:28]# yum-config-manager
已加载插件:fastestmirror
============================ main =============================
[main]
alwaysprompt = True
assumeno = False
assumeyes = False
autocheck_running_kernel = True
autosavets = True
......
main 部分设置全局配置:
- enabled = 1,仓库默认启用。
- gpgcheck = 1,仓库默认启用gpg校验。
- keepcache = 0,不保存缓存。
- cachedir = /var/cache/yum,缓存文件保存的位置。
- reposdir = /etc/yum.repos.d, /etc/yum/repos.d,yum仓库配置文件。
yum管理的软件包存放在yum仓库,yum仓库配置文件存放在/etc/yum.repos.d目录。
[root@backup ~ 10:36:49]# ls /etc/yum.repos.d/
CentOS-Base.repo CentOS-Sources.repo
CentOS-CR.repo CentOS-Vault.repo
CentOS-Debuginfo.repo CentOS-x86_64-kernel.repo
CentOS-fasttrack.repo epel.repo
CentOS-Media.repo
yum 仓库管理
查看 yum 仓库
1.查看启用的yum仓库
[root@backup ~ 10:37:08]# yum repolist
已加载插件:fastestmirror
Loading mirror speeds from cached hostfile
* base: mirrors.aliyun.com
* extras: mirrors.aliyun.com
* updates: mirrors.aliyun.com
源标识 源名称 状态
base/7/x86_64 CentOS-7 – Base – mirrors.aliyun.com 10,072
epel/x86_64 Extra Packages for Enterprise Linux 7 – 13,791
extras/7/x86_64 CentOS-7 – Extras – mirrors.aliyun.com 526
updates/7/x86_64 CentOS-7 – Updates – mirrors.aliyun.com 6,173
repolist: 30,562
2.查看 yum 所有仓库,包括未启用的仓库
[root@backup ~ 10:37:55]# yum repolist all
启用和禁用仓库
[root@backup ~ 10:38:39]# yum-config-manager –enble epel-debuginfo
2.禁用
[root@backup ~ 10:39:59]# yum-config-manager –disable epel-debuginfo
也可以编辑仓库配置文件,将仓库中enabled值设置为1启用,设置为0禁用。
3.查看禁用的仓库清单
[root@backup ~ 10:40:18]# vim /etc/yum.repos.d/epel.repo
[epel]
name=Extra Packages for Enterprise Linux 7 – $basearch
baseurl=http://mirrors.aliyun.com/epel/7/$basearch
failovermethod=priority
enabled=1
gpgcheck=0
gpgkey=file:///etc/pki/rpm-gpg/RPM-GPG-KEY-EPEL-7
[epel-debuginfo]
name=Extra Packages for Enterprise Linux 7 – $basearch – Debug
baseurl=http://mirrors.aliyun.com/epel/7/$basearch/debug
failovermethod=priority
enabled=0
# 将enabled设置为1启用,设置为0禁用
gpgkey=file:///etc/pki/rpm-gpg/RPM-GPG-KEY-EPEL-7
gpgcheck=0
[epel-source]
name=Extra Packages for Enterprise Linux 7 – $basearch – Source
baseurl=http://mirrors.aliyun.com/epel/7/SRPMS
failovermethod=priority
enabled=0
gpgkey=file:///etc/pki/rpm-gpg/RPM-GPG-KEY-EPEL-7
gpgcheck=0
仓库缓存管理
更新缓存后,yum install命令可补全软件包名称。
# 清理缓存数据
[root@backup ~ 10:42:43]# yum clean <>tab<tab>
all dbcache headers packages
cache expire-cache metadata
# 清理所有缓存数据
[root@backup ~ 10:42:43]# yum clean all
已加载插件:fastestmirror
正在清理软件源: base epel extras updates
Cleaning up list of fastest mirrors
# 创建缓存数据
[root@webapp nginx 13:04:14]# yum makecache
添加 kubernetes 仓库
[root@backup ~ 10:44:26]# yum-config-manager –add-repo=https://mirrors.aliyun.com/kubernetes/yum/repos/kubernetes-el7-x86_64/
[root@backup ~ 10:45:47]# cat /etc/yum.repos.d/mirrors.aliyun.com_kubernetes_yum_repos_kubernetes-el7-x86_64_.repo
[mirrors.aliyun.com_kubernetes_yum_repos_kubernetes-el7-x86_64_]
name=added from: https://mirrors.aliyun.com/kubernetes/yum/repos/kubernetes-el7-x86_64/
baseurl=https://mirrors.aliyun.com/kubernetes/yum/repos/kubernetes-el7-x86_64/
enabled=1
# 安装 kubectl 包
[root@webapp nginx 13:07:09]# yum install kubectl –nogpgcheck
趣味代码
1.小火车
[root@backup ~ 10:49:14]# yum install sl -y
[root@backup ~ 10:49:48]# sl
# 火车变长
[root@backup ~ 10:49:27]# sl -l
# 火车边前进边“飞”
[root@backup ~ 10:49:38]# sl -F

[root@backup ~ 10:51:06]# yum install cowsay -y
[root@webapp ~ 18:38:57]# cowsay "哞~"
____
< 哞~ >
—-
\\ ^__^
\\ (oo)\\_______
(__)\\ )\\/\\
||—-w |
|| ||
[root@backup ~ 10:52:49]# cowsay -f dragon "老子是条龙"
_______
< 老子是条龙 >
——-
\\ / \\ //\\
\\ |\\___/| / \\// \\\\
/0 0 \\__ / // | \\ \\
/ / \\/_/ // | \\ \\
@_^_@'/ \\/_ // | \\ \\
//_^_/ \\/_ // | \\ \\
( //) | \\/// | \\ \\
( / /) _|_ / ) // | \\ _\\
( // /) '/,_ _ _/ ( ; -. | _ _\\.-~ .-~~~^-.
(( / / )) ,-{ _ `-.|.-~-. .~ `.
(( // / )) '/\\ / ~-. _ .-~ .-~^-. \\
(( /// )) `. { } / \\ \\
(( / )) .—-~-.\\ \\-' .~ \\ `. \\^-.
///.—-..> \\ _ -~ `. ^-` ^-_
///-._ _ _ _ _ _ _}^ – – – – ~ ~– ,.-~
/.-~
3.小游戏
[root@backup ~ 10:52:57]# yum remove httpd -y
[root@backup ~ 10:53:44]# yum install nginx -y
[root@backup nginx 11:00:00]# wget http://192.168.49.100/01.softwares/html.zip
[root@backup nginx 11:00:27]# unzip -o html.zip
[root@backup nginx 11:00:34]# systemctl start nginx
# 网页搜索ip即可
源码安装软件
源码安装 nginx
介绍
Nginx是一个高性能的HTTP和反向代理web服务器。
官方地址:https://nginx.org
安装
源码(必考)
# 下载
[root@webapp ~ 11:21:02]# wget https://nginx.org/download/nginx-1.24.0.tar.gz
# 解压
[root@webapp ~ 11:21:34]# tar -xf nginx-1.24.0.tar.gz
[root@webapp ~ 11:22:20]# cd nginx-1.24.0/
# 配置
[root@webapp nginx-1.24.0 11:24:16]# ./configure –prefix=/usr/local/nginx
checking for OS
+ Linux 3.10.0-1160.71.1.el7.x86_64 x86_64
checking for C compiler ... not found
./configure: error: C compiler cc is not found
#需安装gcc
# 安装依赖
[root@webapp nginx-1.24.0 11:25:40]# yum install -y gcc
# 再次配置
[root@webapp nginx-1.24.0 11:27:27]# ./configure –prefix=/usr/local/nginx
.......
./configure: error: the HTTP rewrite module requires the PCRE library.
You can either disable the module by using –without-http_rewrite_module
option, or install the PCRE library into the system, or build the PCRE library
statically from the source with nginx by using –with-pcre=<path> option.
# 发现错误,需要安装pcre-dvel
# 查看pcre,并安装pcre-devel 开发包
[root@webapp nginx-1.24.0 11:29:34]# yum list '*pcre*'
[root@webapp nginx-1.24.0 11:30:09]# yum install -y pcre-devel
# 再次配置
[root@webapp nginx-1.24.0 11:30:37]# ./configure –prefix=/usr/local/nginx
......
./configure: error: the HTTP gzip module requires the zlib library.
You can either disable the module by using –without-http_gzip_module
option, or install the zlib library into the system, or build the zlib library
statically from the source with nginx by using –with-zlib=<path> option.
# 再次发现错误,需要安装zlib
#查看zlib,并安装zlib-devel 开发包
[root@webapp nginx-1.24.0 11:30:45]# yum list '*zlib*'
[root@webapp nginx-1.24.0 11:31:08]# yum install -y zlib-devel
[root@webapp nginx-1.24.0 11:32:03]# ./configure –prefix=/usr/local/nginx
# 配置成功,作用:将ngnix相关文件放在此处
# 编译安装
[root@webapp nginx-1.24.0 11:36:16]# make && make install
[root@webapp nginx-1.24.0 11:40:38]# ls /usr/local/nginx/
conf html logs sbin
# 配置环境变量
[root@webapp sbin 11:49:56]# export PATH=$PATH:/usr/local/nginx/sbin/
[root@webapp sbin 13:35:18]# echo 'export PATH=$PATH:/usr/local/nginx/sbin/' >> ~/.bashrc
[root@webapp nginx 11:59:22]# history | grep wget
[root@webapp nginx 11:59:30]# wget http://192.168.49.100/01.softwares/html.zip
[root@webapp nginx 11:59:56]# unzip html.zip
使用
# 启动服务
[root@webapp nginx 11:59:56]# nginx
# 验证
# 在网页输入ip地址
命令总结:
- nginx,启动服务
- nginx -s quit,待nginx进程处理任务完毕进行停止。
- nginx -s stop,查出nginx进程id再使用kill命令强制杀掉进程。
- nginx -s reload,重新加载服务。
配置nginx服务
[root@webapp ~ 18:46:26]# cp /usr/lib/systemd/system/sshd.service /etc/systemd/system/nginx.service
[root@webapp ~ 18:46:26]# vim /etc/systemd/system/nginx.service
[Unit]
Description=Nginx server daemon
[Service]
Type=forking
ExecStart=/usr/local/nginx/sbin/nginx -c /usr/local/nginx/conf/nginx.conf
ExecReload=/usr/local/nginx/sbin/nginx -s reload
ExecStop=/usr/local/nginx/sbin/nginx -s quit
[Install]
WantedBy=multi-user.target
[root@webapp ~ 18:46:26]# systemctl daemon-reload
[root@webapp ~ 18:50:34]# systemctl enable nginx.service –now
源码安装 cmatrix
介绍
Cmatrix 是一款 Linux 环境下的炫酷屏保软件其效果类似于黑客帝国电影中的代码雨。

项目地址:https://github.com/abishekvashok/cmatrix
安装
# 安装依赖包
[root@webapp ~ 13:49:06]# yum -y install gcc make autoconf ncurses-devel
# 下载
[root@webapp ~ 13:49:21]# wget https://jaist.dl.sourceforge.net/project/cmatrix/cmatrix/1.2a/cmatrix-1.2a.tar.gz
# 解压
[root@webapp ~ 13:49:54]# tar -xf cmatrix-1.2a.tar.gz
# 配置软件
[root@webapp ~ 13:50:03]# cd cmatrix-1.2a/
[root@webapp cmatrix-1.2a 13:50:15]# ./configure –prefix=/usr/local/cmatrix
# 编译并安装
[root@webapp cmatrix-1.2a 13:50:22]# make && make install
使用
# 配置环境变量
[root@webapp cmatrix-1.2a 13:50:28]# export PATH=$PATH:/usr/local/cmatrix/bin
[root@webapp cmatrix-1.2a 13:50:42]# cmatrix
# 帮助信息
[root@webapp ~ 18:45:50]# cmatrix –help
Usage: cmatrix –[abBfhlsVx] [-u delay] [-C color]
-a: Asynchronous scroll
-b: Bold characters on
-B: All bold characters (overrides -b)
-f: Force the linux $TERM type to be on
-l: Linux mode (uses matrix console font)
-o: Use old-style scrolling
-h: Print usage and exit
-n: No bold characters (overrides -b and -B, default)
-s: "Screensaver" mode, exits on first keystroke
-x: X window mode, use if your xterm is using mtx.pcf
-V: Print version information and exit
-u delay (0 – 10, default 4): Screen update delay
-C [color]: Use this color for matrix (default green)
# 执行
[root@webapp ~ 18:45:52]# cmatrix
# 效果如下:

[root@webapp cmatrix-1.2a 13:54:20]# cmatrix -b -u 3 -C red
# -b 加粗字体
# -u 滚动速度
# -C 字体颜色 绿色(green)、红色(red)、蓝色(blue)、白色(white)、黄色(yellow)、青色(cyan)、洋红色(magenta)以及黑色(black)这些颜色。

随时改变颜色
当然,你无需重新启动程序,就可以随时改变显示的颜色。但需要记住,不同的键位对应着不同的颜色。在 Cmatrix 未关闭的情况下,如果你按下了存储在键位上的指令,显示的颜色将会直接变更。
| 红色 | ! | shift+1 |
| 绿色 | @ | shift+2 |
| 黄色 | # | shift+3 |
| 蓝色 | $ | shift+4 |
| 洋红色 | % | shift+5 |
| 青色 | ^ | shift+6 |
| 白色 | & | shift+7 |
| 黑色 | ) | shift+8 |
自由调整速度
在 Cmatrix 运行的过程中,你可以按 0 到 9 的任何一位数字键来随意改变当前的更新速度。