Preparation for Linux Environment
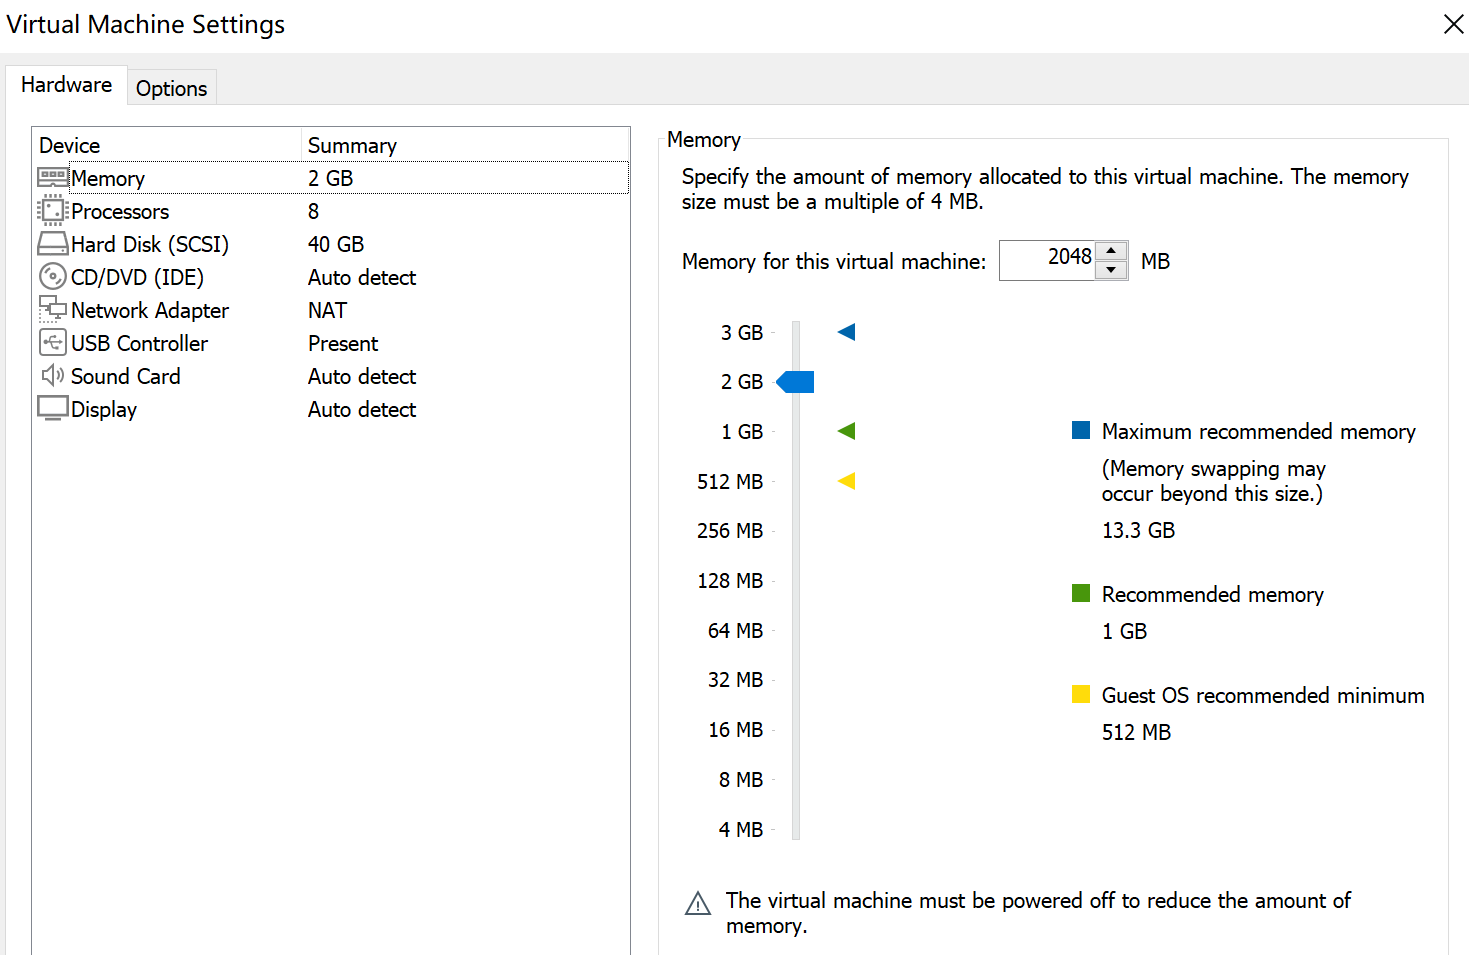
Install Vmware
Installation Package information: VMware-workstation-full-17.5.0
You can choose a common SSH remote tool for importing files. The tools like Xshell,MobaXterm, PuTTY, etc.
2. Create dmdba user
Note: The dmdba user must be created before installation. Do not install the DB using the root user.
groupadd -g 12349 dinstall
useradd -u 12345 -g dinstall -m -d /home/dmdba -s /bin/bash dmdba
passwd dmdba
3. Modify the maximum number of open files
Note: In system such Linux, Solaris, AIX, and HP-UX, the operating system imposes default resource limits on programs. If there limits are not adjusted, DB performance may be affected.
To modify the file using the root user, open /etc/security/limits.conf file to edit. Command as follow:
vi /etc/security/limits.conf
Switch to the dmdba user and verify whether the changes is effect now. Command as follow:
su – dmdba
ulimit -a
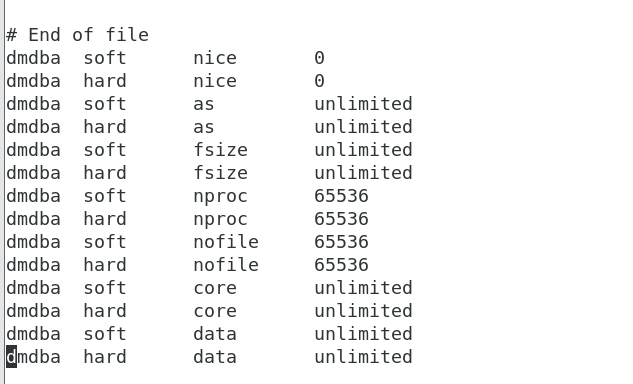
Switch to the dmdba user and execute this command:
ulimit -n 65536
ulimit -u 65536
4. Import DM8 installation package
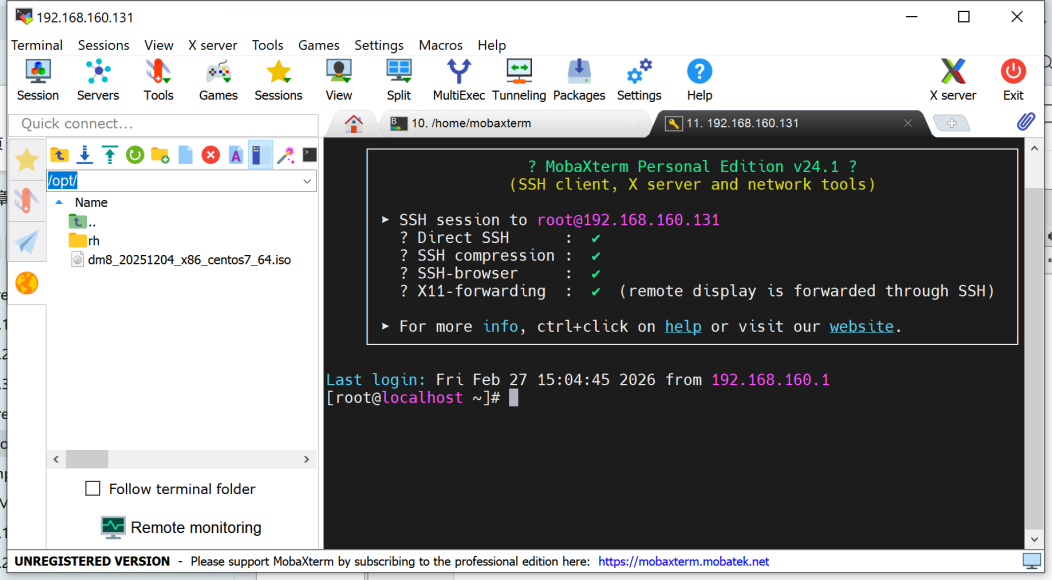
The fastest and most reliable way to transfer the installation package to the virtual machine is via an SSH tool. This time I choose the MobaXterm which built-in SFTP support, which automatically establishes an SFTP connection when logging into the host.
5. DM8 Installation by command-line
Switch to root account, and enter the folder path containing the DM8 package. For example. I upload the DM8 package in home path. Command as follow:
mount -o loop /opt/dm8_20251204_x86_centos7_64.iso /mnt

Note: if you don’t know the specific the file path, you can find it follow this command:
find / -name "*.iso" ##.iso is the file extension.

Switch to dmdba user, and execute this command under /mnt path
su – dmdba
cd /mnt
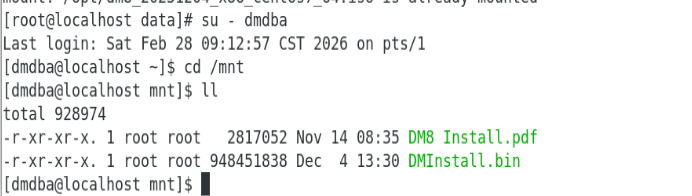
Execute command:./DMInstall.bin -i

Enter installation processing. We choose to install English version.
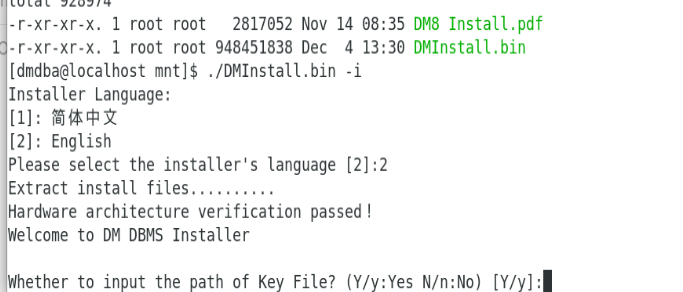
No need to input the key file, we can choose:n.
Installation type, we suggest to install typical: 1
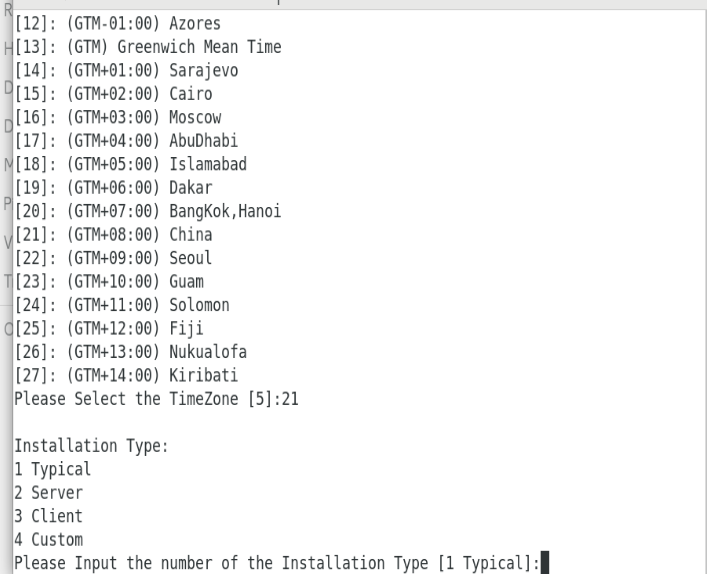
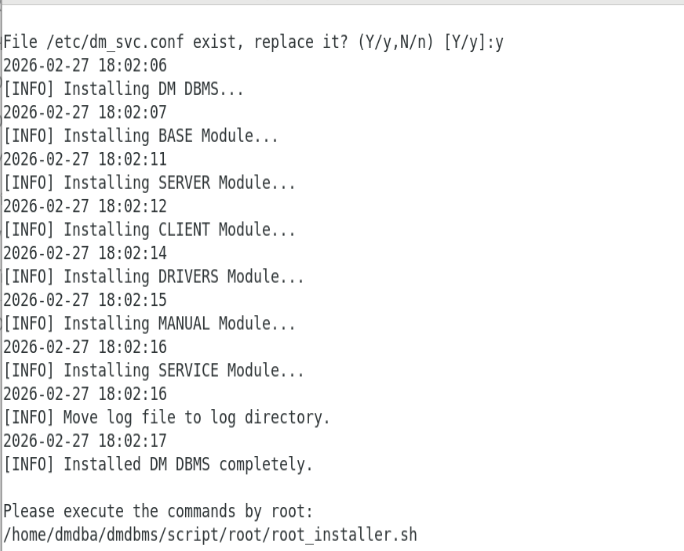
Note: After the installation is complete, the terminal prompts: "Please execute the command as the root system user." Since a non-root system user was used for the installation, some installation steps lack the necessary system privileges, requiring the user to manually execute the relevant commands. Follow the prompts to complete the corresponding operations.
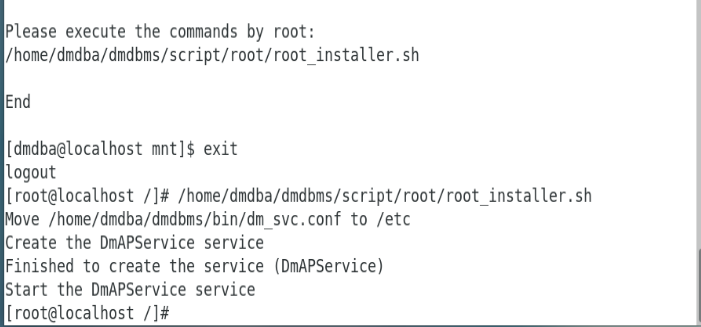
Now we already finished the installation. Next you also need to initialize the database and register the relevant services to run the DM database properly.
su – dmdba
cd /home/dmdba/dmdbms/bin
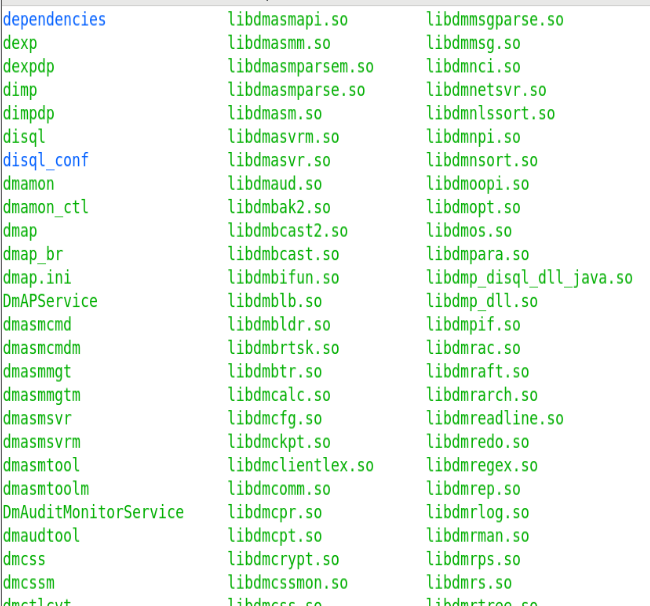
Use the `dminit` command to initialize the instance. The `dminit` command supports various parameters. You can execute the following command to view the configurable parameters:./dminit help
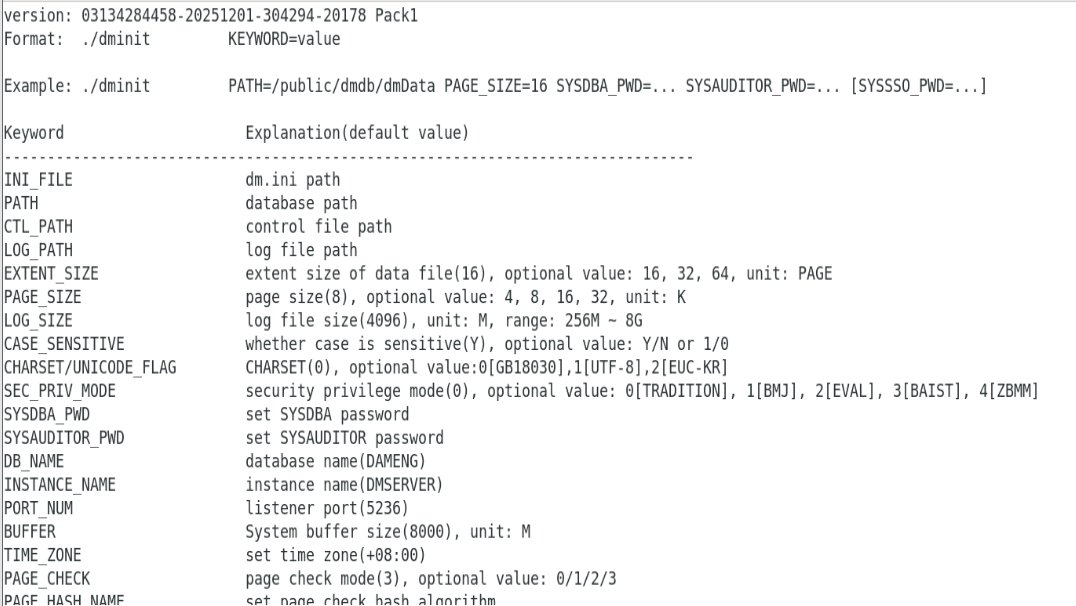
Eg. We want to create the instance with such requirement:
page size to 32 KB
extent size to 32 KB
case sensitivity on
database name to MANDY
instance name to MANDY
port to 5234, SYSDBA_PWD to Dameng12345, and SYSAUDITOR_PWD to Dameng12345. SYSDBA_PWD and SYSAUDITOR_PWD are the login passwords for the SYSDBA and SYSAUDITOR users of the database, respectively.
They must be set by the user and should meet certain password strength requirements.
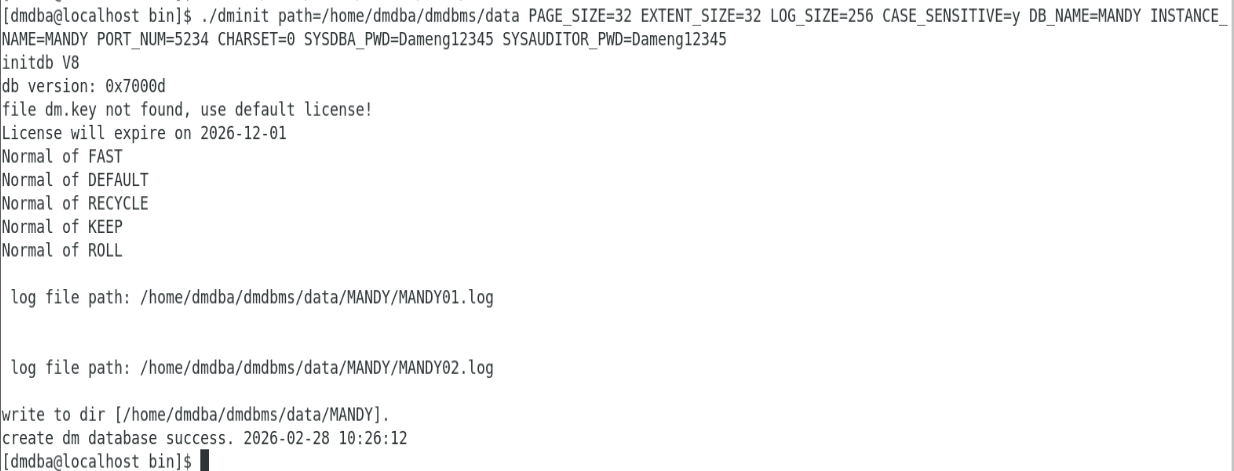
Note:During instance creation, errors often occur due to insufficient disk space. To resolve this, you can reduce the log size from the default 4096 to 256, which should allow the creation to succeed.
The service registration script is dm_service_installer.sh. Service registration must be performed using the root user. Use the root user to navigate to /script/root under the database installation directory, as shown below:
cd /home/dmdba/dmdbms/script/root/
./dm_service_installer.sh -t dmserver -dm_ini /home/dmdba/dmdbms/data/MANDY/dm.ini -p MANDY

Parameter Description
|
Field |
Parameter |
Description |
|
-t |
Service Type |
Registered service type, support these type: dmap/dmamom/dmserver/dmwatcher/dmmonitor/ dmasmsvr/dmasmsvrm/dmcss/dmcssm. |
|
-dm_ini |
INI file path |
Specify the path to the `dm.ini` file required by the service. According to your real specific path. |
|
-p |
Service name suffix |
Specify the service name suffix. The resulting operating system service name will be in the format "service script template name + service name suffix". This parameter only takes effect for the service scripts of dmserver, dmwatcher, dmmonitor, dmasmsvr, dmasmsvrm, dmcss, and dmcssm. |
Then enter to the bin folder, you can check whether there is registered DmService. Command as follow:
cd /home/dmdba/dmdbms/bin
ls
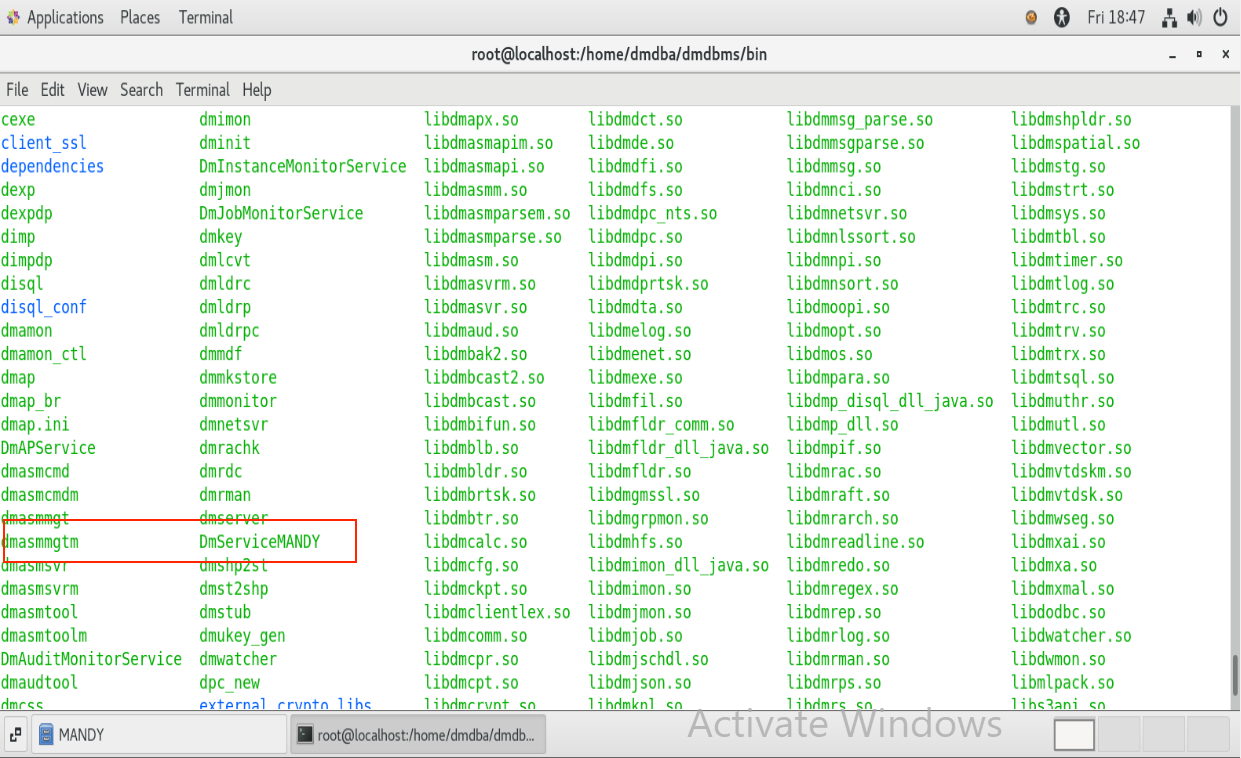
When the service register succeed, we can start the database.
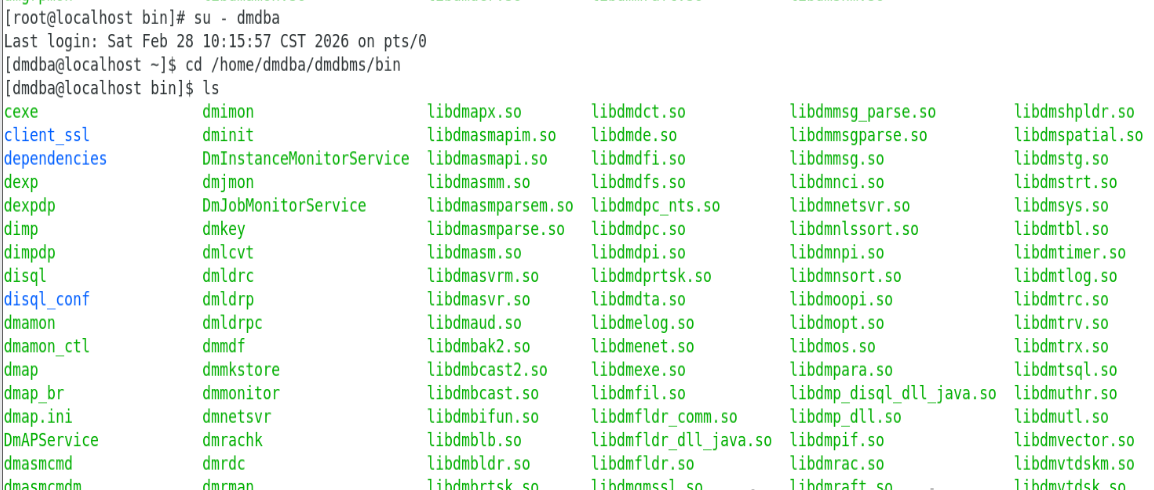
Switch to dmdba user and enter to the DM installation path, start the database in bin path. Command as follow:
cd /home/dmdba/dmdbms/bin
ls
./DmServiceMANDY start




-
There are two methods to connect the database:
- disql
-
enter to bin path, the command as follow:
./disql SYSDBA/Dameng12345:5234
Note:if you change the default port (5236), you need to add the new port when you connect.
- tool:
- If you are in the tool path, you can follow this command:
-
./disql
disql V8
SQL> conn sysdba/Dameng12345:5234
-
Check database status
Check the database status, command as follow:
select instance_name,status$ from v$instance;


./uninstall.sh -i
 6. DM8 Installation by graphical
xhost +
echo $DISPLAY

su – dmdba
export DISPLAY=:0
Switch to dmdba user, enter to /mnt directory, execute this command:
cd /mnt
./DMInstall.bin


Displays relevant information about the upcoming installation, such as product name, version details, installation type, installation directory, available disk space, available memory, and more. After verifying that the information is correct, the user clicks the "Install" button to proceed with the DM installation, as shown in the following figure:

During the installation process, it will notice to run the corresponding command.

The command as follow:
/home/dmdba/dmdbms/script/root/root_installer.sh


Command as follow:
mv/home/dmdba/dmdbms/bin/DmServiceDMSERVER.service /usr/lib/systemd/system/DmServiceDMSERVER.service
systemctl enable DmServiceDMSERVER.service
systemctl start DmServiceDMSERVER.service

After run all command, it will continue creating and prompt this information.


The execute this command:
systemctl restart DmServiceDMSERVER.service

xhost +
echo $DISPLAY

su – dmdba
export DISPLAY=:0

cd /home/dmdba/dmdbms/tool/
ll
./dbca.sh


You can follow this system guidance to finish.

Enable the graphic permission
Switch to root user and execute the command:
xhost +
echo $DISPLAY
Switch to dmdba user and execute the command
export DISPLAY=:0
cd /home/dmdba/dmdbms/tool
./dmservice.sh


社区地址: https://eco.dameng.com