背景需求
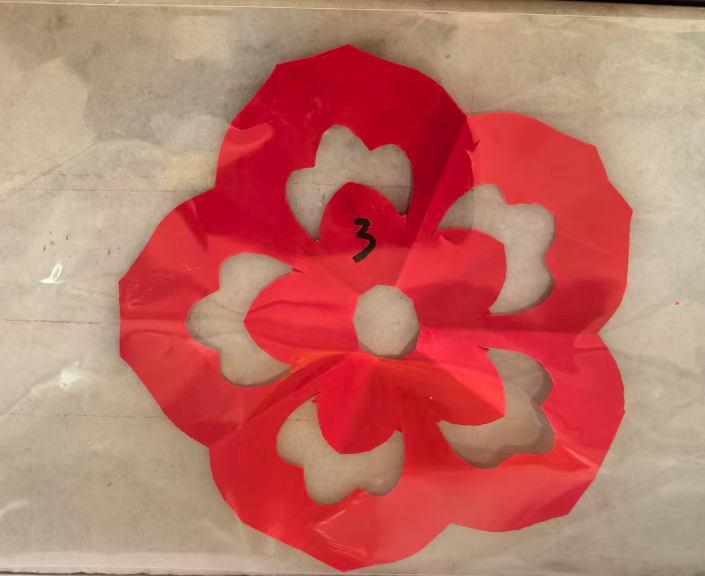
过年了,我们需要“红色窗花”。之前中班买一套30多元(30*30CM)但是里面不少需要镂空剪,最后还是老师在修补。
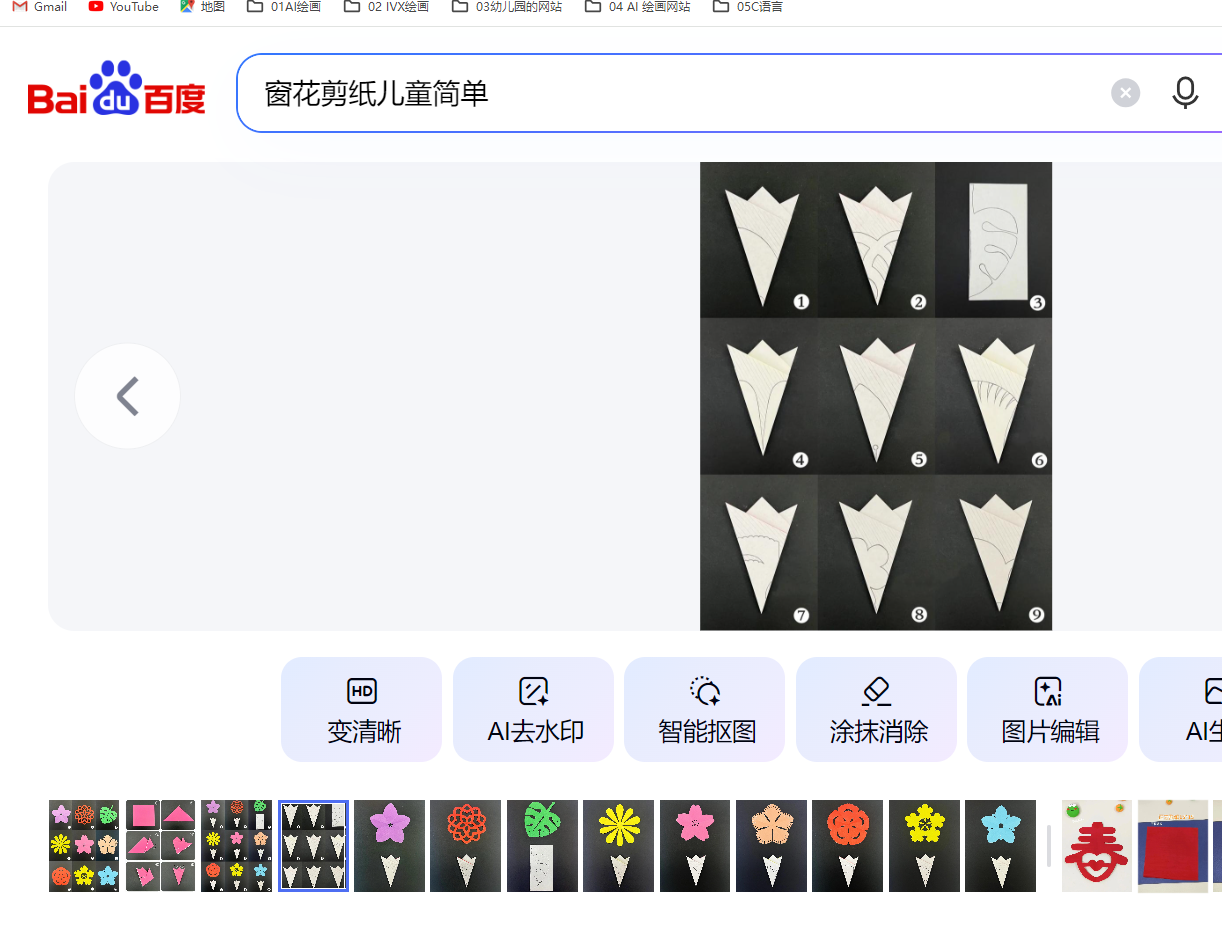
今年我是小班老师,我相做适合小班的窗花。但是网上搜索,百度图片的简单窗花图纸不多,都是手绘的图案造型。
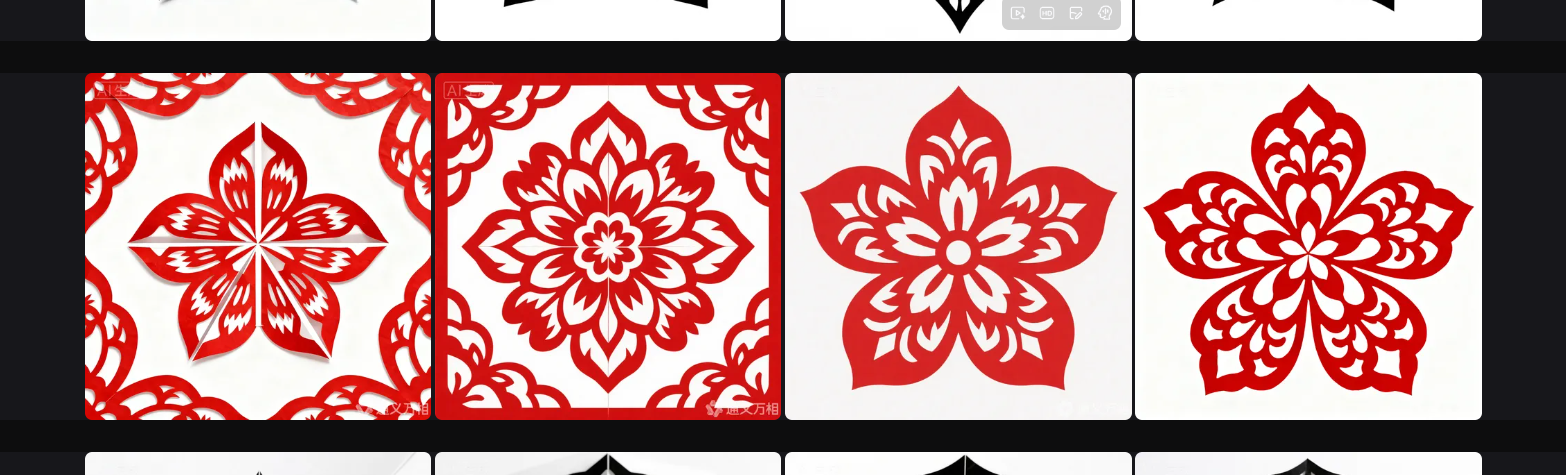
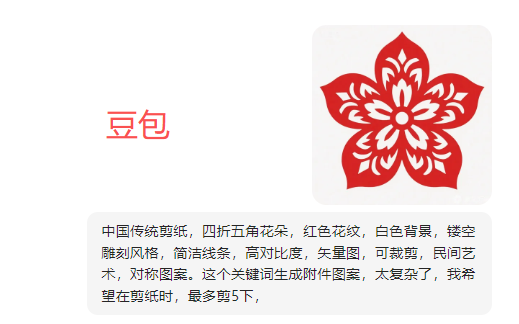
我试了几次通义万相,生成的窗花图案都太复杂了,剪起来要镂空(刻刀雕刻)
关键词: 中国传统剪纸,四折五角花朵,红色花纹,白色背景,镂空雕刻风格,简洁线条,高对比度,矢量图,可裁剪,民间艺术,对称图案
所以问问小红书如何写关键词,结果它推荐了一款“在线剪窗花工具”
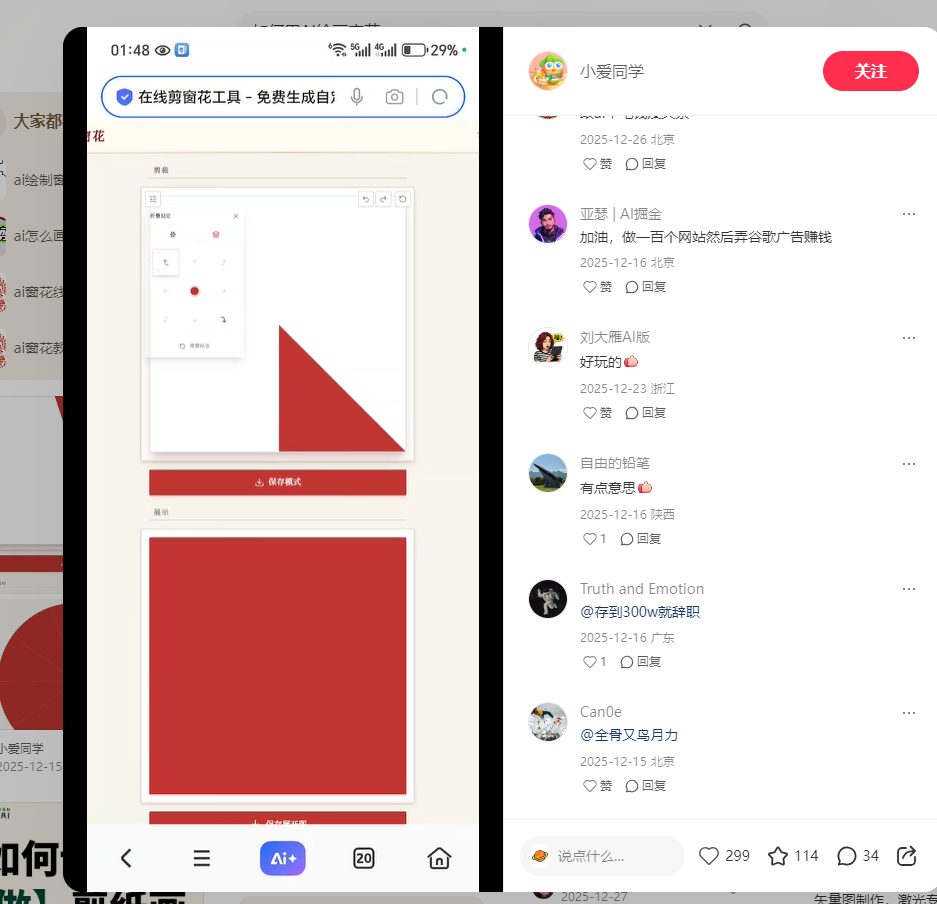

https://www.jianchuanghua.com/
在线剪窗花工具(电脑版本)
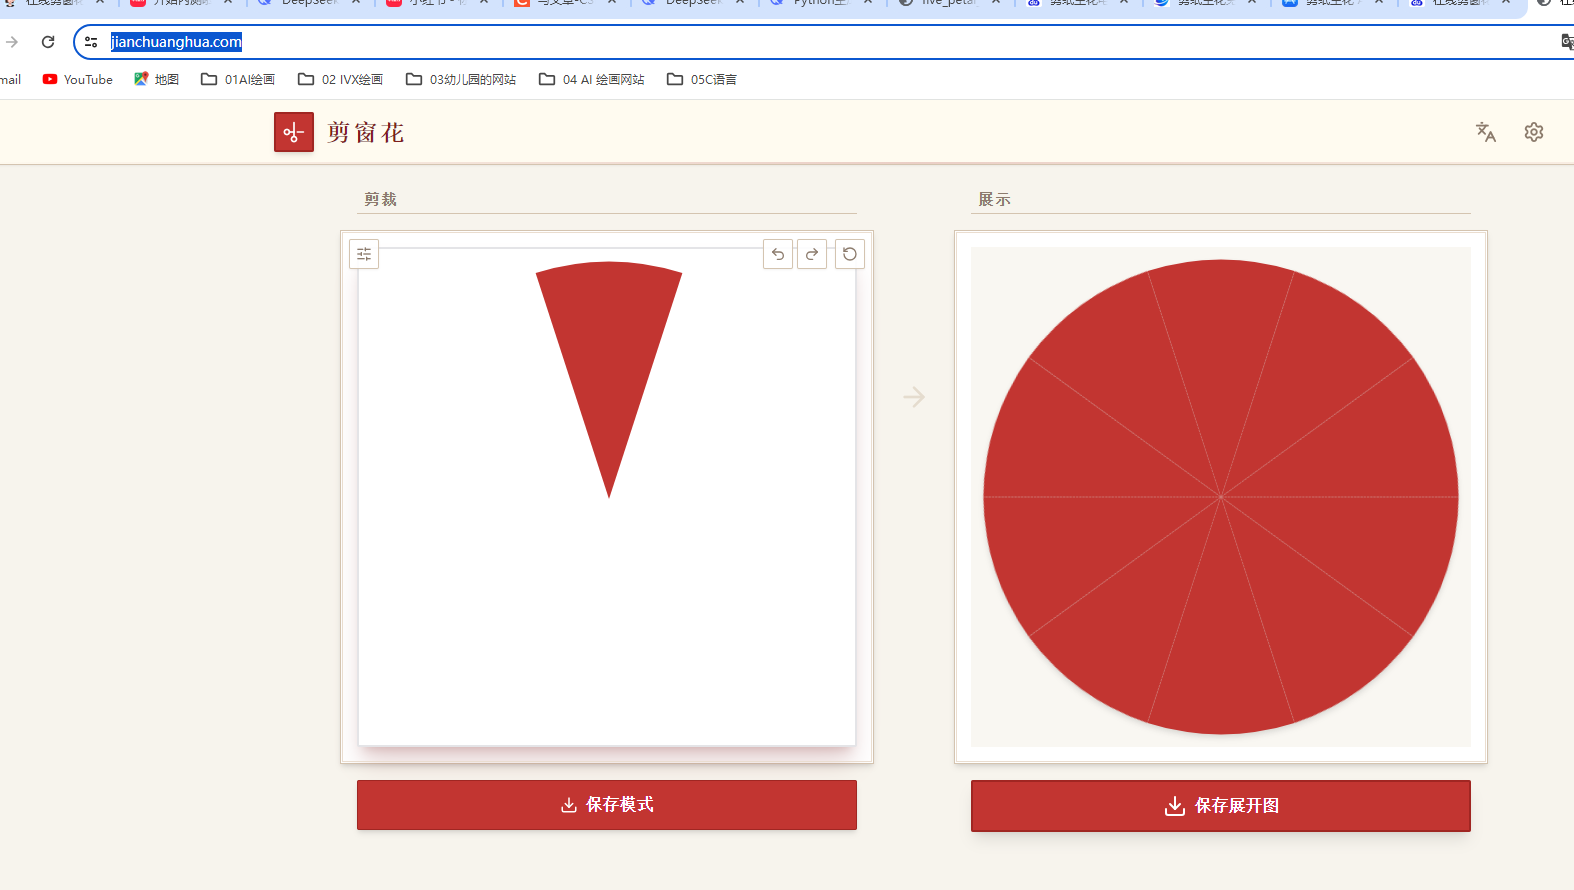
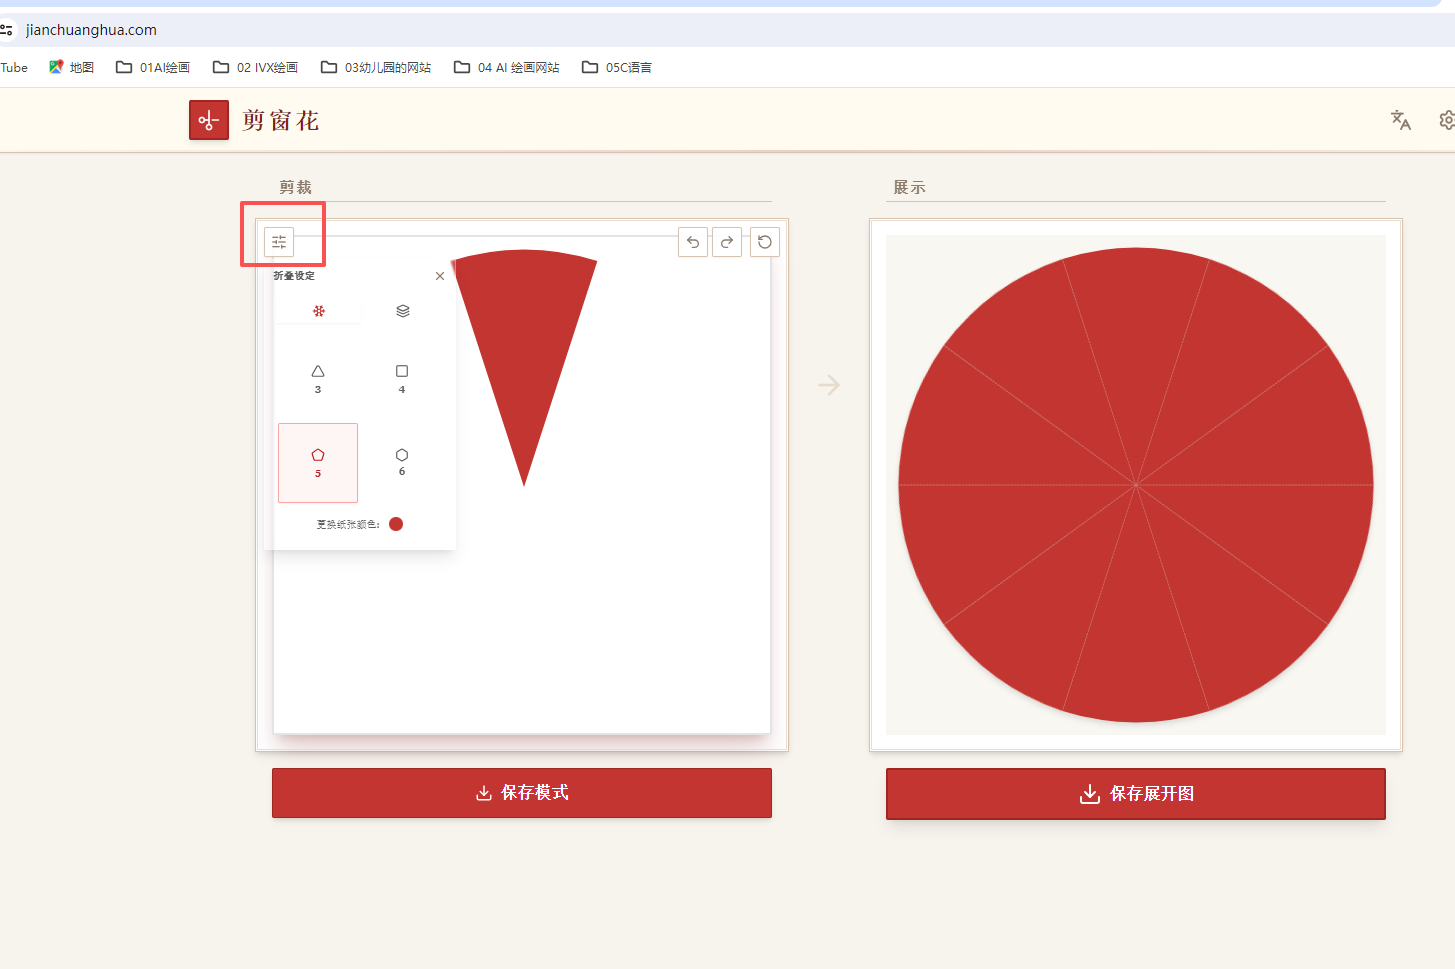
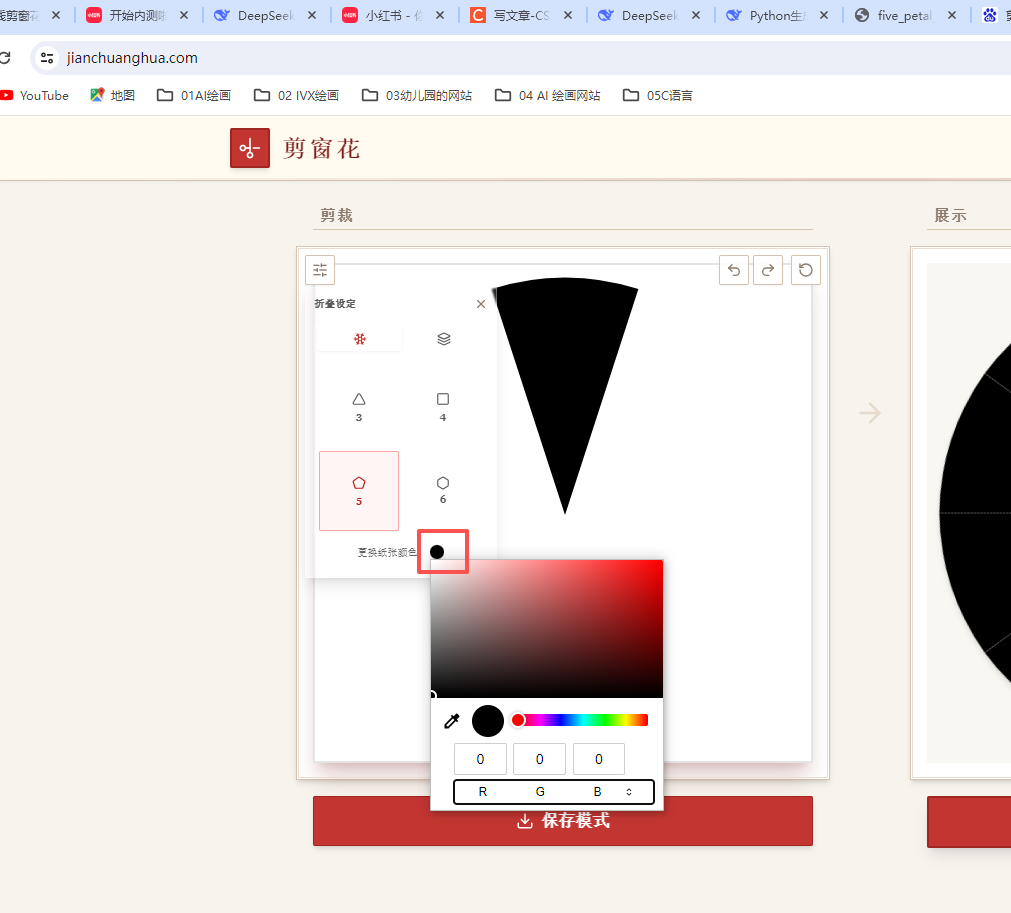
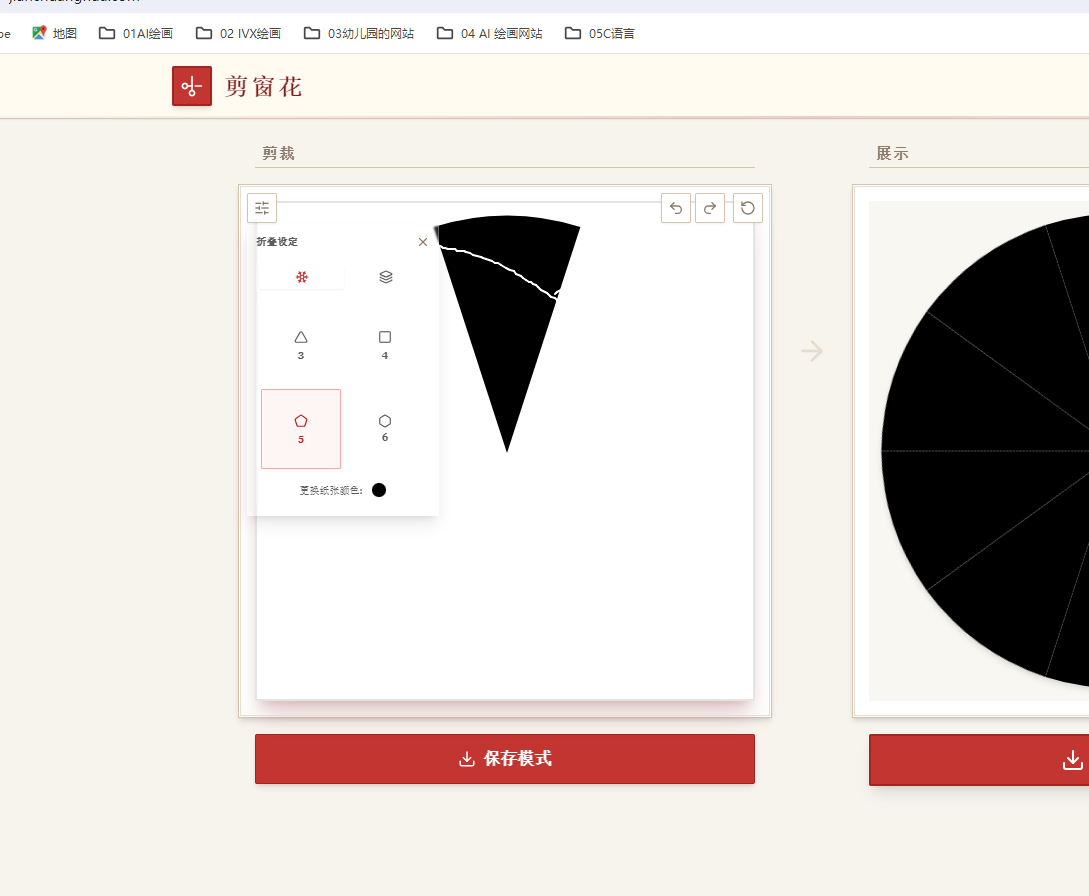
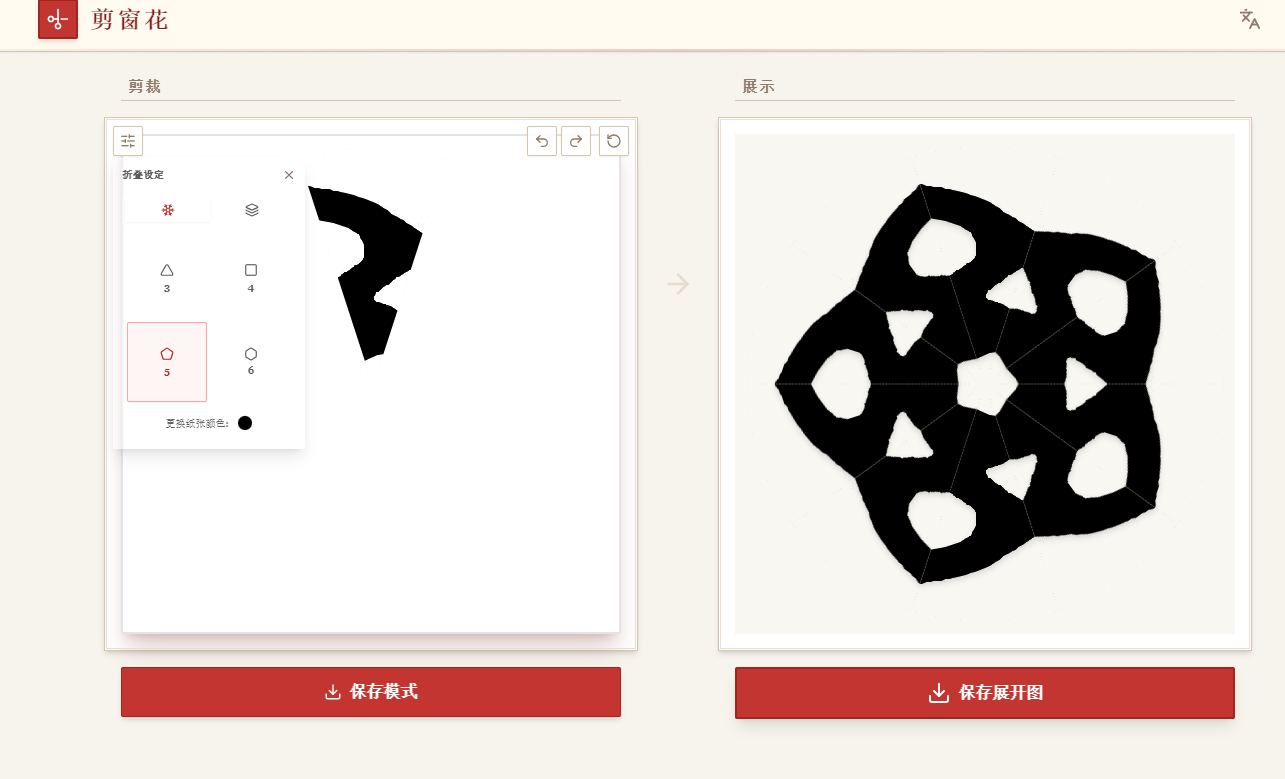
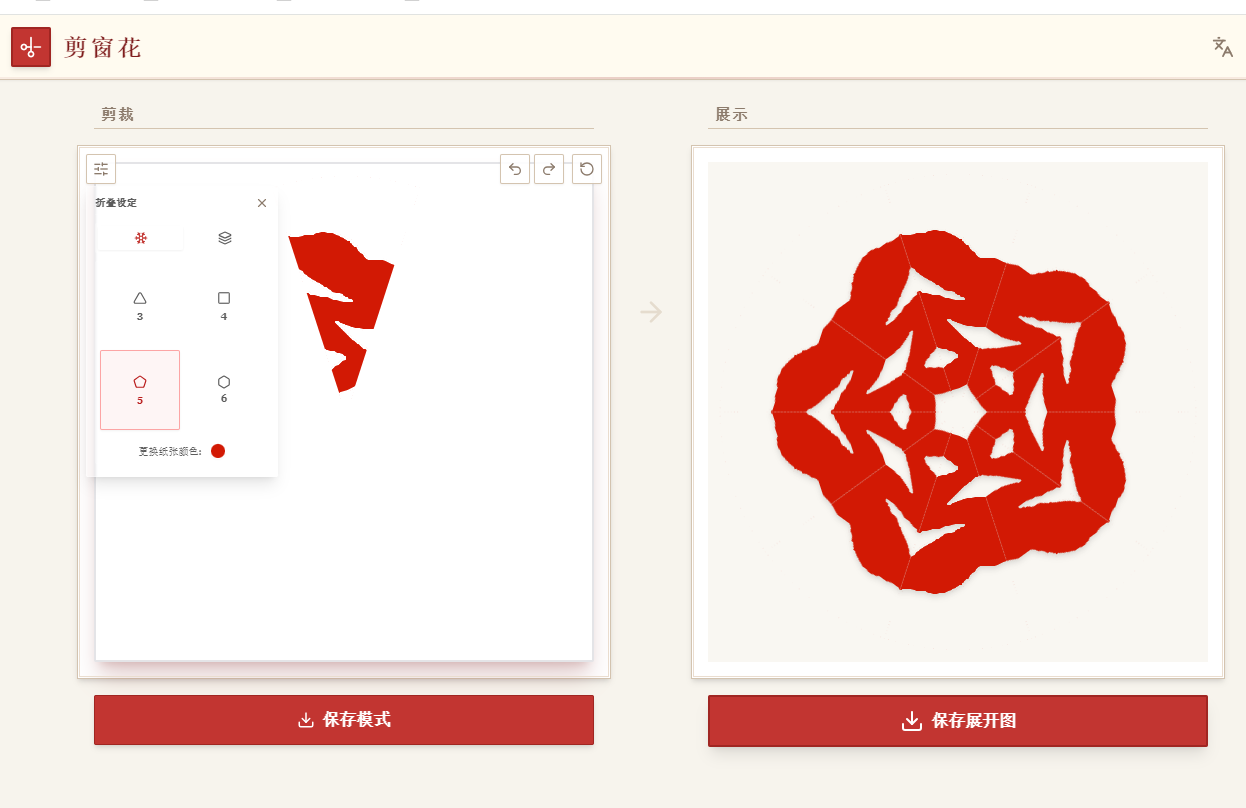
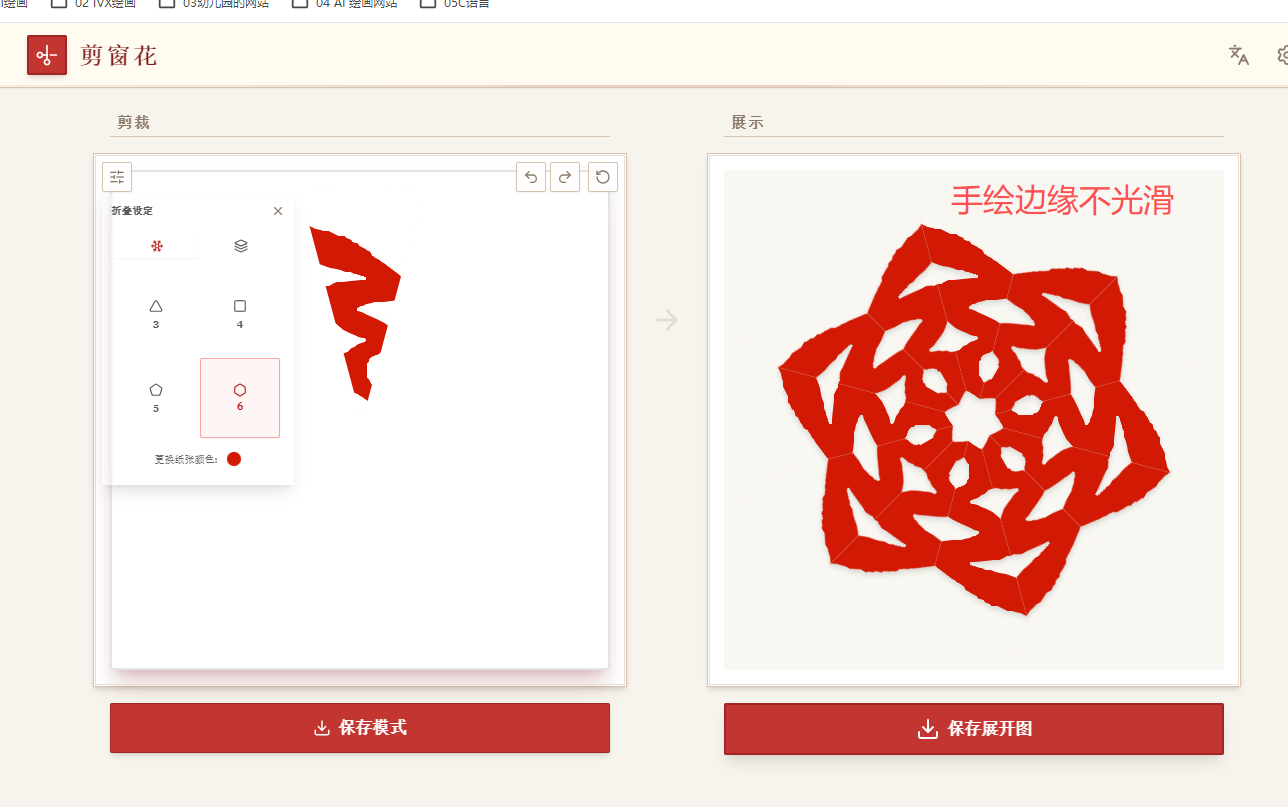
画的单片图和全部都很方便,唯一的问题是——鼠标画线,线条不光滑。
所以我还是用通义万相画“剪纸窗花”并做成可以裁剪的单片图案
豆包可以上传图片,更好理解修改意图,写关键词或设计适合的python代码
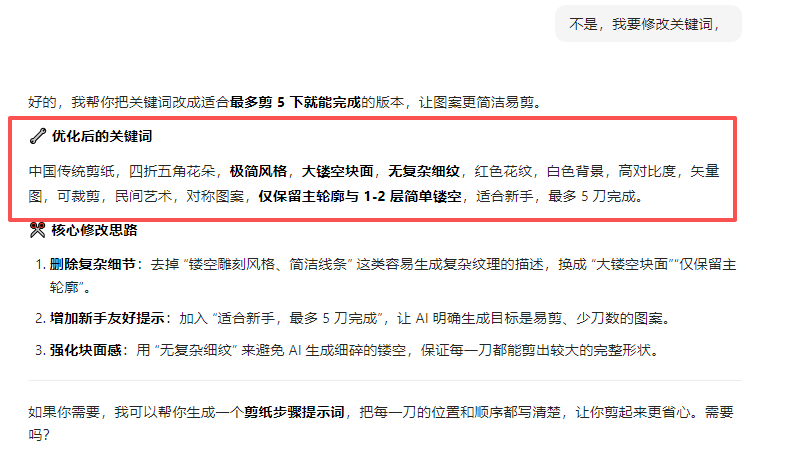
中国传统剪纸,四折五角花朵,极简风格,大镂空块面,无复杂细纹,红色花纹,白色背景,高对比度,矢量图,可裁剪,民间艺术,对称图案,仅保留主轮廓与 1-2 层简单镂空,适合新手,最多 5 刀完成。
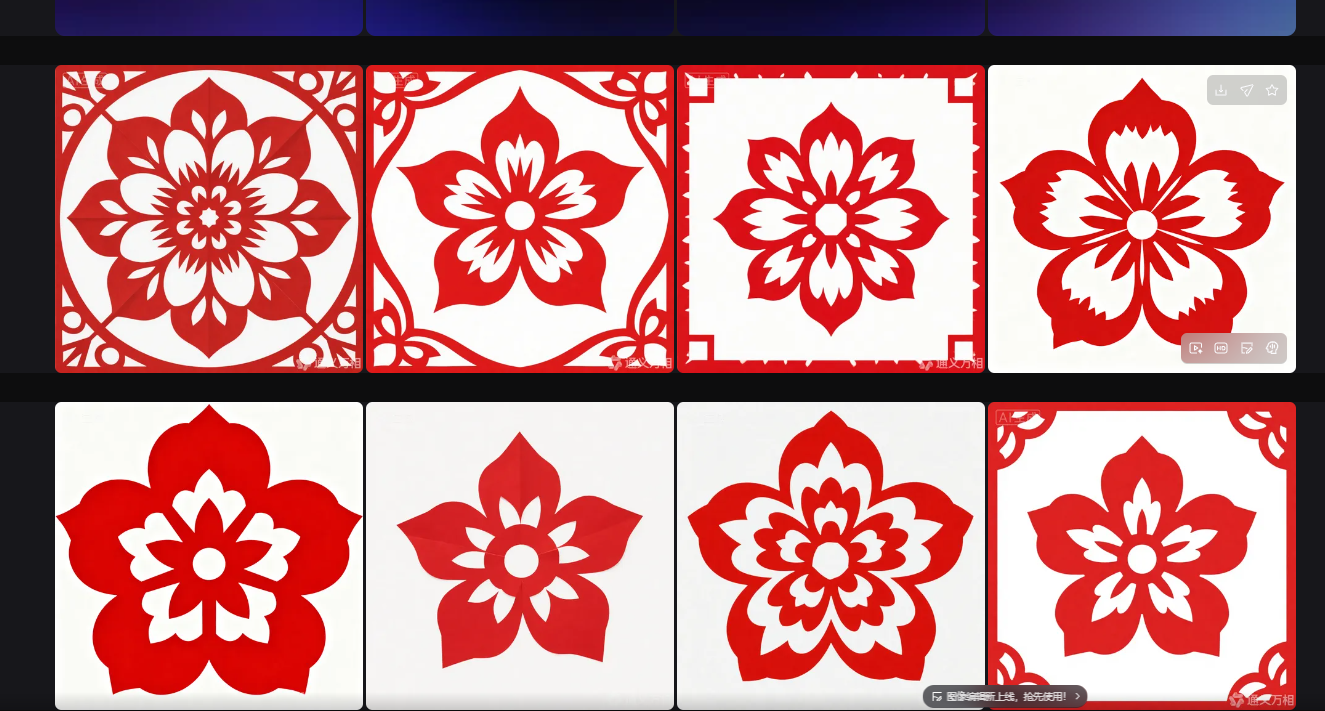
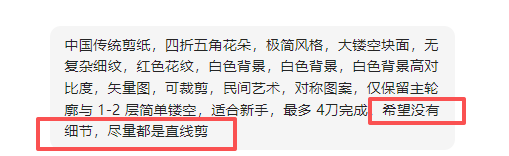
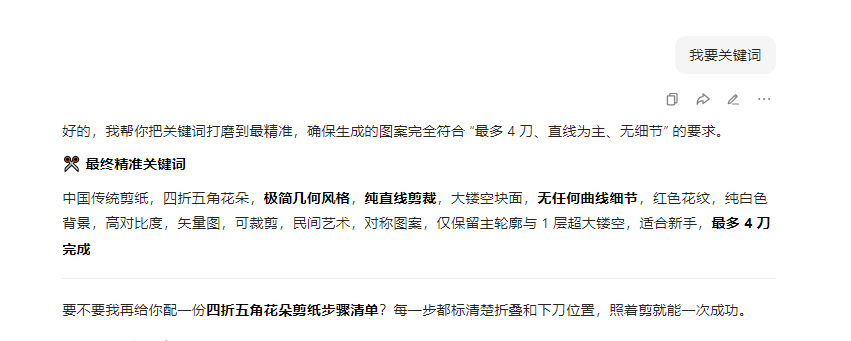 中国传统剪纸,四折五角花朵,极简几何风格,纯直线剪裁,大镂空块面,无任何曲线细节,红色花纹,纯白色背景,高对比度,矢量图,可裁剪,民间艺术,对称图案,仅保留主轮廓与 1 层超大镂空,适合新手,最多 4 刀完成
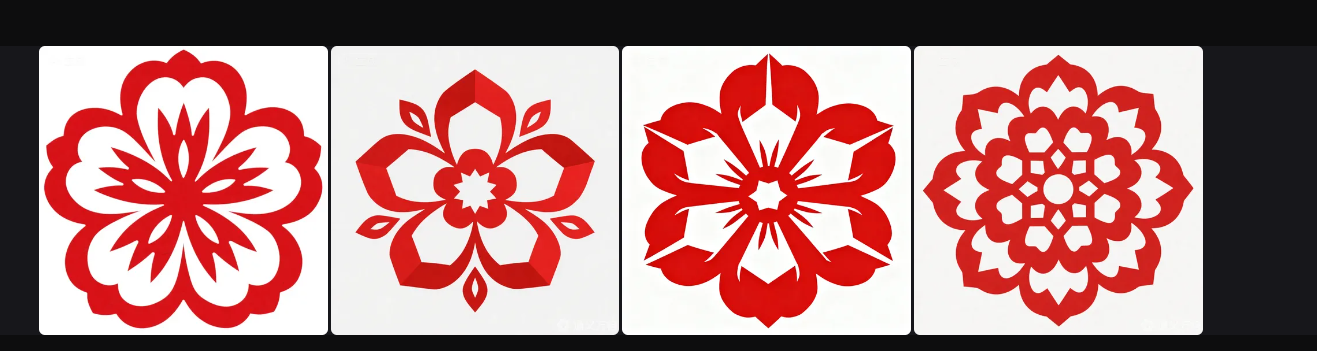
太复杂了
中国传统剪纸,四折四角花朵,四折四角花朵,四折四角花朵,极简风格,大镂空块面,无复杂细纹,红色花纹,白色背景,高对比度,矢量图,可裁剪,民间艺术,对称图案,仅保留主轮廓与 1-2 层简单镂空,适合新手,最多3刀完成。
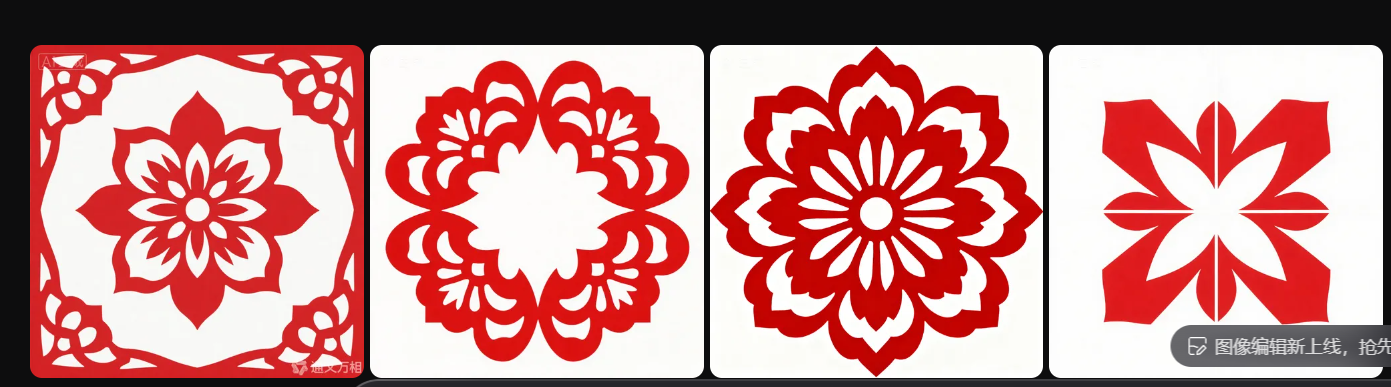
中国传统剪纸,三折三角花朵,极简风格,大镂空块面,无复杂细纹,红色花纹,白色背景,高对比度,矢量图,可裁剪,民间艺术,对称图案,仅保留主轮廓与 1-2 层简单镂空,适合新手,最多3刀完成。
中国传统剪纸,四折六角花朵,极简风格,大镂空块面,无复杂细纹,红色花纹,白色背景,高对比度,矢量图,可裁剪,民间艺术,对称图案,仅保留主轮廓与 1-2 层简单镂空,适合新手,最多3刀完成。

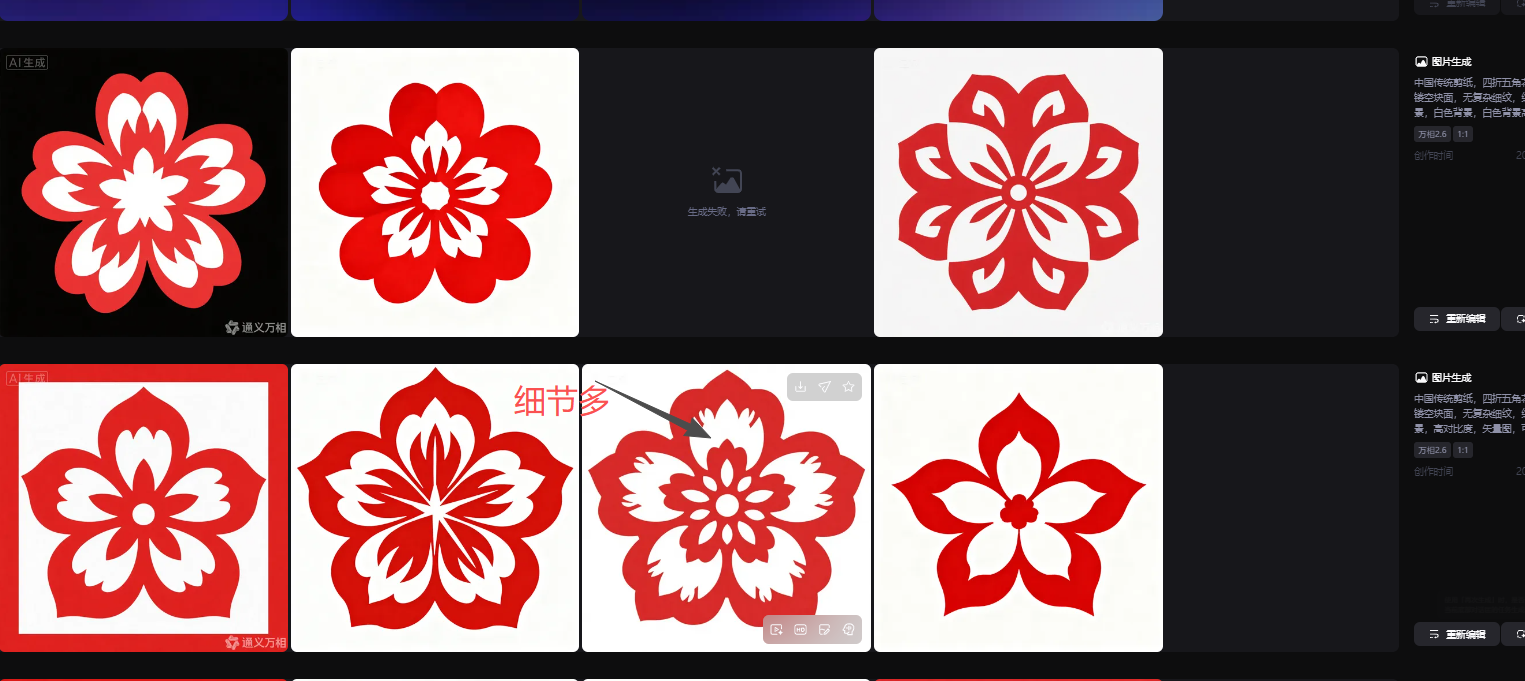
中国传统剪纸,四折五角花朵,极简风格,大镂空块面,无复杂细纹,红色花纹,白色背景,高对比度,矢量图,可裁剪,民间艺术,对称图案,仅保留主轮廓与 1-2 层简单镂空,适合新手,最多3刀完成。

不满意,因为花瓣的连接线太细了,裁剪易断,
但是我还是下载了,先测试并制作完整的修图代码流程

花瓣数量分类

3-8瓣花

先做五瓣花PS修图

一、五瓣花窗花流程设计


(一)“黑+蓝+透明”图案
\’\’\’
五瓣花,把通义万相设计的五瓣花窗户,做成黑白二值,黑蓝二色(黑白也行),
豆包、阿夏
20260117
\’\’\’
import os
from PIL import Image
import numpy as np
from collections import deque
# 定义全局蓝色(背景和原白色转换后的颜色)
BLUE_COLOR = (0, 100, 255)
BLACK_COLOR = (0, 0, 0)
def convert_to_binary(image_path, output_path, threshold=128):
\”\”\”
将图片转为纯黑白二值图(黑色0,0,0和白色255,255,255)
参数:
image_path: 输入图片路径
output_path: 输出图片路径
threshold: 二值化阈值(0-255)
\”\”\”
try:
img = Image.open(image_path)
# 转为灰度图
if img.mode != \’L\’:
img = img.convert(\’L\’)
# 二值化处理
binary_img = img.point(lambda x: 0 if x < threshold else 255, \’1\’)
binary_img = binary_img.convert(\’RGB\’) # 转回RGB模式(无透明通道)
# 保存结果
binary_img.save(output_path)
print(f\”黑白二值图生成: {os.path.basename(image_path)}\”)
return output_path
except Exception as e:
print(f\”处理图片 {image_path} 时出错: {str(e)}\”)
return None
def convert_binary_to_black_blue(binary_path, output_path):
\”\”\”
将黑白二值图转为黑蓝两色(背景和白色均为蓝色,无透明)
参数:
binary_path: 黑白二值图路径
output_path: 输出图片路径
\”\”\”
try:
# 打开黑白二值图
img = Image.open(binary_path).convert(\’RGB\’)
# 转换为numpy数组
data = np.array(img)
red, green, blue = data[:, :, 0], data[:, :, 1], data[:, :, 2]
# 创建黑色掩码(像素值为0,0,0)
black_mask = (red == 0) & (green == 0) & (blue == 0)
# 创建白色掩码(像素值为255,255,255)
white_mask = (red == 255) & (green == 255) & (blue == 255)
# 创建输出数据(RGB格式,无透明通道)
output_data = np.zeros((data.shape[0], data.shape[1], 3), dtype=np.uint8)
# 黑色部分保持黑色 (0, 0, 0)
output_data[black_mask] = BLACK_COLOR
# 白色部分转为蓝色 (0, 100, 255)
output_data[white_mask] = BLUE_COLOR
# 其他部分(理论上不应该有)也填充为蓝色
other_mask = ~(black_mask | white_mask)
output_data[other_mask] = BLUE_COLOR
# 创建并保存结果
result = Image.fromarray(output_data, \’RGB\’)
result.save(output_path, \’PNG\’)
print(f\”黑蓝转换完成: {os.path.basename(binary_path)}\”)
return output_path
except Exception as e:
print(f\”处理图片 {binary_path} 时出错: {str(e)}\”)
return None
def flood_fill_edges_to_blue(image_path, output_path):
\”\”\”
使用洪水填充算法标记四边到黑色轮廓之间的区域(保持蓝色,无透明转换)
参数:
image_path: 输入图片路径(RGB格式,已包含黑色和蓝色)
output_path: 输出图片路径
\”\”\”
try:
# 打开图片
img = Image.open(image_path).convert(\’RGB\’)
data = np.array(img)
# 获取图片尺寸
height, width = data.shape[:2]
# 定义蓝色RGB值 (0, 100, 255)
blue_color_np = np.array(BLUE_COLOR)
# 定义黑色RGB值 (0, 0, 0)
black_color_np = np.array(BLACK_COLOR)
# 创建访问标记数组
visited = np.zeros((height, width), dtype=bool)
# 从图片四边开始洪水填充
edge_points = []
# 上边
for x in range(width):
edge_points.append((0, x))
# 下边
for x in range(width):
edge_points.append((height-1, x))
# 左边
for y in range(height):
edge_points.append((y, 0))
# 右边
for y in range(height):
edge_points.append((y, width-1))
# 洪水填充队列
queue = deque()
# 初始化队列,从边缘的蓝色像素开始(仅标记,不修改颜色)
for y, x in edge_points:
if np.array_equal(data[y, x], blue_color_np):
queue.append((y, x))
visited[y, x] = True
# 定义4个方向(上下左右)
directions = [(-1, 0), (1, 0), (0, -1), (0, 1)]
# 执行洪水填充(仅标记边缘蓝色区域,保持颜色为蓝色)
while queue:
y, x = queue.popleft()
# 保持蓝色不变,仅标记访问过
data[y, x] = BLUE_COLOR
# 检查四个方向
for dy, dx in directions:
ny, nx = y + dy, x + dx
# 检查边界
if 0 <= ny < height and 0 <= nx < width:
# 如果未访问且是蓝色像素
if not visited[ny, nx] and np.array_equal(data[ny, nx], blue_color_np):
visited[ny, nx] = True
queue.append((ny, nx))
# 保存结果(所有区域均为黑/蓝,无透明)
result = Image.fromarray(data, \’RGB\’)
result.save(output_path, \’PNG\’)
print(f\”四边区域标记完成(保持蓝色): {os.path.basename(image_path)}\”)
return output_path
except Exception as e:
print(f\”洪水填充处理图片 {image_path} 时出错: {str(e)}\”)
return None
def crop_black_edges(image, margin=0):
\”\”\”
基于黑色轮廓裁剪图片,裁剪后空白区域填充蓝色,保留指定间距
参数:
image: PIL Image对象(RGB模式)
margin: 要保留的间距(像素)
返回:
裁剪后的PIL Image对象
\”\”\”
# 转换为numpy数组
data = np.array(image)
# 定义黑色像素掩码
black_mask = np.all(data == np.array(BLACK_COLOR), axis=2)
# 找到黑色像素的位置
black_pixels = np.where(black_mask)
if len(black_pixels[0]) == 0:
# 如果无黑色像素,返回原图(填充蓝色背景)
blue_bg = Image.new(\’RGB\’, image.size, BLUE_COLOR)
blue_bg.paste(image, (0, 0))
return blue_bg
# 获取黑色区域的边界
top = np.min(black_pixels[0])
bottom = np.max(black_pixels[0])
left = np.min(black_pixels[1])
right = np.max(black_pixels[1])
# 添加间距
top = max(0, top – margin)
bottom = min(image.height – 1, bottom + margin)
left = max(0, left – margin)
right = min(image.width – 1, right + margin)
# 裁剪图片
cropped_image = image.crop((left, top, right + 1, bottom + 1))
return cropped_image
def crop_image_keep_blue(image_path, output_path, margin=0):
\”\”\”
裁剪黑色轮廓边缘并保存(空白区域为蓝色,无透明)
参数:
image_path: 输入图片路径(RGB格式,黑蓝两色)
output_path: 输出图片路径
margin: 裁剪后保留的间距(像素)
\”\”\”
try:
# 打开图片
with Image.open(image_path) as img:
if img.mode != \’RGB\’:
img = img.convert(\’RGB\’)
# 裁剪黑色轮廓边缘并保留间距
cropped_result = crop_black_edges(img, margin)
# 保存结果
cropped_result.save(output_path, \’PNG\’)
print(f\”图片裁剪完成: {os.path.basename(image_path)}\”)
return True
except Exception as e:
print(f\”处理图片 {image_path} 时出错: {str(e)}\”)
return False
def resize_to_uniform_size(image_path, output_path, target_size=(200, 200)):
\”\”\”
将图片调整为统一大小,保持宽高比,空白处填充蓝色(无透明)
参数:
image_path: 输入图片路径
output_path: 输出图片路径
target_size: 目标尺寸 (宽, 高)
\”\”\”
with Image.open(image_path) as img:
if img.mode != \’RGB\’:
img = img.convert(\’RGB\’)
# 创建新的蓝色背景图片(替代原透明背景)
new_img = Image.new(\’RGB\’, target_size, BLUE_COLOR)
# 计算缩放比例,保持宽高比
img_ratio = img.width / img.height
target_ratio = target_size[0] / target_size[1]
if img_ratio > target_ratio:
# 图片较宽,按宽度缩放
new_width = target_size[0]
new_height = int(target_size[0] / img_ratio)
else:
# 图片较高,按高度缩放
new_height = target_size[1]
new_width = int(target_size[1] * img_ratio)
# 缩放图片
resized_img = img.resize((new_width, new_height), Image.Resampling.LANCZOS)
# 计算居中位置
x = (target_size[0] – new_width) // 2
y = (target_size[1] – new_height) // 2
# 将缩放后的图片粘贴到蓝色背景上
new_img.paste(resized_img, (x, y))
# 保存结果
new_img.save(output_path, \’PNG\’)
def resize_to_exact_size(image_path, output_path, target_size=(200, 200)):
\”\”\”
将图片拉伸到精确的目标尺寸,背景为蓝色
参数:
image_path: 输入图片路径
output_path: 输出图片路径
target_size: 目标尺寸 (宽, 高)
\”\”\”
with Image.open(image_path) as img:
if img.mode != \’RGB\’:
img = img.convert(\’RGB\’)
# 直接拉伸到目标尺寸
resized_img = img.resize(target_size, Image.Resampling.LANCZOS)
# 保存结果(拉伸后仍为黑蓝两色,无透明)
resized_img.save(output_path, \’PNG\’)
def process_single_image_keep_ratio(image_path, output_path, threshold=128, margin=0, target_size=(200, 200)):
\”\”\”
处理单张图片:黑白二值化 → 黑蓝转换 → 四边蓝色标记 → 裁剪 → 保持比例统一尺寸(背景蓝色)
参数:
image_path: 输入图片路径
output_path: 输出图片路径
threshold: 二值化阈值
margin: 裁剪边距
target_size: 目标尺寸
\”\”\”
try:
# 步骤1: 黑白二值化(临时文件)
temp_binary_path = output_path.replace(\’.png\’, \’_binary_temp.png\’)
binary_path = convert_to_binary(image_path, temp_binary_path, threshold)
if not binary_path:
return False
# 步骤2: 黑蓝转换(临时文件)
temp_blueblack_path = output_path.replace(\’.png\’, \’_blueblack_temp.png\’)
blueblack_path = convert_binary_to_black_blue(binary_path, temp_blueblack_path)
if not blueblack_path:
return False
# 步骤3: 四边蓝色区域标记(保持蓝色,临时文件)
temp_filled_path = output_path.replace(\’.png\’, \’_filled_temp.png\’)
filled_path = flood_fill_edges_to_blue(blueblack_path, temp_filled_path)
if not filled_path:
return False
# 步骤4: 裁剪黑色轮廓边缘(临时文件)
temp_cropped_path = output_path.replace(\’.png\’, \’_cropped_temp.png\’)
crop_image_keep_blue(filled_path, temp_cropped_path, margin)
# 步骤5: 保持比例统一尺寸(蓝色背景)
resize_to_uniform_size(temp_cropped_path, output_path, target_size)
# 清理临时文件
for temp_path in [temp_binary_path, temp_blueblack_path, temp_filled_path, temp_cropped_path]:
if os.path.exists(temp_path):
os.remove(temp_path)
return True
except Exception as e:
print(f\”处理图片 {image_path} 时出错: {str(e)}\”)
# 清理临时文件
temp_files = [\’temp_binary_path\’, \’temp_blueblack_path\’, \’temp_filled_path\’, \’temp_cropped_path\’]
for temp_var in temp_files:
if temp_var in locals() and os.path.exists(eval(temp_var)):
os.remove(eval(temp_var))
return False
def process_single_image_stretch(image_path, output_path, threshold=128, margin=0, target_size=(200, 200)):
\”\”\”
处理单张图片:黑白二值化 → 黑蓝转换 → 四边蓝色标记 → 裁剪 → 精确拉伸到目标尺寸(背景蓝色)
参数:
image_path: 输入图片路径
output_path: 输出图片路径
threshold: 二值化阈值
margin: 裁剪边距
target_size: 目标尺寸
\”\”\”
try:
# 步骤1: 黑白二值化(临时文件)
temp_binary_path = output_path.replace(\’.png\’, \’_binary_temp.png\’)
binary_path = convert_to_binary(image_path, temp_binary_path, threshold)
if not binary_path:
return False
# 步骤2: 黑蓝转换(临时文件)
temp_blueblack_path = output_path.replace(\’.png\’, \’_blueblack_temp.png\’)
blueblack_path = convert_binary_to_black_blue(binary_path, temp_blueblack_path)
if not blueblack_path:
return False
# 步骤3: 四边蓝色区域标记(保持蓝色,临时文件)
temp_filled_path = output_path.replace(\’.png\’, \’_filled_temp.png\’)
filled_path = flood_fill_edges_to_blue(blueblack_path, temp_filled_path)
if not filled_path:
return False
# 步骤4: 裁剪黑色轮廓边缘(临时文件)
temp_cropped_path = output_path.replace(\’.png\’, \’_cropped_temp.png\’)
crop_image_keep_blue(filled_path, temp_cropped_path, margin)
# 步骤5: 精确拉伸到目标尺寸
resize_to_exact_size(temp_cropped_path, output_path, target_size)
# 清理临时文件
for temp_path in [temp_binary_path, temp_blueblack_path, temp_filled_path, temp_cropped_path]:
if os.path.exists(temp_path):
os.remove(temp_path)
return True
except Exception as e:
print(f\”处理图片 {image_path} 时出错: {str(e)}\”)
# 清理临时文件
temp_files = [\’temp_binary_path\’, \’temp_blueblack_path\’, \’temp_filled_path\’, \’temp_cropped_path\’]
for temp_var in temp_files:
if temp_var in locals() and os.path.exists(eval(temp_var)):
os.remove(eval(temp_var))
return False
def batch_process_images(input_dir, output_dir_keep_ratio, output_dir_stretch,
threshold=128, margin=0, target_size=(200, 200)):
\”\”\”
批量处理文件夹中的所有图片,生成两个版本的输出(背景均为蓝色)
参数:
input_dir: 输入文件夹路径
output_dir_keep_ratio: 保持比例的输出文件夹路径
output_dir_stretch: 拉伸撑满的输出文件夹路径
threshold: 二值化阈值
margin: 裁剪边距
target_size: 目标尺寸
\”\”\”
# 创建输出文件夹(如果不存在)
os.makedirs(output_dir_keep_ratio, exist_ok=True)
os.makedirs(output_dir_stretch, exist_ok=True)
# 支持的图片格式
supported_formats = (\’.png\’, \’.jpg\’, \’.jpeg\’, \’.gif\’, \’.bmp\’, \’.tiff\’, \’.webp\’)
# 遍历输入文件夹中的所有文件
processed_count = 0
for filename in os.listdir(input_dir):
# 检查文件是否为支持的图片格式
if filename.lower().endswith(supported_formats):
input_path = os.path.join(input_dir, filename)
# 构建输出文件路径,统一保存为PNG格式
base_name = os.path.splitext(filename)[0]
output_filename = f\”{base_name}.png\”
# 保持比例版本
output_path_keep_ratio = os.path.join(output_dir_keep_ratio, output_filename)
# 拉伸撑满版本
output_path_stretch = os.path.join(output_dir_stretch, output_filename)
# 处理保持比例版本
success_keep_ratio = process_single_image_keep_ratio(
input_path, output_path_keep_ratio,
threshold, margin, target_size
)
# 处理拉伸撑满版本
success_stretch = process_single_image_stretch(
input_path, output_path_stretch,
threshold, margin, target_size
)
if success_keep_ratio and success_stretch:
print(f\”✓ 已处理: {filename}\”)
processed_count += 1
else:
print(f\”✗ 处理失败或部分失败: {filename}\”)
print(f\”\\n批量处理完成!成功处理 {processed_count} 张图片,生成两个版本\”)
print(f\”• 保持比例版本: {output_dir_keep_ratio}\”)
print(f\”• 拉伸撑满版本: {output_dir_stretch}\”)
def main():
\”\”\”
主函数,设置路径和参数并执行批量处理(背景均为蓝色)
\”\”\”
# 设置路径
path = r\’D:\\20260116窗花五瓣花\\5瓣花\’
a = \’00原图\’ # 输入文件夹名称
input_directory = os.path.join(path, a)
# 输出文件夹 – 保持比例版本
output_directory_keep_ratio = os.path.join(path, f\”01{a[2:]}_黑白二值_黑蓝填充_边缘蓝色_原比例\”)
# 输出文件夹 – 拉伸撑满版本
output_directory_stretch = os.path.join(path, f\”01{a[2:]}_黑白二值_黑蓝填充_边缘蓝色_拉伸\”)
# 检查输入文件夹是否存在
if not os.path.exists(input_directory):
print(f\”错误: 文件夹 \'{input_directory}\’ 不存在\”)
return
print(\”=\” * 70)
print(\”斑点狗图片处理程序(背景蓝色版)\”)
print(\”功能: 黑白二值化 → 黑蓝转换 → 四边蓝色保留 → 切边 → 统一大小\”)
print(f\”输入文件夹: {input_directory}\”)
print(\”=\” * 70)
# 执行批量处理
batch_process_images(
input_directory,
output_directory_keep_ratio,
output_directory_stretch,
threshold=128, # 二值化阈值(0-255)
margin=0, # 裁剪边距
# target_size=(1360, 1360) # 目标尺寸(15CM手工纸减去两边的0.7)
target_size=(1500, 1500) # 目标尺寸(15CM手工纸减去两边的0.7)
)
print(\”\\n处理完成!\”)
print(\”说明:\”)
print(\”1. 输出图片无透明通道,背景和空白区域均为蓝色 (0, 100, 255)\”)
print(\”2. 保持比例版本:空白区域填充蓝色,图片居中显示\”)
print(\”3. 拉伸撑满版本:图片直接拉伸至目标尺寸,黑蓝两色完整覆盖画布\”)
print(\”4. 处理流程:黑白二值化 → 白色变蓝色 → 四边区域保留蓝色 → 切边 → 统一大小\”)
if __name__ == \”__main__\”:
main()
两款图片文件夹

图案拉宽到1500

图案不变,背景拉宽到1500

(二)图案填充斜线和白色填充黑色描边

\’\’\’
对“五瓣花黑蓝拉伸版本图片进行处理,生成线描图:
2. 蓝色部分:黑色1磅轮廓线,填充白色,上45度斜线黑色1磅,间距5磅
2. 黑色部分:黑色1磅轮廓线,填充白色
豆包,阿夏,DeepSeek
20251117
\’\’\’
import os
from PIL import Image, ImageDraw
import numpy as np
import math
def create_line_drawing(image_path, output_path, line_spacing=5, line_thickness=2):
\”\”\”
创建线描图
参数:
image_path: 输入图片路径(RGBA格式,包含黑色和蓝色)
output_path: 输出图片路径
line_spacing: 斜线间距(磅)
line_thickness: 线条粗细(磅)
\”\”\”
try:
# 打开图片
img = Image.open(image_path).convert(\’RGBA\’)
width, height = img.size
# 创建新的白色背景图片(暂时用白色,最后会转为透明)
result_img = Image.new(\’RGBA\’, (width, height), (255, 255, 255, 255))
draw = ImageDraw.Draw(result_img)
# 转换为numpy数组进行分析
data = np.array(img)
# 定义颜色
black_color = np.array([0, 0, 0, 255])
blue_color = np.array([0, 100, 255, 255])
# 创建颜色掩码
black_mask = np.all(data == black_color, axis=2)
blue_mask = np.all(data == blue_color, axis=2)
# 第一步:处理黑色部