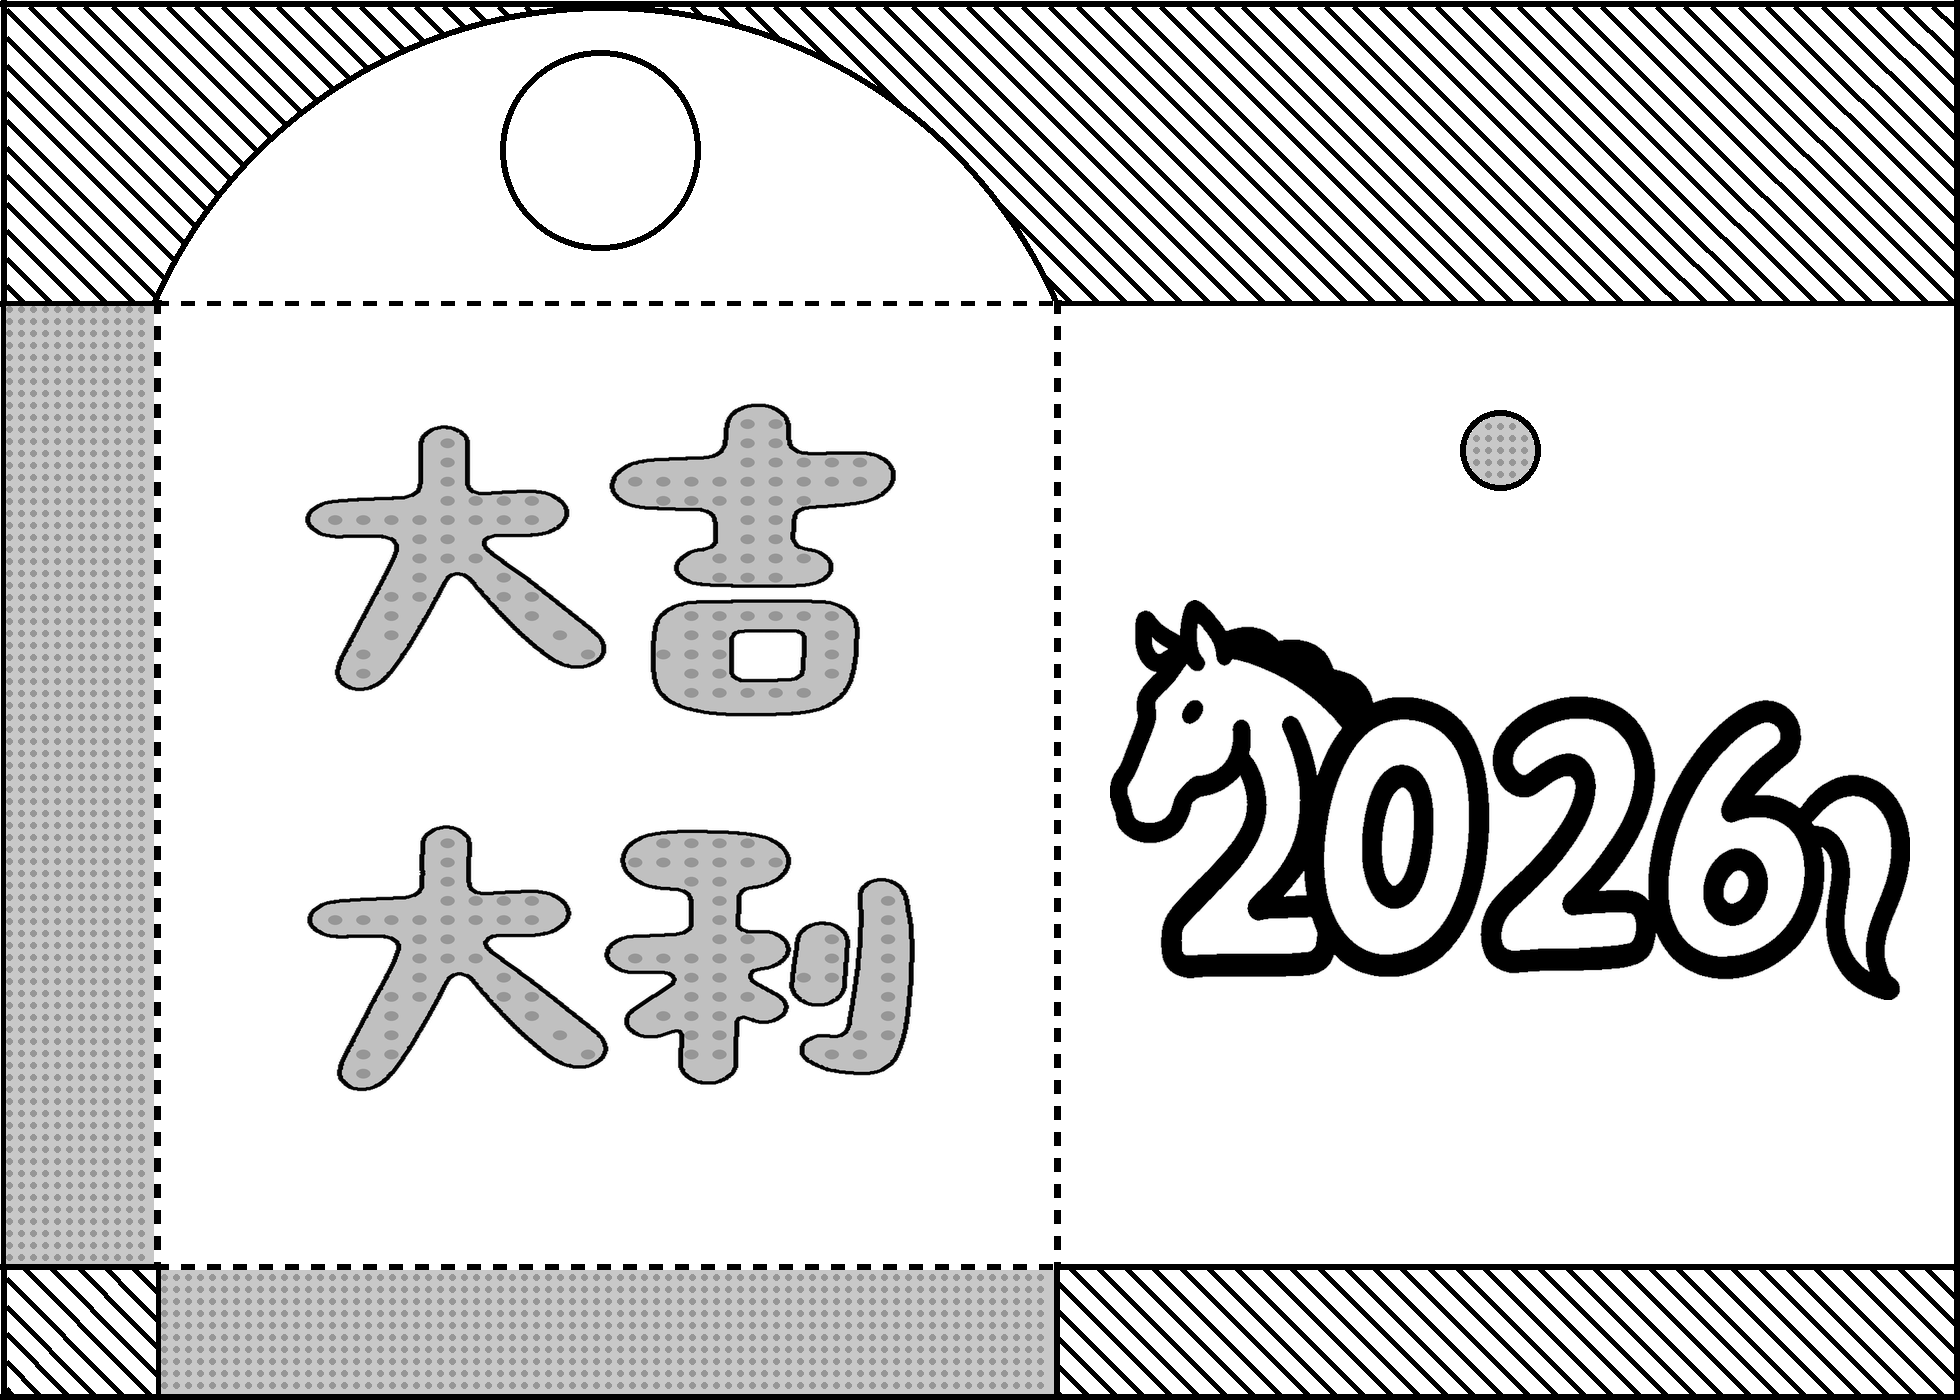
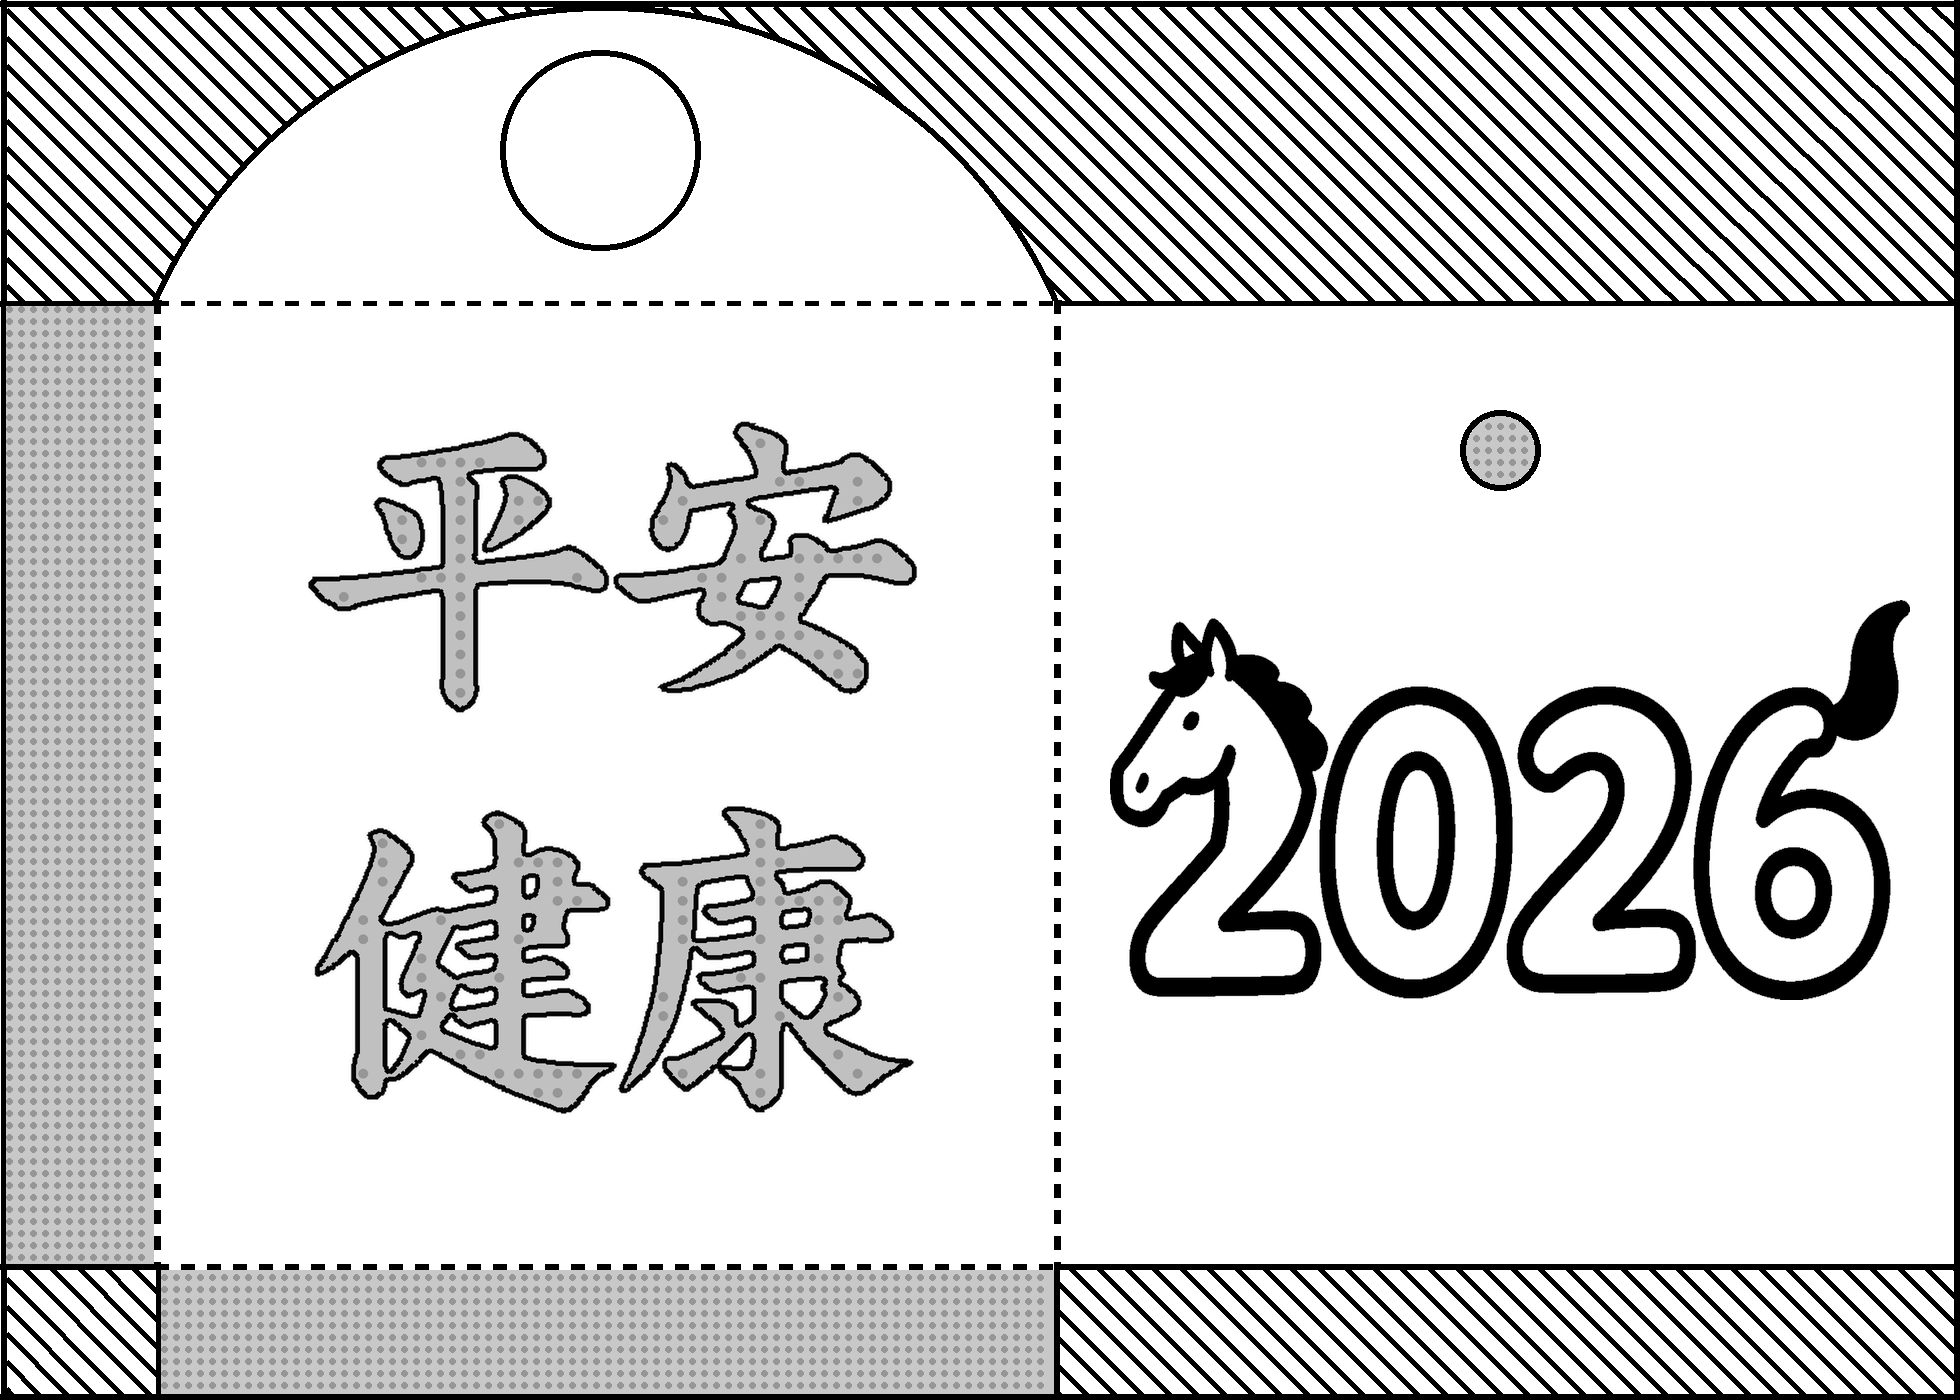
背景需求
【教学类-89-02】20251229新年篇11—— 马年红包(Python图片) https://mp.csdn.net/mp_blog/creation/editor/156399469
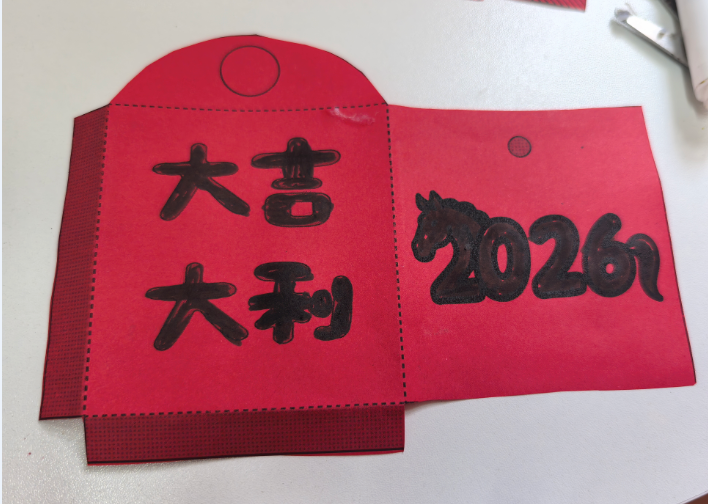
感觉红包有大量的空白,我想都填满
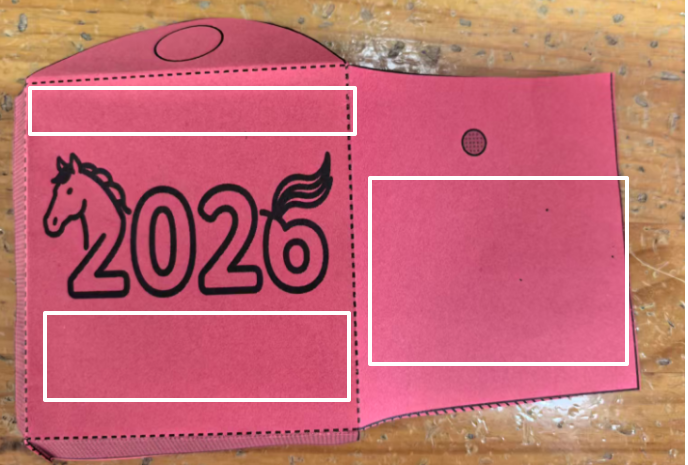
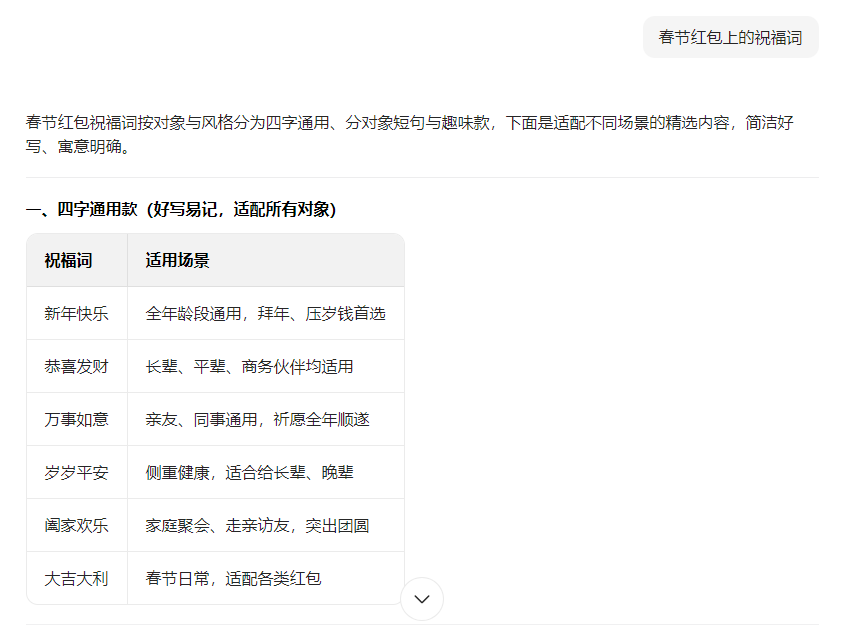
网络上红包是正面汉字,反面空白

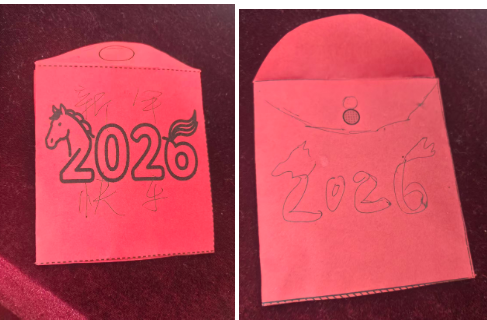
我想继续修改:在红包正面写4个祝福字,反面贴马头2026.
一、红包汉字
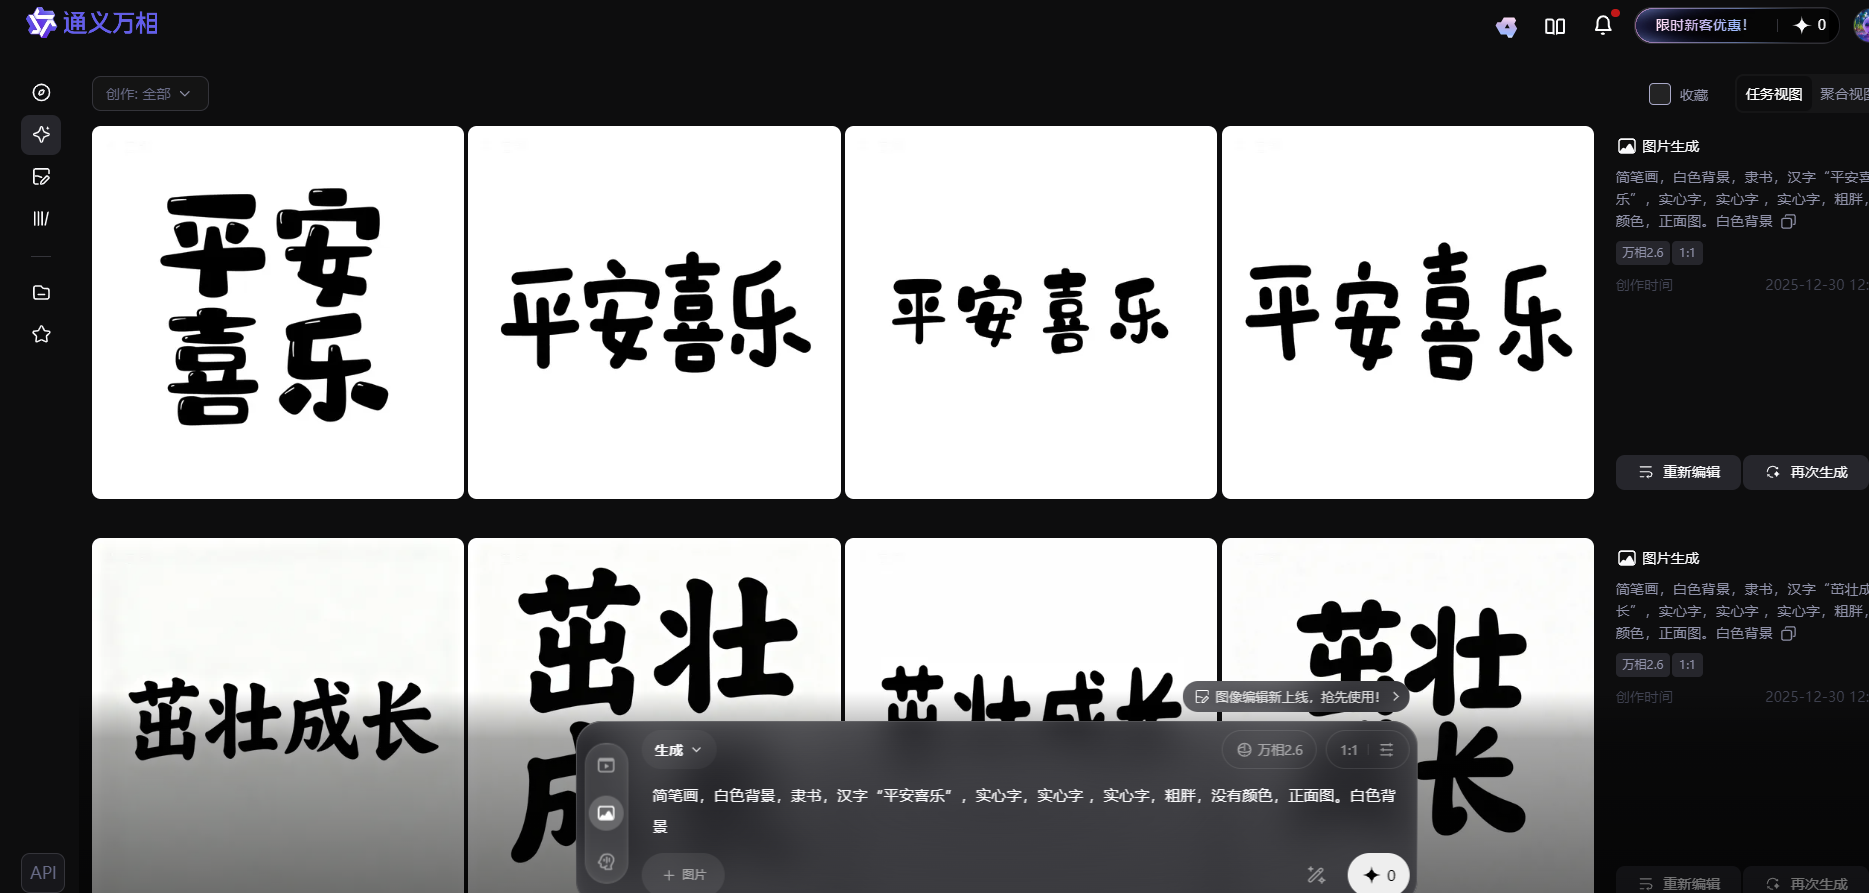
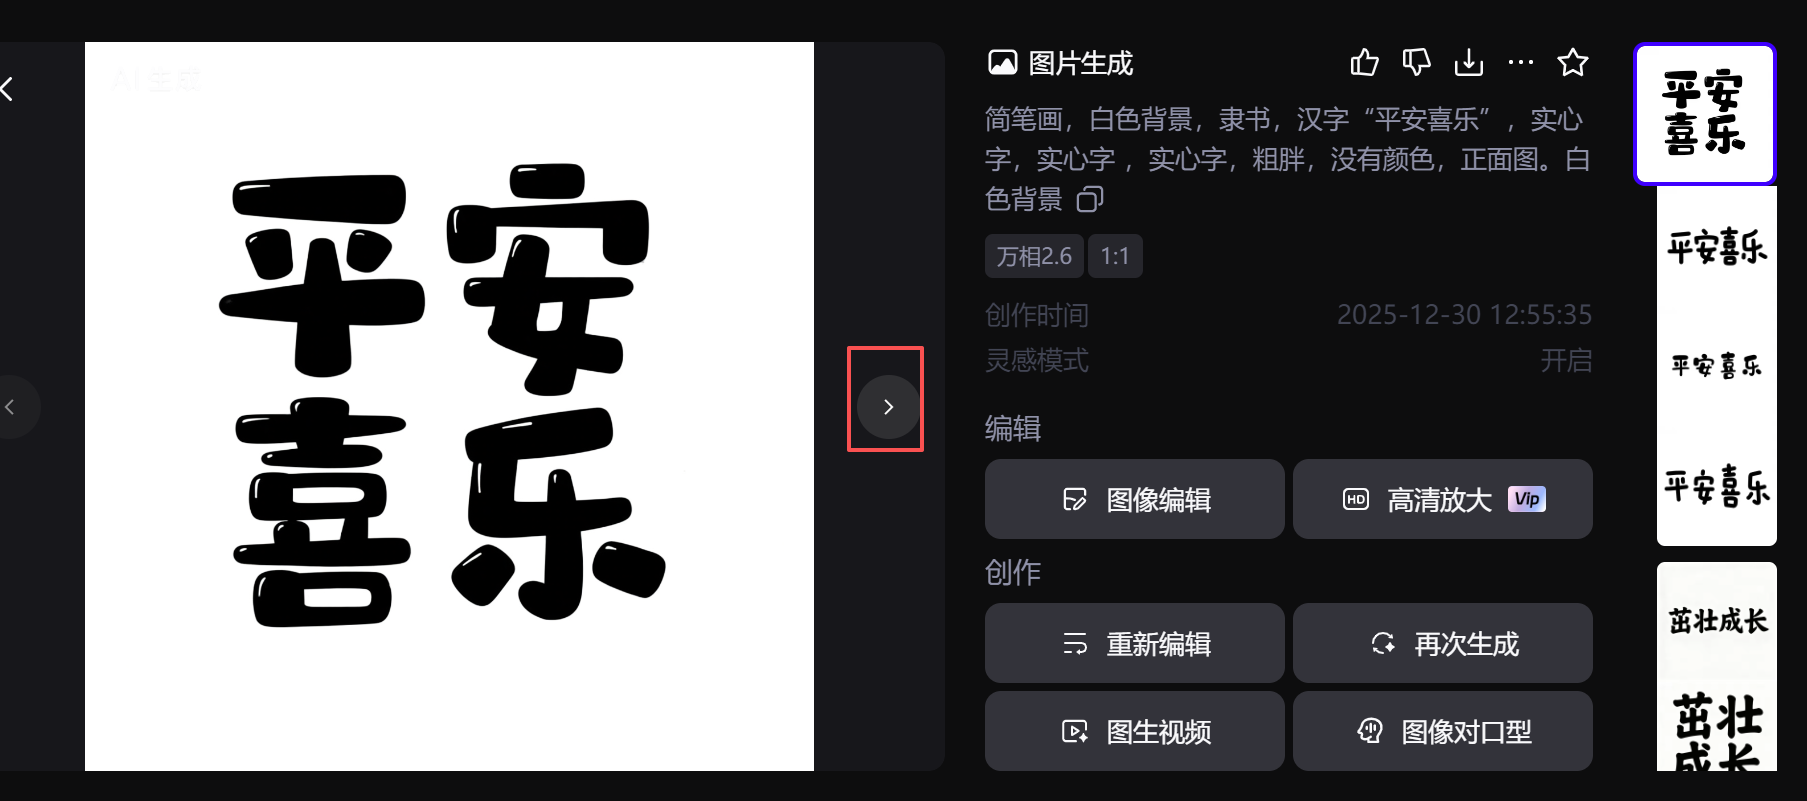
关键词:简笔画,白色背景,隶书,汉字“平安喜乐”,实心字,实心字 ,实心字,粗胖,没有颜色,正面图。白色背景
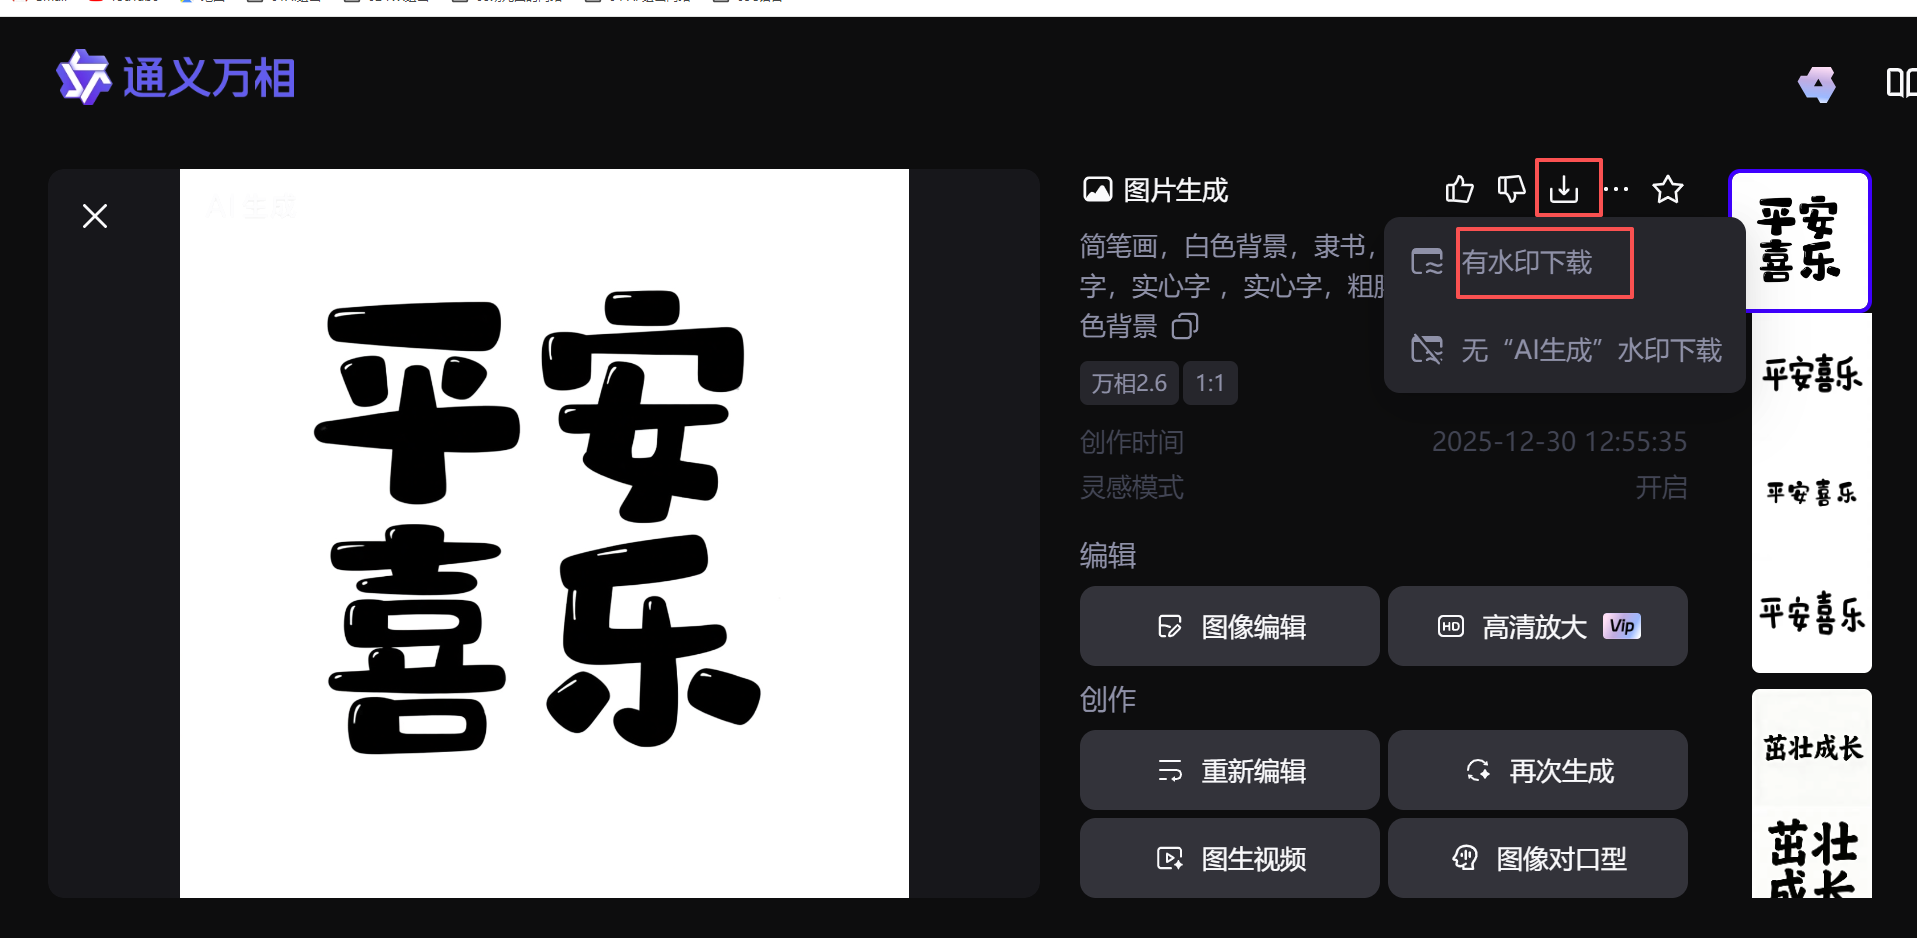
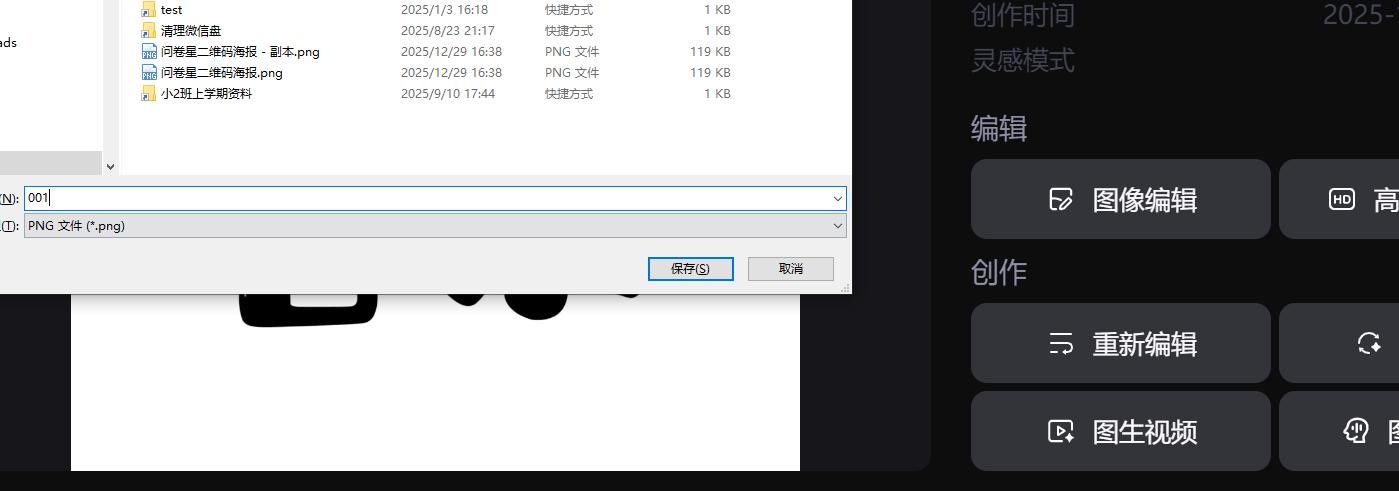
下载图片
\’\’\’
20251219通义万相2.6下载通义照片 copy
Python下载通义万相的图片(存在问题,不能停止,只能默认下载300张,删除多余)
星火讯飞,阿夏
谷歌页面打开通义万相,页面放大到200%
20251003
\’\’\’
import os,time
import pyautogui
import pyperclip
import re
import win32api
import win32con
import sys
import ctypes
import time
name=\’20251229红包祝福字\’
# 先打开微信
num=1
zs=40
# 实际157D:\\20251211实心福字\\00原图\\061
def minimize_active_window():
try:
if sys.platform == \’win32\’:
# 获取当前活动窗口的句柄
hwnd = ctypes.windll.user32.GetForegroundWindow()
# 最小化窗口
ctypes.windll.user32.ShowWindow(hwnd, 6) # 6 对应 SW_MINIMIZE
return True
else:
print(\”此功能仅支持Windows系统\”)
return False
except Exception as e:
print(f\”最小化窗口时出错: {e}\”)
return False
print(\”程序运行中…\”)
time.sleep(2) # 等待2秒,让你有时间切换到VS Code窗口
# 尝试最小化活动窗口
if minimize_active_window():
print(\”窗口已最小化\”)
else:
print(\”无法最小化窗口\”)
# 读取文件名称和路径
path=fr\’D:\\{name}\\00原图\’
os.makedirs(path,exist_ok=True)
for i in range(num,num+zs):
# 下载按钮
pyautogui.moveTo(1569, 302)
pyautogui.click()
time.sleep(2)
# 点击有,无水印要包月
pyautogui.moveTo(1573, 373)
pyautogui.click()
time.sleep(2)
# 输入图片名称,复制中文内容到剪贴板
name=path+fr\’\\{i:03}\’
pyperclip.copy(name)
# 黏贴图片地址
pyautogui.hotkey(\’ctrl\’, \’v\’)
time.sleep(2)
pyautogui.press(\’enter\’)
# # 图片显示需要时间
time.sleep(2)
# 模拟按键“右箭头”
pyautogui.moveTo (989, 650)
time.sleep(2)
pyautogui.moveTo (989, 641)
pyautogui.click()
time.sleep(2)
# \’left\’(左箭头)
# \’up\’(上箭头)
# \’down\’(下箭头)
import sys
import ctypes
import time
def minimize_active_window():
try:
if sys.platform == \’win32\’:
# 获取当前活动窗口的句柄
hwnd = ctypes.windll.user32.GetForegroundWindow()
# 最小化窗口
ctypes.windll.user32.ShowWindow(hwnd, 6) # 6 对应 SW_MINIMIZE
return True
else:
print(\”此功能仅支持Windows系统\”)
return False
except Exception as e:
print(f\”最小化窗口时出错: {e}\”)
return False
print(\”程序运行中…\”)
time.sleep(2) # 等待2秒,让你有时间切换到VS Code窗口
# 尝试最小化活动窗口
if minimize_active_window():
print(\”窗口已最小化\”)
else:
print(\”无法最小化窗口\”)
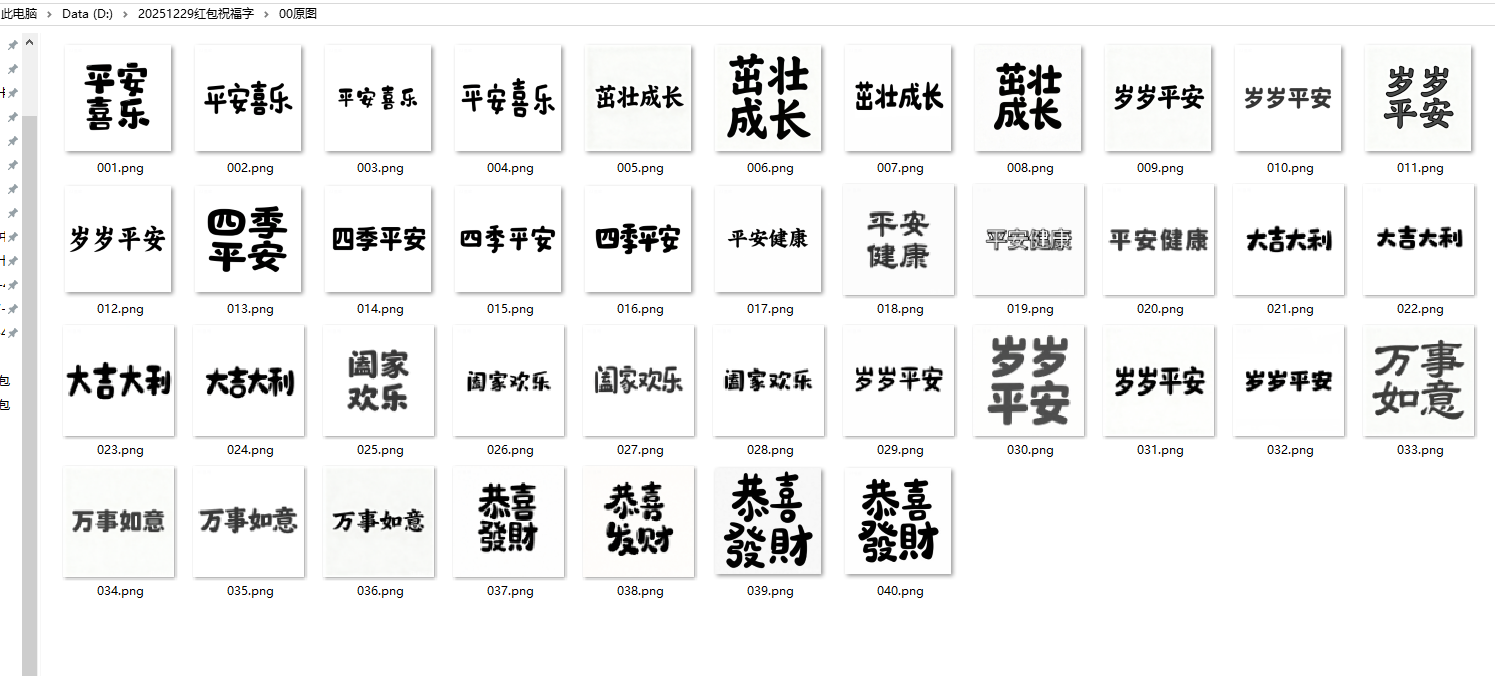
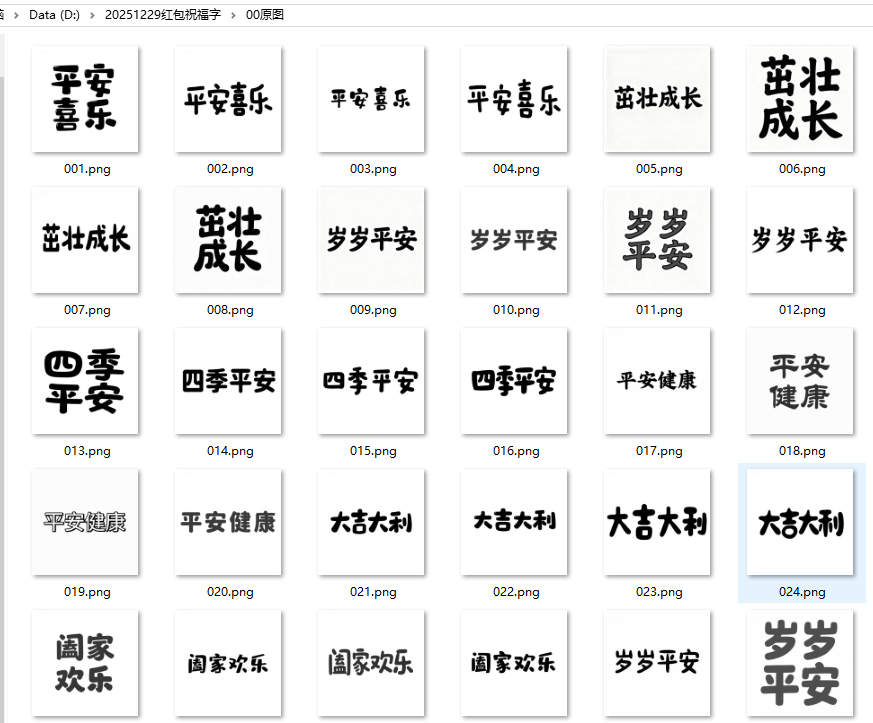
所有图片(有2*2、有1*4)
代码过程
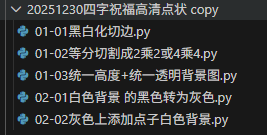
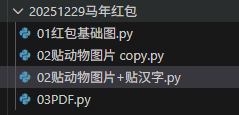
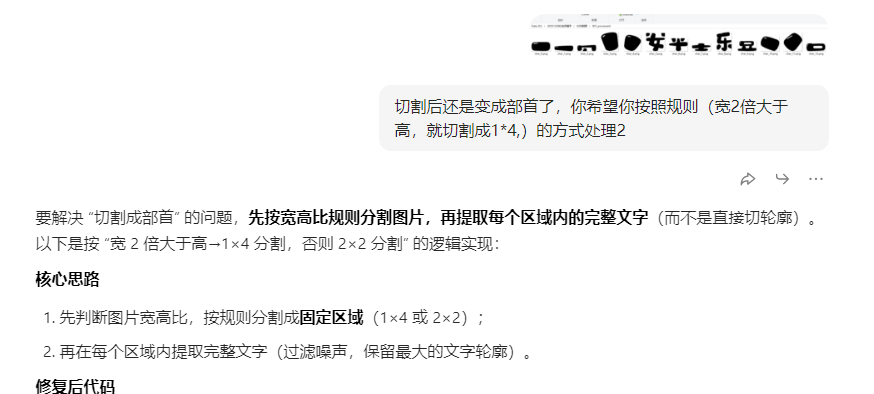
我用图像识别边缘切割的方式,发现汉字都切成部首了

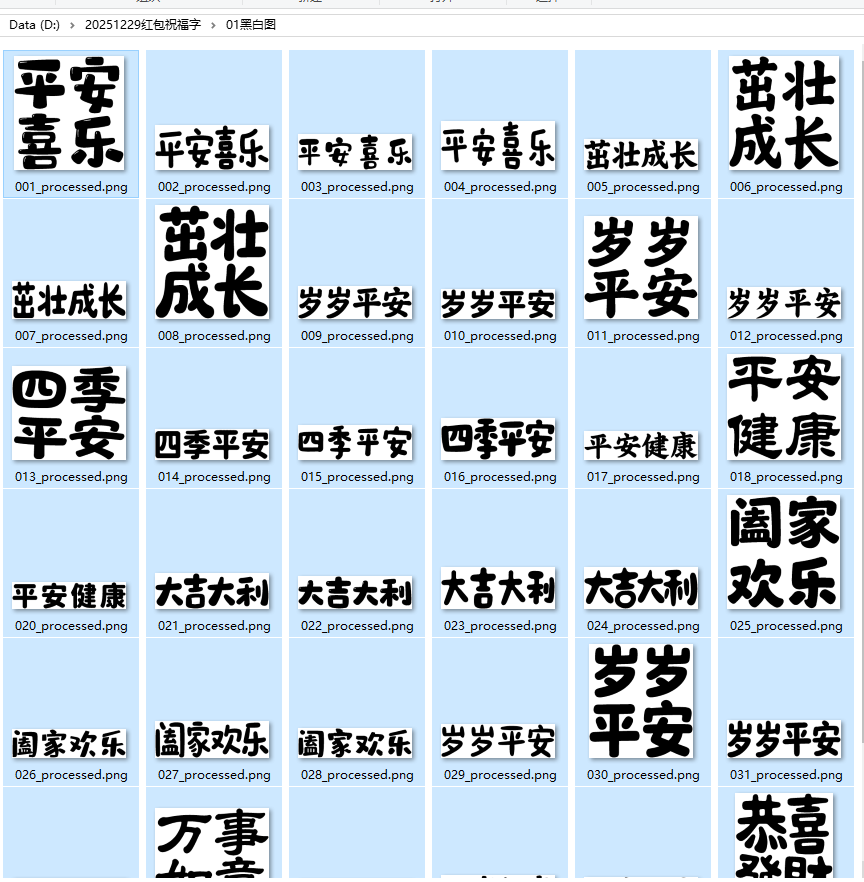
所以改成图片黑白化,切边,等分切割
一、黑白化+切边

\’\’\’
通义万相四个祝福汉字,黑白化,并切掉白边
豆包、Deepseek,阿夏
20251221
\’\’\’
import os
from PIL import Image
import numpy as np
# ————————– 核心配置(只需修改这里) ————————–
# 待处理的原图片文件夹
path = r\’D:\\20251229红包祝福字\’
SOURCE_FOLDER = os.path.join(path, r\’00原图\’)
TARGET_FOLDER = os.path.join(path, r\’01黑白图\’)
# 二值化阈值(128为分界点)
THRESHOLD = 128
# 切白边后保留的边距(磅),1磅≈1/72英寸,约0.35毫米
MARGIN_PT = 5
# 图片分辨率(DPI),用于磅到像素的转换
DPI = 72
def calculate_margin_pixels(margin_pt, dpi):
\”\”\”将磅值转换为像素值\”\”\”
# 1磅 = 1/72英寸,所以像素 = 磅 × DPI / 72
margin_pixels = int(margin_pt * dpi / 72)
return margin_pixels
def find_content_bounds(image_array):
\”\”\”
找到图像内容(黑色部分)的边界
返回:left, top, right, bottom
\”\”\”
# 找到所有黑色像素(值为0)的位置
rows, cols = np.where(image_array == 0)
if len(rows) == 0: # 如果没有黑色像素,返回原图尺寸
return 0, 0, image_array.shape[1], image_array.shape[0]
top = np.min(rows)
bottom = np.max(rows)
left = np.min(cols)
right = np.max(cols)
return left, top, right, bottom
def crop_and_add_margin(img, margin_pixels):
\”\”\”
切掉白边并添加指定边距
\”\”\”
# 转换为数组
img_array = np.array(img)
# 找到内容边界
left, top, right, bottom = find_content_bounds(img_array)
# 计算裁剪区域(添加原始内容的边界)
crop_left = max(0, left)
crop_top = max(0, top)
crop_right = min(img_array.shape[1], right + 1)
crop_bottom = min(img_array.shape[0], bottom + 1)
# 裁剪图像
cropped_img = img.crop((crop_left, crop_top, crop_right, crop_bottom))
# 创建新图像(白色背景)
new_width = cropped_img.width + 2 * margin_pixels
new_height = cropped_img.height + 2 * margin_pixels
new_img = Image.new(\’L\’, (new_width, new_height), 255)
# 将裁剪的图像粘贴到新图像中心
new_img.paste(cropped_img, (margin_pixels, margin_pixels))
return new_img
def convert_to_binary_black_white():
\”\”\”
将源文件夹中的图片转换为二值化黑白图(128为分界点),
切掉白边并添加指定边距,保存到目标文件夹
1-128 → 黑色(0),128-255 → 白色(255)
\”\”\”
# 创建目标文件夹(如果不存在)
os.makedirs(TARGET_FOLDER, exist_ok=True)
# 获取源文件夹中的所有文件
file_list = os.listdir(SOURCE_FOLDER)
# 支持的图片格式
supported_formats = (\’.jpg\’, \’.jpeg\’, \’.png\’, \’.bmp\’, \’.gif\’, \’.tiff\’)
# 计算边距像素值
margin_pixels = calculate_margin_pixels(MARGIN_PT, DPI)
print(f\”边距设置:{MARGIN_PT}磅 = {margin_pixels}像素\”)
# 统计处理的文件数量
processed_count = 0
for filename in file_list:
# 检查文件是否为图片
if filename.lower().endswith(supported_formats):
try:
# 拼接完整的文件路径
source_path = os.path.join(SOURCE_FOLDER, filename)
# 保持原文件名,可修改扩展名为png以确保质量
name, ext = os.path.splitext(filename)
target_filename = f\”{name}_processed.png\”
target_path = os.path.join(TARGET_FOLDER, target_filename)
# 打开图片并转换为灰度模式
with Image.open(source_path) as img:
# 获取原图DPI信息
original_dpi = img.info.get(\’dpi\’, (DPI, DPI))[0]
if original_dpi:
current_dpi = original_dpi
else:
current_dpi = DPI
# 第一步:转换为灰度图
gray_img = img.convert(\’L\’)
# 第二步:将灰度图转换为数组进行二值化处理
img_array = np.array(gray_img)
# 二值化:小于等于128的设为0(黑色),大于128的设为255(白色)
binary_array = np.where(img_array <= THRESHOLD, 0, 255)
# 第三步:将数组转回图片对象
bw_img = Image.fromarray(binary_array.astype(np.uint8))
# 第四步:切白边并添加边距
final_img = crop_and_add_margin(bw_img, margin_pixels)
# 保存处理后的图片(使用PNG格式保留质量)
final_img.save(target_path, \’PNG\’, dpi=(current_dpi, current_dpi))
processed_count += 1
print(f\”成功处理:{filename} → {target_filename}\”)
except Exception as e:
print(f\”处理失败 {filename}:{str(e)}\”)
print(f\”\\n处理完成!共处理 {processed_count} 张图片\”)
print(f\”阈值设置:{THRESHOLD}(≤{THRESHOLD}为黑色,>{THRESHOLD}为白色)\”)
print(f\”边距设置:{MARGIN_PT}磅(≈{margin_pixels}像素)\”)
print(f\”源文件夹:{SOURCE_FOLDER}\”)
print(f\”目标文件夹:{TARGET_FOLDER}\”)
if __name__ == \”__main__\”:
# 执行二值化黑白处理
convert_to_binary_black_white()
二、文字切割(1*4切或2*2切)