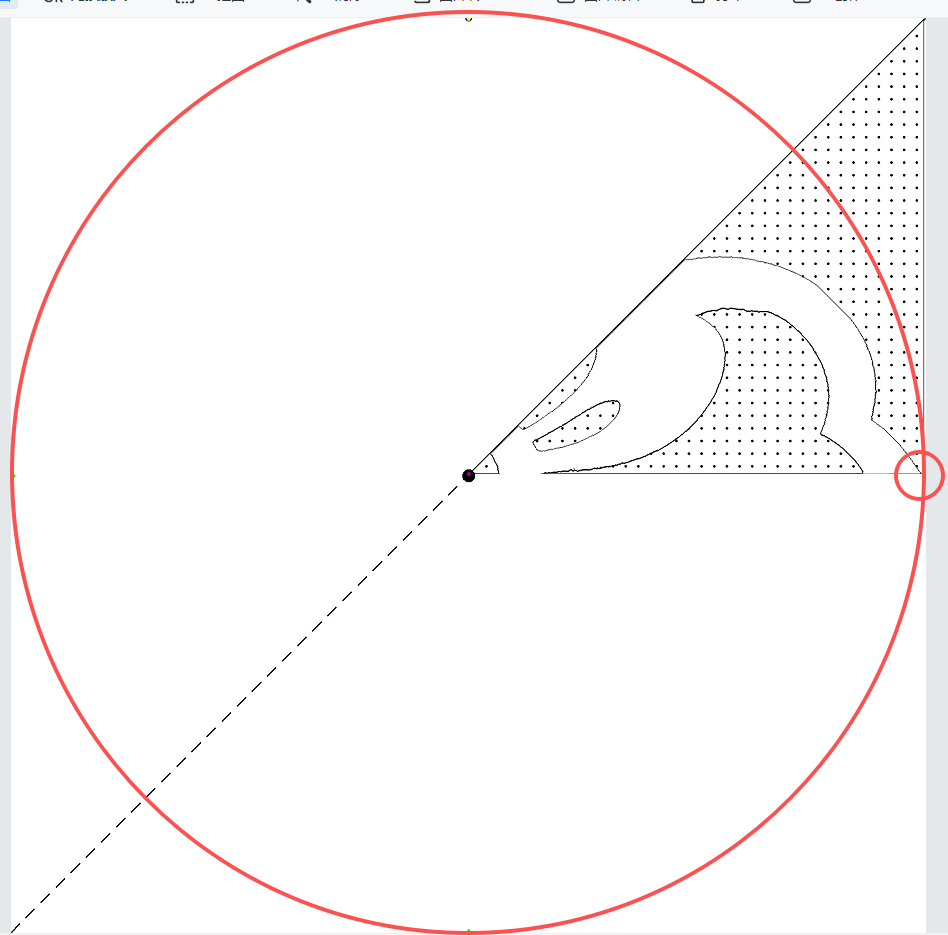
背景需求
教学类-131-02】20260119通义万相五瓣花折纸02——找花心中点。(需要PS修正图片的连接位置) https://mp.csdn.net/mp_blog/creation/editor/157135126
上次做了五瓣花,我想做四瓣花
图片获取
中国传统剪纸,极简风格,四瓣完全对称的四角花朵,在花心中点画一个10磅黑色的点,花瓣外轮廓线显著加粗,花瓣外轮廓线显著加粗。花瓣外轮廓线显著加粗,小镂空块面,无复杂细纹,仅保留主轮廓与 1-2 层简单镂空,红色花纹,纯白色背景,高对比度,矢量图,可裁剪,民间艺术,四瓣花造型完全一致,高对称度。

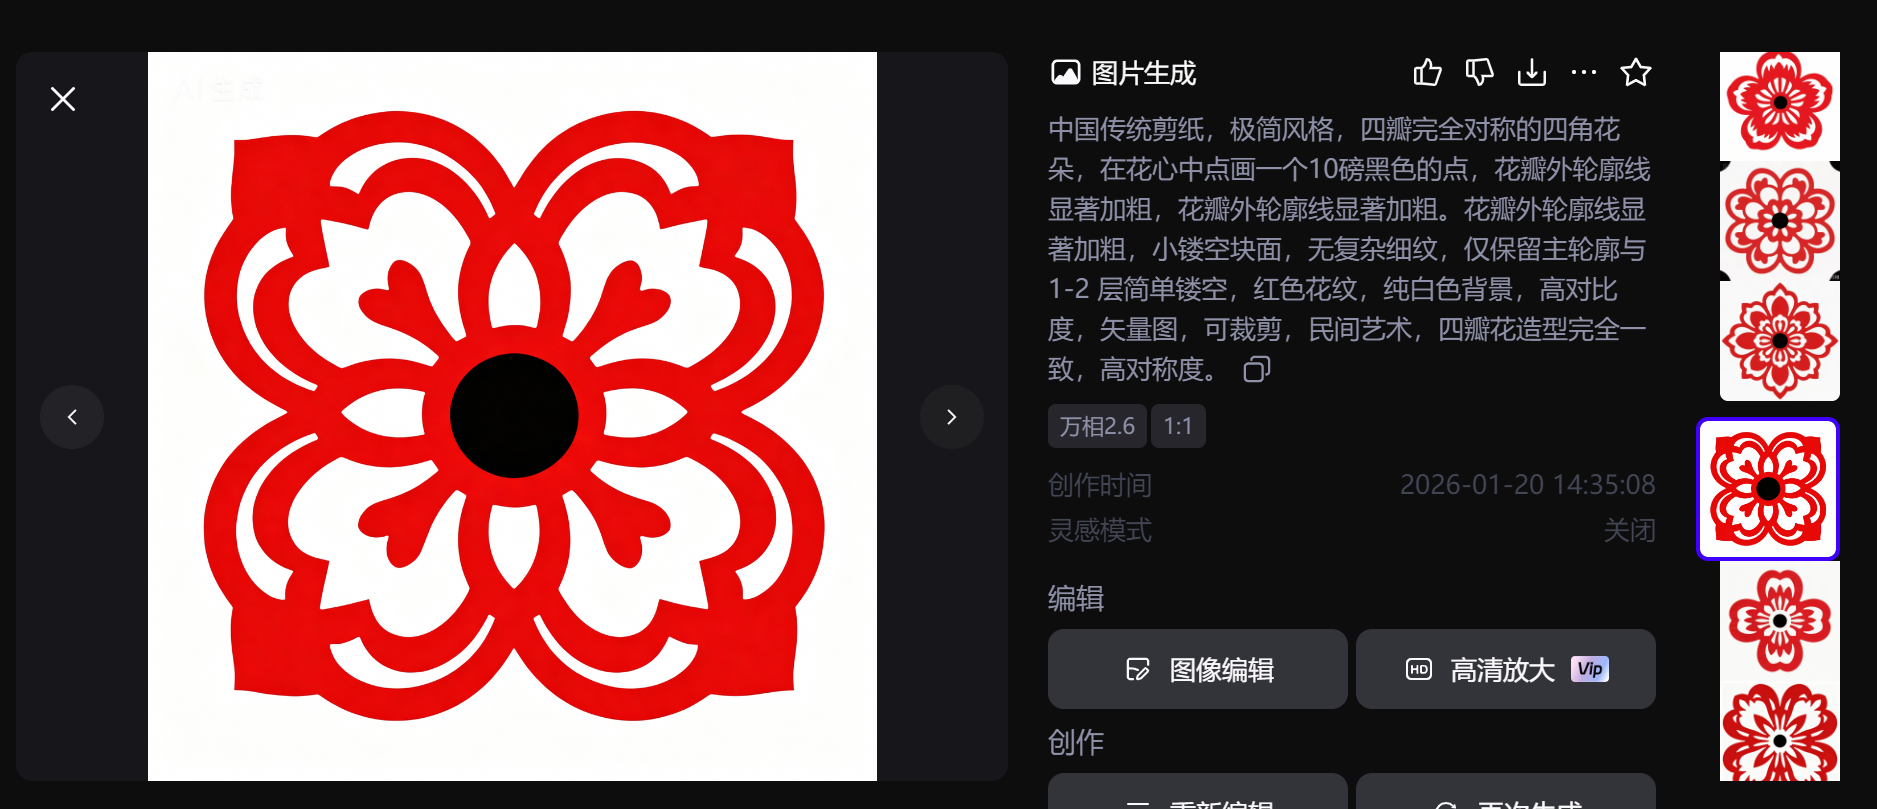
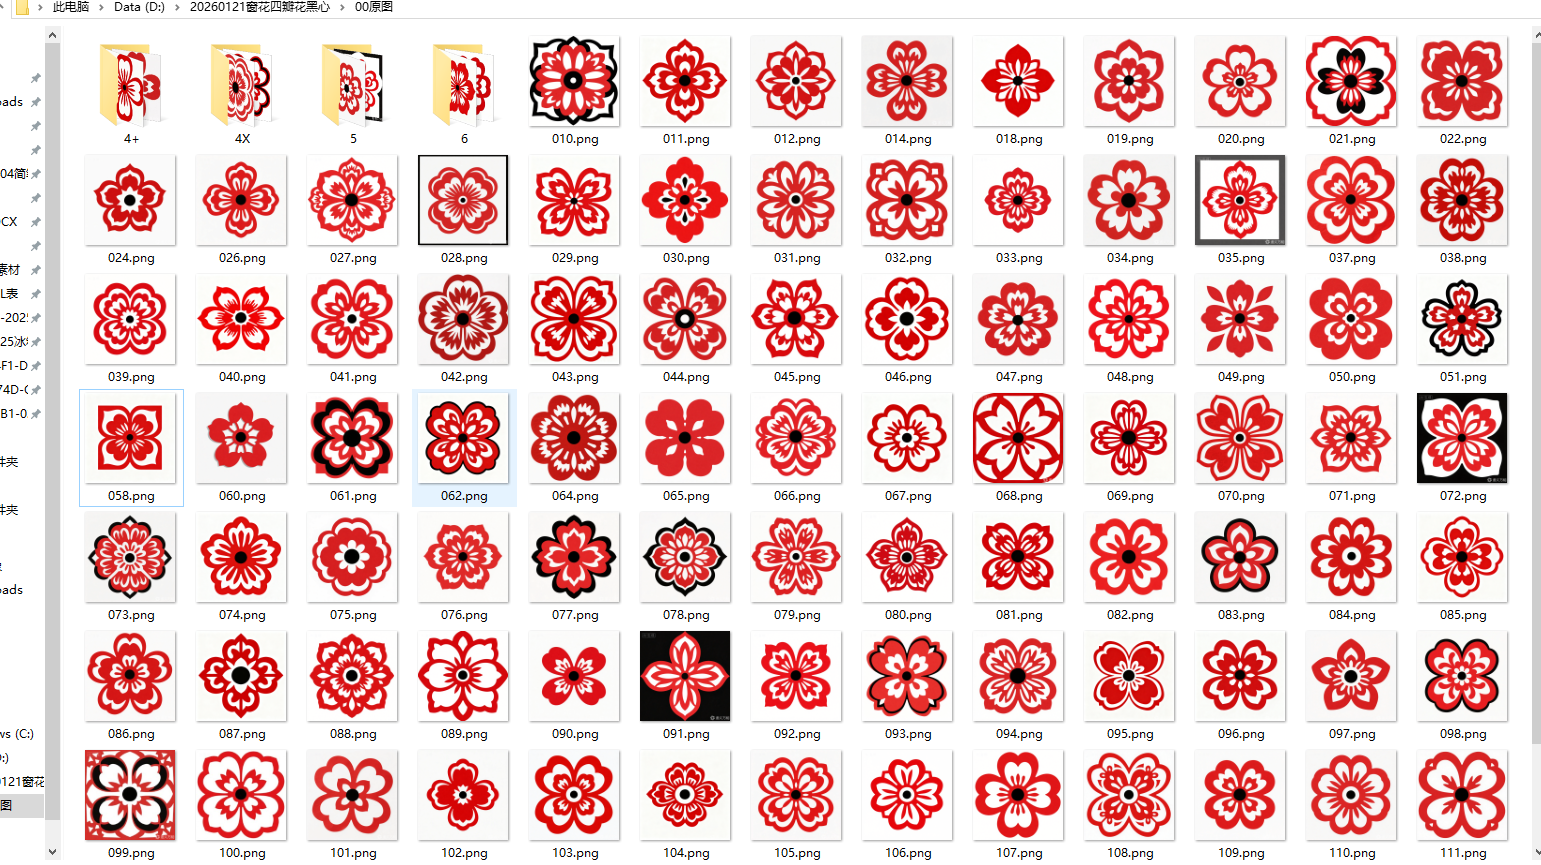
发现四瓣花有两种造型,根据图案造型分类
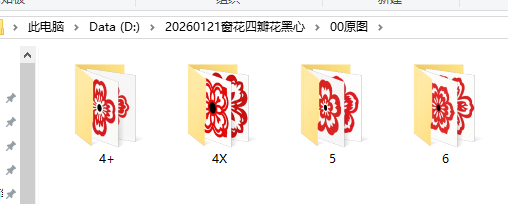
十字星四瓣花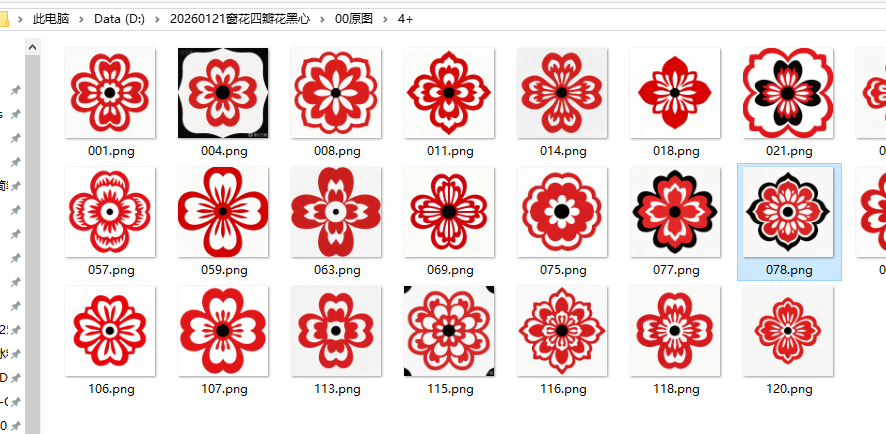
X字星四瓣花
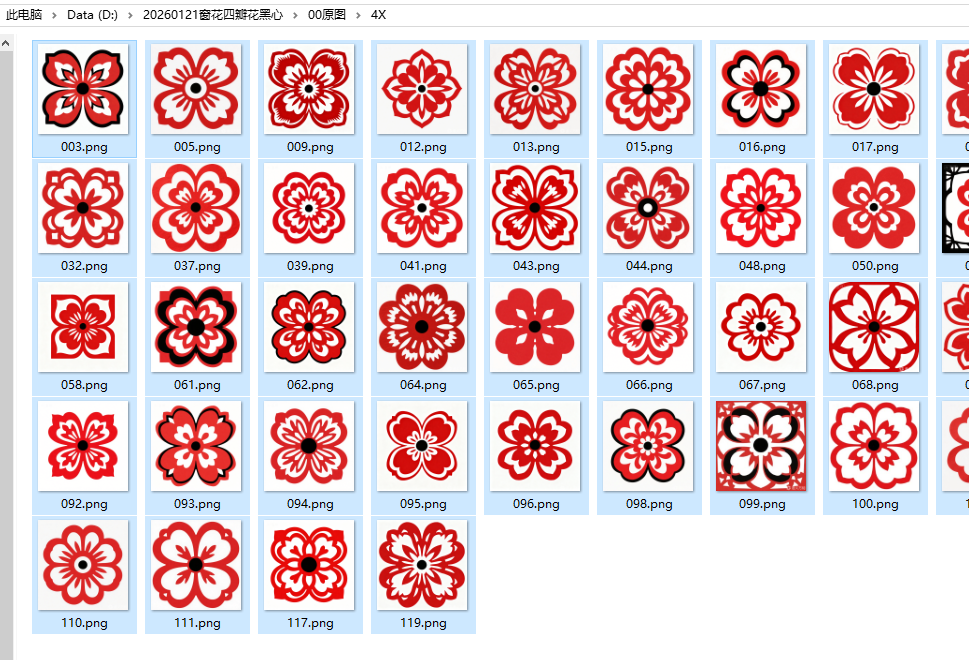
虽然生成四瓣花,随机还是会有五瓣花六瓣花出现
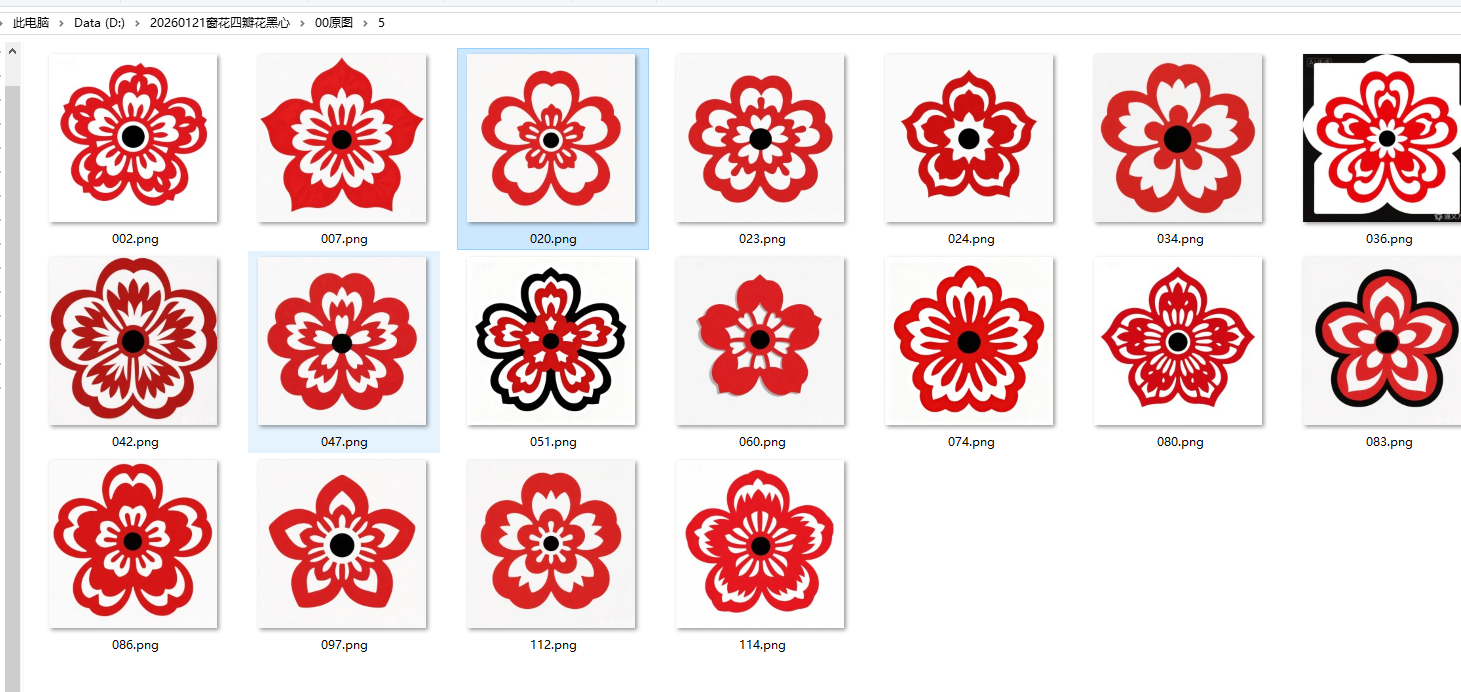
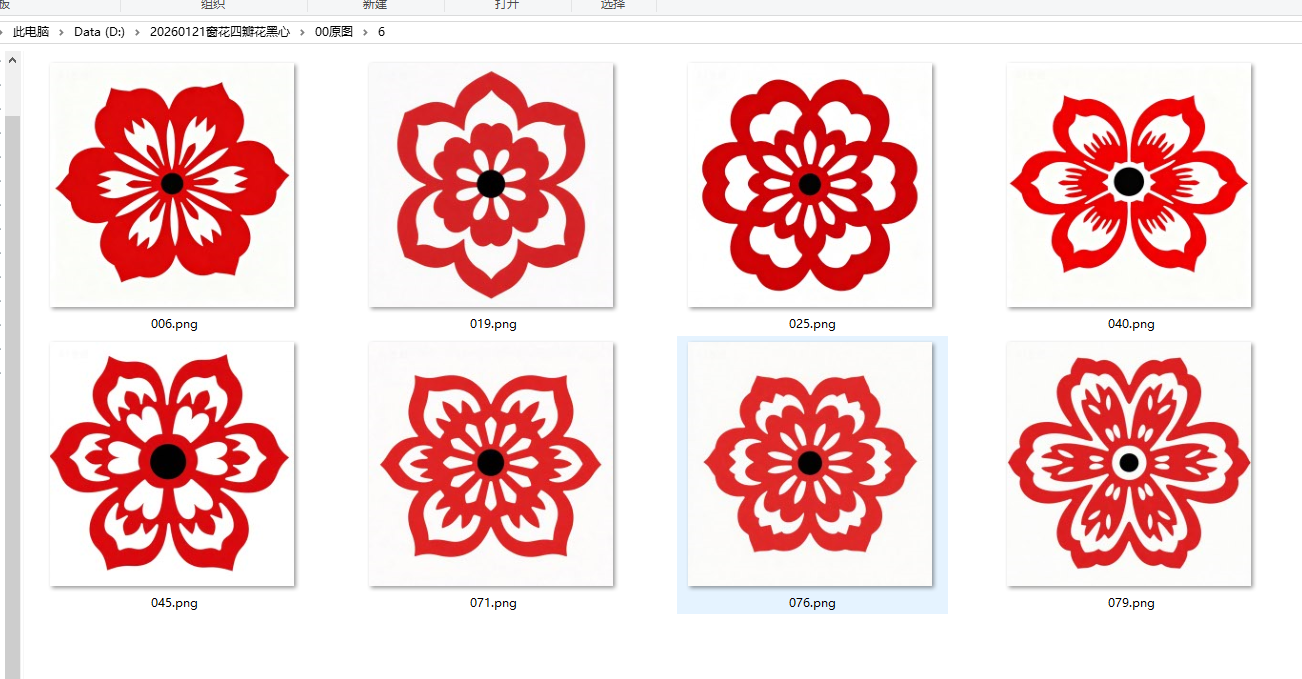
把4X和4十的内容放到PS修图,去掉黑色部分


图片修完了
一、重命名文件
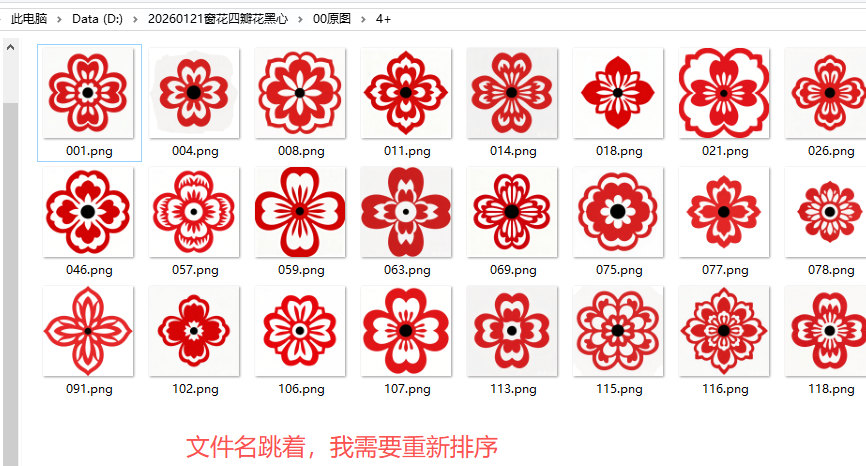
import os
path = r\’D:\\20260121窗花四瓣花黑心\\00原图\\4+\’
start_num = 1 # 从1开始
files = sorted([f for f in os.listdir(path) if f.endswith(\’.png\’)], key=str.lower)
for i, name in enumerate(files, start_num):
old = os.path.join(path, name)
new = os.path.join(path, f\”{i:03d}.png\”)
os.rename(old, new)
print(f\”{name} -> {i:03d}.png\”)
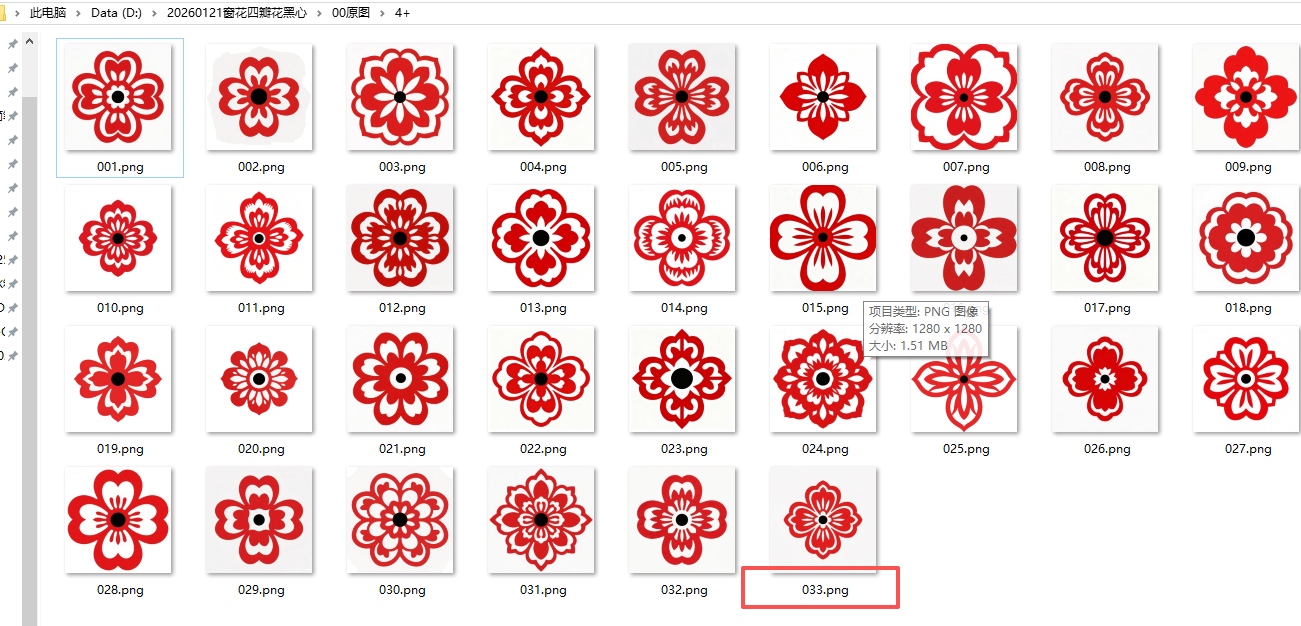
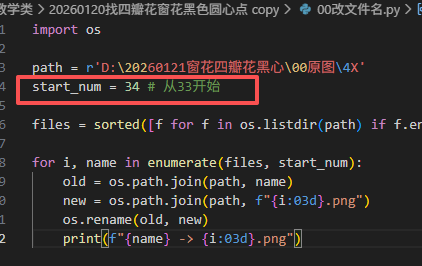
后面一个4X文件夹图片从034开始
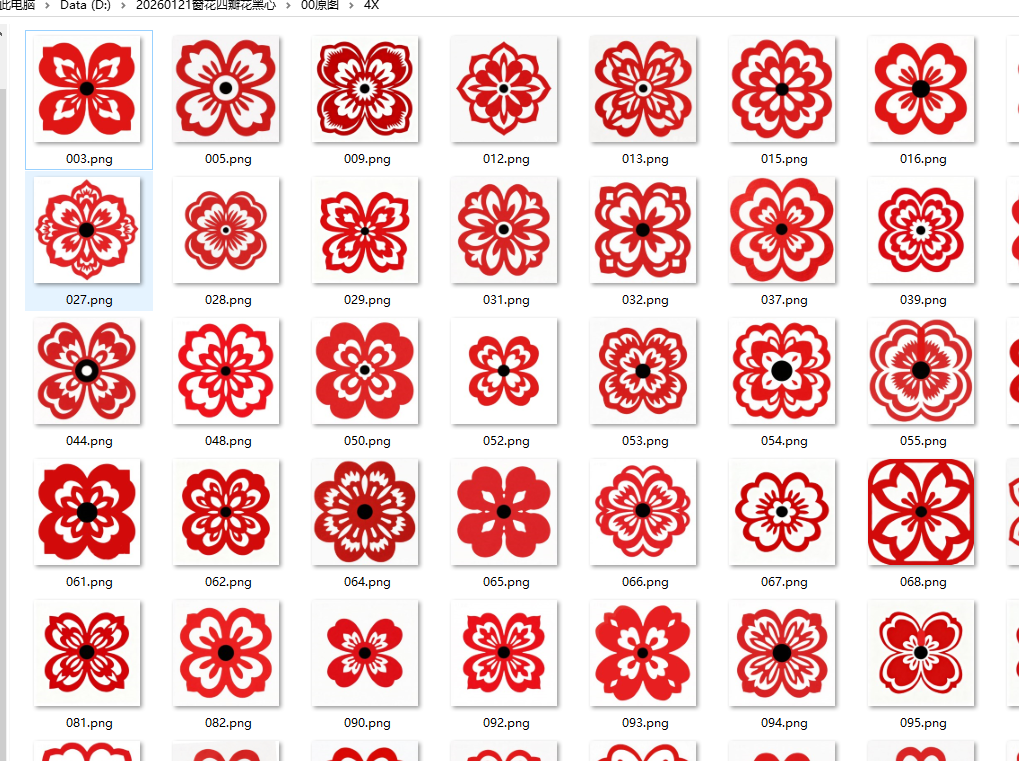
import os
path = r\’D:\\20260121窗花四瓣花黑心\\00原图\\4X\’
start_num = 34 # 从33开始
files = sorted([f for f in os.listdir(path) if f.endswith(\’.png\’)], key=str.lower)
for i, name in enumerate(files, start_num):
old = os.path.join(path, name)
new = os.path.join(path, f\”{i:03d}.png\”)
os.rename(old, new)
print(f\”{name} -> {i:03d}.png\”)
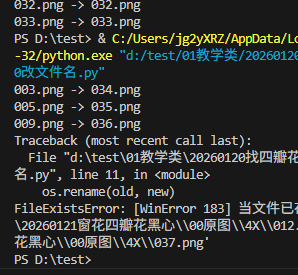
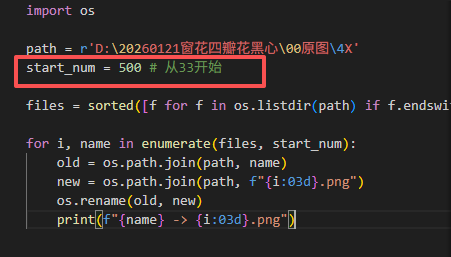
有同名文件
先做成500起始数,
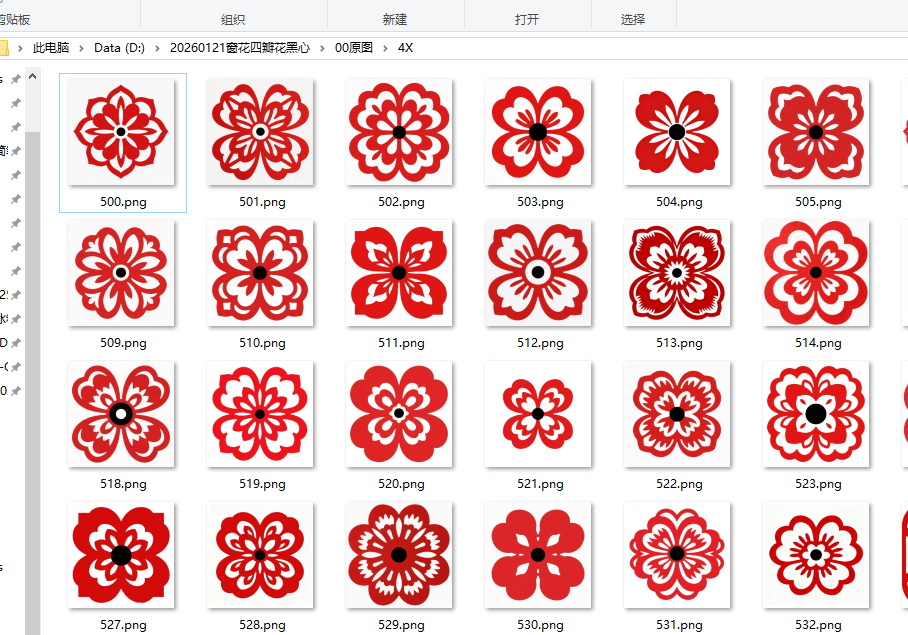

合并后88图

代码流程


零、原图

一、找圆心点、
\’\’\’
五瓣花黑心窗花处理01-找黑圆心的中心坐标点
豆包,阿夏
20260120
\’\’\’
import cv2
import numpy as np
import os
# 输入和输出文件夹路径(根路径含中文,需特殊处理)
root_path = r\’D:\\20260121窗花四瓣花黑心\’
input_dir = os.path.join(root_path, \”00原图\”) # 规范路径拼接,替代+号
output_dir = os.path.join(root_path, \”01花心点\”)
# 确保输出文件夹存在
os.makedirs(output_dir, exist_ok=True)
# 遍历输入文件夹中的所有图片
for filename in os.listdir(input_dir):
if filename.lower().endswith((\’.png\’, \’.jpg\’, \’.jpeg\’, \’.bmp\’)):
# 1. 规范拼接完整图片路径(含中文)
img_full_path = os.path.join(input_dir, filename)
try:
# 2. 解决cv2.imread不支持中文路径的问题:先通过numpy读取文件,再用cv2解码
with open(img_full_path, \’rb\’) as f:
img_data = np.frombuffer(f.read(), dtype=np.uint8)
img = cv2.imdecode(img_data, cv2.IMREAD_COLOR) # 解码为彩色图片
if img is None:
print(f\”无法读取图片(文件损坏或格式不支持): {filename}\”)
continue
# 转换为灰度图
gray = cv2.cvtColor(img, cv2.COLOR_BGR2GRAY)
# 二值化,找到黑色区域(圆心)
_, binary = cv2.threshold(gray, 50, 255, cv2.THRESH_BINARY_INV)
# 检测轮廓
contours, _ = cv2.findContours(binary, cv2.RETR_EXTERNAL, cv2.CHAIN_APPROX_SIMPLE)
# 寻找最大的圆形轮廓(假设黑色圆心是最大的黑色圆)
center = None
max_area = 0
for cnt in contours:
area = cv2.contourArea(cnt)
if area > max_area:
max_area = area
(x, y), radius = cv2.minEnclosingCircle(cnt)
center = (int(x), int(y))
if center is not None:
# 在原图上画白色2磅的圆(2像素半径,2像素线宽,白色RGB(255,255,255))
cv2.circle(img, center, 2, (255, 255, 255), 2)
print(f\”图片 {filename} 的黑色圆心坐标: {center}\”)
# 3. 保存处理后的图片(同样兼容中文路径)
output_full_path = os.path.join(output_dir, filename)
# 用cv2.imencode解决中文路径保存问题
ext = os.path.splitext(filename)[-1].lower()
retval, img_encode = cv2.imencode(ext, img)
if retval:
with open(output_full_path, \’wb\’) as f:
f.write(img_encode.tobytes())
print(f\”处理后的图片已保存到: {output_full_path}\”)
else:
print(f\”无法保存图片: {filename}\”)
except Exception as e:
print(f\”处理图片 {filename} 时出错: {str(e)}\”)
continue
print(\”所有图片处理完成!\”)


二、切出45度的一片三角

\’\’\’
五瓣花黑心窗花处理02-找黑圆心的中心坐标点(坐标1),向上垂直到上边交点(坐标2),向右45度延伸到上边交点(坐标3,)获取这三个坐标点围合的直角三角形。另存透明背景图片
豆包,阿夏
20260120
\’\’\’
import cv2
import numpy as np
import os
# 输入和输出文件夹路径
root_path = r\’D:\\20260121窗花四瓣花黑心\’
input_dir = os.path.join(root_path, \”00原图\”)
output_dir = os.path.join(root_path, \”01三角\”)
# 确保输出文件夹存在
os.makedirs(output_dir, exist_ok=True)
print(f\”输出文件夹已准备就绪: {output_dir}\”)
# 遍历输入文件夹中的所有图片
for filename in os.listdir(input_dir):
if filename.lower().endswith((\’.png\’, \’.jpg\’, \’.jpeg\’, \’.bmp\’)):
img_full_path = os.path.join(input_dir, filename)
try:
# 1. 读取图片(兼容中文路径)
with open(img_full_path, \’rb\’) as f:
img_data = np.frombuffer(f.read(), dtype=np.uint8)
img = cv2.imdecode(img_data, cv2.IMREAD_COLOR)
if img is None:
print(f\”跳过:无法读取图片(格式错误或损坏): {filename}\”)
continue
img_h, img_w = img.shape[:2] # 图片高度(y轴)、宽度(x轴)
img_top_y = 0 # 图片上边的y坐标(固定为0,图片坐标系从上到下y递增)
print(f\”\\n正在处理图片: {filename}(尺寸:{img_w}x{img_h})\”)
# 2. 定位黑色圆心(坐标1:直角顶点,记为P1)
gray = cv2.cvtColor(img, cv2.COLOR_BGR2GRAY)
_, binary = cv2.threshold(gray, 60, 255, cv2.THRESH_BINARY_INV)
contours, _ = cv2.findContours(binary, cv2.RETR_EXTERNAL, cv2.CHAIN_APPROX_SIMPLE)
center = None
max_area = 0
for cnt in contours:
area = cv2.contourArea(cnt)
if area > max_area and area > 5: # 过滤微小噪点
max_area = area
(x, y), radius = cv2.minEnclosingCircle(cnt)
center = (int(x), int(y))
if center is None:
print(f\”跳过:未找到有效黑色圆心: {filename}\”)
continue
p1_cx, p1_cy = center # P1:黑色圆心坐标(直角顶点)
p1 = (p1_cx, p1_cy) # 关键修复:定义p1变量,封装圆心坐标(解决未定义错误)
print(f\”找到黑色圆心(P1)坐标: {p1}\”)
# 3. 计算坐标2(P2):从P1垂直向上延伸到图片上边的交点
# 垂直向上:x坐标与P1一致,y坐标为图片上边(0)
p2_x = p1_cx
p2_y = img_top_y
# 确保P2在图片画布内(防止极端情况)
p2_x = max(0, min(p2_x, img_w – 1))
p2 = (p2_x, p2_y)
print(f\”计算得到垂直向上交点(P2)坐标: {p2}\”)
# 4. 计算坐标3(P3):从P1向右上45°角延伸到图片上边的交点
# 步骤1:转换45°为弧度,定义直线方程
angle_45 = 45 # 向右上45°(与垂直向上的P1-P2连线夹角为45°)
rad_45 = np.deg2rad(angle_45)
# 步骤2:推导直线方程(P1出发,向右上45°)
# 45°是与垂直向上(y轴负方向)的夹角,对应x轴正方向的夹角为90°-45°=45°
# 直线参数方程:x = p1_cx + t * sin(rad_45), y = p1_cy – t * cos(rad_45)(t≥0)
# 求y=0(图片上边)时的x值
if np.cos(rad_45) < 1e-8: # 避免除零错误(极端角度)
p3_x = p1_cx
else:
t = p1_cy / np.cos(rad_45) # y从p1_cy降到0所需的参数t
p3_x = p1_cx + t * np.sin(rad_45)
# 步骤3:确定P3坐标(y=0,x为计算值,限制在图片画布内)
p3_y = img_top_y
p3_x = int(p3_x)
p3_x = max(0, min(p3_x, img_w – 1)) # 不超出图片左右边界
p3 = (p3_x, p3_y)
print(f\”计算得到右上45°交点(P3)坐标: {p3}\”)
# 5. 验证三个顶点构成直角三角形(P1为直角顶点,P2/P3在图片上边)
triangle_pts = np.array([p1, p2, p3], np.int32)
print(f\”直角三角形三个顶点:P1{p1}, P2{p2}, P3{p3}\”)
# 6. 创建遮罩,保留三角形区域(实现透明背景)
mask = np.zeros((img_h, img_w), dtype=np.uint8)
cv2.fillPoly(mask, [triangle_pts], 255) # 三角形区域填充为白色(255),其余为黑色(0)
# 7. 转换为RGBA格式,添加透明通道
img_rgba = cv2.cvtColor(img, cv2.COLOR_BGR2BGRA)
img_rgba[:, :, 3] = mask # alpha通道:三角形区域不透明,其余透明
# 8. 裁剪三角形最小包围盒(去除多余空白,保留有效区域)
x_min, y_min = np.min(triangle_pts, axis=0)
x_max, y_max = np.max(triangle_pts, axis=0)
# 确保裁剪坐标不越界,且区域有效
x_min, y_min = max(0, x_min), max(0, y_min)
x_max, y_max = min(img_w – 1, x_max), min(img_h – 1, y_max)
if x_max – x_min <= 0 or y_max – y_min <= 0:
print(f\”跳过:裁剪区域无效(无有效内容): {filename}\”)
continue
cropped_triangle = img_rgba[y_min:y_max, x_min:x_max]
print(f\”裁剪出有效直角三角形,尺寸:{cropped_triangle.shape[1]}x{cropped_triangle.shape[0]}\”)
# 9. 保存为透明背景PNG(强制格式,兼容中文路径)
output_filename = os.path.splitext(filename)[0] + \”_right_triangle.png\”
output_full_path = os.path.join(output_dir, output_filename)
retval, img_encode = cv2.imencode(\’.png\’, cropped_triangle)
if retval:
with open(output_full_path, \’wb\’) as f:
f.write(img_encode.tobytes())
print(f\”成功保存:{output_full_path}\”)
else:
print(f\”失败:无法编码并保存图片: {filename}\”)
except Exception as e:
print(f\”出错:处理图片 {filename} 时发生异常 – {str(e)}\”)
continue
print(\”\\n所有图片处理流程结束!请查看444文件夹获取结果。\”)


三、黑色圆心变成白色
\’\’\’
五瓣花黑心窗花处理03-把小三角里面的黑色部分变成白色
豆包,阿夏
20260120
\’\’\’
import cv2
import numpy as np
import os
# 输入和输出文件夹路径
root_path = r\’D:\\20260121窗花四瓣花黑心\’
input_dir = os.path.join(root_path, \”01三角\”)
output_dir = os.path.join(root_path, \”02三角白色\”) # 处理后图片保存文件夹
# 确保输出文件夹存在
os.makedirs(output_dir, exist_ok=True)
print(f\”输出文件夹已准备就绪: {output_dir}\”)
# 定义\”黑色\”范围(灰度值阈值,≤30判定为黑色,可微调)
black_threshold = 30
# 遍历输入文件夹中的所有图片
for filename in os.listdir(input_dir):
if filename.lower().endswith((\’.png\’, \’.jpg\’, \’.jpeg\’, \’.bmp\’)):
img_full_path = os.path.join(input_dir, filename)
try:
# 1. 读取图片时保留Alpha通道(透明通道)
with open(img_full_path, \’rb\’) as f:
img_data = np.frombuffer(f.read(), dtype=np.uint8)
img = cv2.imdecode(img_data, cv2.IMREAD_UNCHANGED)
if img is None:
print(f\”跳过:无法读取图片(格式错误或损坏): {filename}\”)
continue
# 2. 严谨判断图像通道数,统一处理3通道(BGR)和4通道(RGBA)
img_shape = img.shape
has_alpha = False
img_bgr = None
img_alpha = None
processed_img = None
if len(img_shape) == 3:
if img_shape[2] == 4:
# 4通道(RGBA)- 核心处理场景
has_alpha = True
processed_img = img.copy() # 复制原图,避免修改原始数据
img_bgr = processed_img[:, :, 0:3]
img_alpha = processed_img[:, :, 3]
elif img_shape[2] == 3:
# 3通道(BGR)
has_alpha = False
processed_img = img.copy()
img_bgr = processed_img
else:
# 异常通道数,跳过
print(f\”跳过:不支持的图像通道数: {filename}\”)
continue
else:
# 灰度图(2通道),转为BGR格式处理
has_alpha = False
processed_img = cv2.cvtColor(img, cv2.COLOR_GRAY2BGR)
img_bgr = processed_img
img_h, img_w = img_bgr.shape[:2]
print(f\”\\n正在处理图片: {filename}(尺寸:{img_w}x{img_h},是否含透明通道:{has_alpha})\”)
# 3. 识别黑色区域(创建掩码:黑色区域为True,其余为False)
gray = cv2.cvtColor(img_bgr, cv2.COLOR_BGR2GRAY)
black_mask = gray <= black_threshold # 生成布尔类型掩码
# 4. 关键修复:分通道独立赋值,避免形状不均匀(彻底解决报错)
if has_alpha:
# 4通道图像:分步赋值,先改BGR通道(黑色转白色),Alpha通道保持不变
# 步骤1:BGR通道赋值白色(255,255,255),不触碰Alpha通道
img_bgr[black_mask] = (255, 255, 255)
# 步骤2:Alpha通道保持原始值(无需修改,已通过copy保留透明信息)
# 此时processed_img已同步更新(img_bgr是processed_img的视图)
else:
# 3通道图像:直接赋值白色(255,255,255)
img_bgr[black_mask] = (255, 255, 255)
# 5. 保存处理后的图片(兼容中文路径,保留透明通道)
output_filename = filename
output_full_path = os.path.join(output_dir, output_filename)
# 提取图片后缀,优先保存为PNG(确保透明通道不丢失)
ext = os.path.splitext(filename)[-1].lower()
if ext == \’.png\’:
retval, img_encode = cv2.imencode(\’.png\’, processed_img)
else:
retval, img_encode = cv2.imencode(ext, processed_img)
if retval:
with open(output_full_path, \’wb\’) as f:
f.write(img_encode.tobytes())
print(f\”成功保存:{output_full_path}\”)
else:
print(f\”失败:无法编码并保存图片: {filename}\”)
except Exception as e:
print(f\”出错:处理图片 {filename} 时发生异常 – {str(e)}\”)
continue
print(\”\\n所有图片处理流程结束!请查看 02三角白色 文件夹获取结果。\”)


四、转成黑白色
\’\’\’
五瓣花黑心窗花处理04-小三角黑白化(透明背景)
豆包,阿夏
20260120
\’\’\’
import cv2
import numpy as np
import os
# 输入和输出文件夹路径
root_path = r\’D:\\20260121窗花四瓣花黑心\’
input_dir = os.path.join(root_path, \”02三角白色\”)
output_dir = os.path.join(root_path, \”03黑白化\”) # 二值化结果保存文件夹
# 确保输出文件夹存在
os.makedirs(output_dir, exist_ok=True)
print(f\”输出文件夹已准备就绪: {output_dir}\”)
# 定义二值化阈值(可微调,默认127:大于127为白色,小于等于127为黑色)
binary_threshold = 127
# 遍历输入文件夹中的所有图片
for filename in os.listdir(input_dir):
if filename.lower().endswith((\’.png\’, \’.jpg\’, \’.jpeg\’, \’.bmp\’)):
img_full_path = os.path.join(input_dir, filename)
try:
# 1. 读取图片时保留Alpha通道(透明通道),避免透明信息丢失
with open(img_full_path, \’rb\’) as f:
img_data = np.frombuffer(f.read(), dtype=np.uint8)
img = cv2.imdecode(img_data, cv2.IMREAD_UNCHANGED)
if img is None:
print(f\”跳过:无法读取图片(格式错误或损坏): {filename}\”)
continue
# 2. 严谨判断图像通道数,区分RGBA(4通道)和BGR(3通道)
img_shape = img.shape
has_alpha = False
processed_img = None
img_bgr = None
img_alpha = None
if len(img_shape) == 3:
if img_shape[2] == 4:
# 4通道(RGBA)- 核心处理场景,保留透明通道
has_alpha = True
processed_img = img.copy() # 复制原图,避免修改原始数据
img_bgr = processed_img[:, :, 0:3] # 提取颜色通道
img_alpha = processed_img[:, :, 3] # 提取透明通道(全程不变)
elif img_shape[2] == 3:
# 3通道(BGR)- 无透明通道,直接处理
has_alpha = False
processed_img = img.copy()
img_bgr = processed_img
else:
# 异常通道数,跳过处理
print(f\”跳过:不支持的图像通道数: {filename}\”)
continue
else:
# 灰度图(2通道)- 转为BGR格式处理,无透明通道
has_alpha = False
processed_img = cv2.cvtColor(img, cv2.COLOR_GRAY2BGR)
img_bgr = processed_img
img_h, img_w = img_bgr.shape[:2]
print(f\”\\n正在处理图片: {filename}(尺寸:{img_w}x{img_h},是否含透明通道:{has_alpha})\”)
# 3. 步骤1:将颜色通道转为灰度图(为二值化做准备)
gray = cv2.cvtColor(img_bgr, cv2.COLOR_BGR2GRAY)
# 4. 步骤2:执行黑白二值化(仅保留黑、白两色)
# cv2.THRESH_BINARY:大于threshold为255(白),小于等于为0(黑)
_, binary_gray = cv2.threshold(gray, binary_threshold, 255, cv2.THRESH_BINARY)
# 5. 步骤3:将二值化灰度图转回BGR格式(匹配原始图像通道格式)
# 确保颜色通道为3维,方便后续合并Alpha通道
binary_bgr = cv2.cvtColor(binary_gray, cv2.COLOR_GRAY2BGR)
# 6. 关键逻辑:保留透明区域不变,更新颜色通道为二值化结果
if has_alpha:
# 4通道图像:合并二值化BGR通道和原始Alpha通道(透明区域不变)
processed_img = cv2.merge([binary_bgr[:, :, 0], binary_bgr[:, :, 1], binary_bgr[:, :, 2], img_alpha])
else:
# 3通道图像:直接使用二值化BGR结果
processed_img = binary_bgr
# 7. 保存处理后的图片(兼容中文路径,保留透明通道,强制PNG确保效果)
output_filename = filename
output_full_path = os.path.join(output_dir, output_filename)
# 提取后缀,PNG格式保留透明通道,其他格式按原格式保存(JPG无透明)
ext = os.path.splitext(filename)[-1].lower()
if ext == \’.png\’:
retval, img_encode = cv2.imencode(\’.png\’, processed_img)
else:
retval, img_encode = cv2.imencode(ext, processed_img)
if retval:
with open(output_full_path, \’wb\’) as f:
f.write(img_encode.tobytes())
print(f\”成功保存:{output_full_path}\”)
else:
print(f\”失败:无法编码并保存图片: {filename}\”)
except Exception as e:
print(f\”出错:处理图片 {filename} 时发生异常 – {str(e)}\”)
continue
print(\”\\n所有图片处理流程结束!请查看 03黑白化 文件夹获取结果。\”)

五、透明部分转白色,切掉顶部白边,再把右下变成三角透明
\’\’\’
五瓣花黑心窗花处理05-小三角黑白化,切边(因为有透明部分切不了,所以全部透明转成白色,切完边,再把右下三角变成透明)
豆包,阿夏
20260120
\’\’\’
import cv2
import numpy as np
import os
def fill_transparent_to_white(img):
\”\”\”将图像透明部分填充为不透明纯白 (255,255,255,255)\”\”\”
if len(img.shape) != 3 or img.shape[2] != 4:
bgr_img = img if len(img.shape) == 3 else cv2.cvtColor(img, cv2.COLOR_GRAY2BGR)
return cv2.cvtColor(bgr_img, cv2.COLOR_BGR2BGRA)
bgr_img = img[:, :, :3]
alpha_channel = img[:, :, 3]
transparent_mask = alpha_channel < 255
bgr_img[transparent_mask] = [255, 255, 255]
alpha_channel[transparent_mask] = 255
return cv2.merge([bgr_img, alpha_channel])
def remove_top_white_border(img, white_threshold=240, white_pixel_ratio=0.95):
\”\”\”切除顶部白边(先填充透明为纯白)\”\”\”
img = fill_transparent_to_white(img)
if len(img.shape) == 3 and img.shape[2] == 4:
bgr_img = img[:, :, :3]
gray = cv2.cvtColor(bgr_img, cv2.COLOR_BGR2GRAY)
alpha_channel = img[:, :, 3]
gray[alpha_channel < 50] = 0
else:
gray = cv2.cvtColor(img, cv2.COLOR_BGR2GRAY)
pixel_white_mask = gray >= white_threshold
row_white_ratio = np.mean(pixel_white_mask, axis=1)
white_row_mask = row_white_ratio >= white_pixel_ratio
non_white_rows = np.where(white_row_mask == False)[0]
if len(non_white_rows) == 0:
return img
top_non_white_y = non_white_rows[0]
return img[top_non_white_y:, :]
def draw_split_line_and_make_right_transparent(img):
\”\”\”
沿左下角-右上角画分割线,右侧全部设为透明
:param img: 输入BGRA格式图像
:return: 处理后的图像
\”\”\”
img_h, img_w = img.shape[:2]
# 定义分割线端点:左下角 (0, img_h-1)、右上角 (img_w-1, 0)
pt1 = (0, img_h – 1)
pt2 = (img_w – 1, 0)
# 1. 创建掩码:标记分割线右侧的区域
mask = np.zeros((img_h, img_w), dtype=np.uint8)
# 用多边形填充右侧区域(仅包含右侧)
pts = np.array([[pt1, pt2, (img_w-1, img_h-1)]], dtype=np.int32)
cv2.fillPoly(mask, pts, 255) # 右侧区域掩码值为255
# 2. 绘制分割线(白色实线,宽度2)
img_with_line = img.copy()
cv2.line(img_with_line, pt1, pt2, (255, 255, 255, 255), thickness=2)
# 3. 将掩码区域(右侧)设为完全透明
img_with_line[mask == 255, :3] = [255, 255, 255] # 右侧RGB设为纯白
img_with_line[mask == 255, 3] = 0 # 右侧Alpha设为0(完全透明)
return img_with_line
def resize_fix_left(img, target_size=(936, 1290)):
\”\”\”固定左侧缩放至目标尺寸\”\”\”
target_w, target_h = target_size
img_h, img_w = img.shape[:2]
has_alpha = len(img.shape) == 3 and img.shape[2] == 4
scale_w = target_w / img_w
scale_h = target_h / img_h
scale = max(scale_w, scale_h)
new_w = int(img_w * scale)
new_h = int(img_h * scale)
if has_alpha:
bgr_img = img[:, :, :3]
alpha_channel = img[:, :, 3]
resized_bgr = cv2.resize(bgr_img, (new_w, new_h), interpolation=cv2.INTER_CUBIC)
resized_alpha = cv2.resize(alpha_channel, (new_w, new_h), interpolation=cv2.INTER_CUBIC)
resized_img = cv2.merge([resized_bgr, resized_alpha])
else:
resized_img = cv2.resize(img, (new_w, new_h), interpolation=cv2.INTER_CUBIC)
# 最终图像背景设为纯白不透明
final_img = np.zeros((target_h, target_w, 4 if has_alpha else 3), dtype=np.uint8)
if has_alpha:
final_img[:, :, :3] = 255
final_img[:, :, 3] = 255
else:
final_img[:, :, :3] = 255
crop_h = min(new_h, target_h)
crop_w = min(new_w, target_w)
if has_alpha:
final_img[:crop_h, :crop_w, :] = resized_img[:crop_h, :crop_w, :]
else:
final_img[:crop_h, :crop_w, :] = resized_img[:crop