一、前言
在《Spring Cloud Config统一配置管理》中,我们实现了通过往Config-Client发送/refreshPOST请求来刷新配置。不过这种方式只对单个Config-Client有效(往哪个Config-Client发送刷新请求,哪个配置就得到刷新,剩下的Config-Client获取的仍是旧的配置信息)。当Config-Client实例集群数量较多时,如果都要手动一个一个去刷新配置,不仅麻烦还容易遗漏。值得庆幸的是,我们可以借助Spring Cloud Bus来自动刷新集群的配置信息。
Spring Cloud Bus使用轻量级的消息代理(如RabbitMQ,Kafka)连接分布式系统的节点,可以以广播的形式将一些变更信息(如配置的变更)扩散到分布式链路中去。所以我们可以在Config-Server和Config-Client集群中加入Spring Cloud Bus,然后往某个Config-Server实例发送/refresh请求来刷新集群中所有实例的配置信息。
二、集群验证
在引入Spring Cloud Bus之前,我们先来简单验证下开头的结论。我们用上一节的源码为基础,来搭建Eureka-Server、Config-Server和Config-Client的集群。
实战用到的项目列表:
| eureka-server | Eureka-Server | eureka-server1 | 9001 | 注册中心(Eureka 服务端) |
| eureka-server | Eureka-Server | eureka-server2 | 9002 | 注册中心(Eureka 服务端) |
| config-server | Config-Server | config-server1 | 8501 | 配置中心(Eureka 客户端、Config 服务端) |
| config-server | Config-Server | config-server2 | 8502 | 配置中心(Eureka 客户端、Config 服务端) |
| config-client | Config-Client | config-client1 | 10002 | 配置客户端(Eureka 客户端、Config 客户端) |
| config-client | Config-Client | config-client2 | 10003 | 配置客户端(Eureka 客户端、Config 客户端) |
2.1 Config-Server集群
在Config-Server项目中,新建application-configserver01.yml、application-configserver02.yml,内容同application.yml,端口配置与启动参数如下:
| ConfigServerApplication-configserver01 | Config-Server | config-server1 | 8501 | spring.profiles.active=configserver01 |
| ConfigServerApplication-configserver02 | Config-Server | config-server2 | 8502 | spring.profiles.active=configserver02 |
2.2 Config-Client集群
在Config-Client项目中,新建bootstrap-configclient01.yml、bootstrap-configclient02.yml,内容如下:
bootstrap-configclient01.yml
server:
port: 10002
spring:
application:
name: Config–Client
cloud:
config:
discovery:
enabled: true
service-id: Config–Server
profile: cluster
label: master
username: wno704
password: xxxxxx
management:
endpoints:
web:
exposure:
include: refresh
eureka:
instance:
instance-id: config–client1
prefer-ip-address: off
client:
register-with-eureka: true # 是否向注册中心注册自己
fetch-registry: true # 是否检索服务
service-url:
defaultZone: http://wno704:xxxxxx@eureka01:9001/eureka/,http://wno704:xxxxxx@eureka02:9002/eureka/
bootstrap-configclient02.yml
server:
port: 10003
spring:
application:
name: Config–Client
cloud:
config:
discovery:
enabled: true
service-id: Config–Server
profile: cluster
label: master
username: wno704
password: xxxxxx
management:
endpoints:
web:
exposure:
include: refresh
eureka:
instance:
instance-id: config–client2
prefer-ip-address: off
client:
register-with-eureka: true # 是否向注册中心注册自己
fetch-registry: true # 是否检索服务
service-url:
defaultZone: http://wno704:xxxxxx@eureka01:9001/eureka/,http://wno704:xxxxxx@eureka02:9002/eureka/
在GitHub仓库新增config-client-cluster.yml,内容为:
env: 集群测试配置刷新
端口配置与启动参数如下:
| ConfigClientApplication-configclient01 | Config-Client | config-client1 | 10002 | spring.profiles.active=configclient01 |
| ConfigClientApplication-configclient02 | Config-Client | config-client2 | 10003 | spring.profiles.active=configclient02 |
2.3 验证测试
集群节点启动后如下图:

这时候我们访问http://localhost:10002/test/getConfigInfo
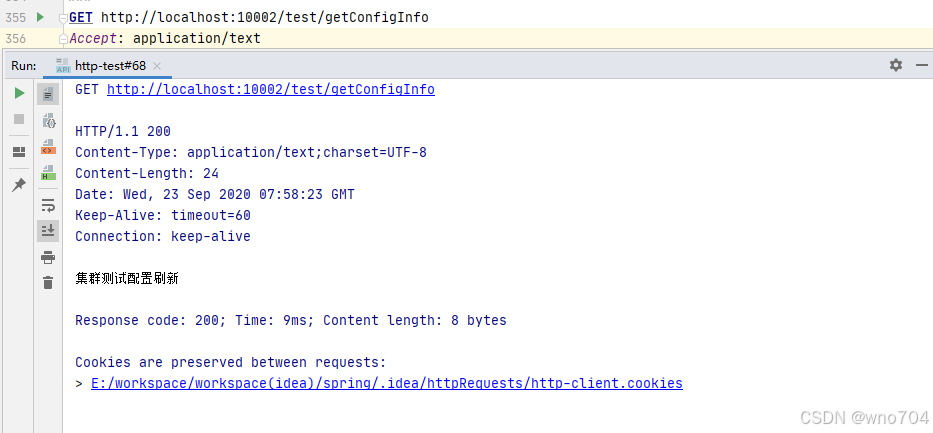
http://localhost:10003/test/getConfigInfo
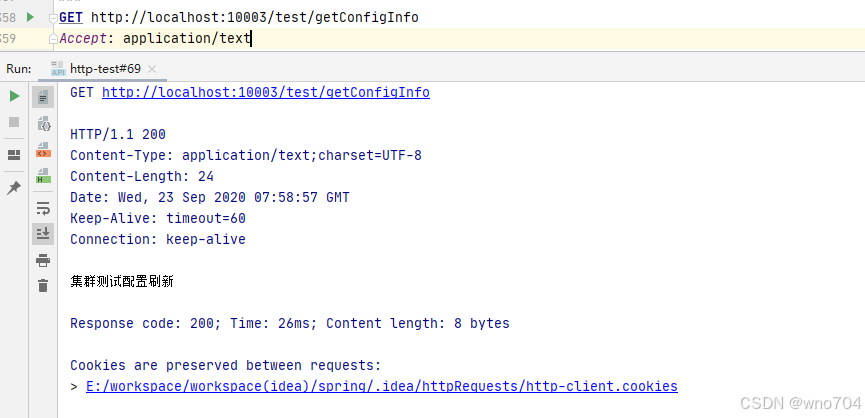
接着手动修改Git仓库里的env值为env: 集群测试配置刷新~~~~~ ,同时配置webhooks,URL为http://localhost:10002/refresh,并往10002端口的Config-Client发送刷新请求:
curl -X POST http://localhost:10002/actuator/refresh
这时候我们再次访问http://localhost:10002/test/getConfigInfo
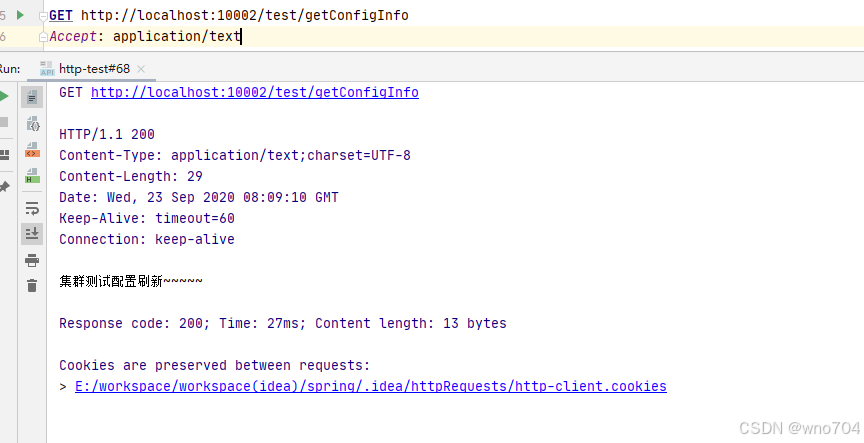
可以看到10002端口的Config-Client获取的配置信息已经得到了更新
http://localhost:10003/test/getConfigInfo
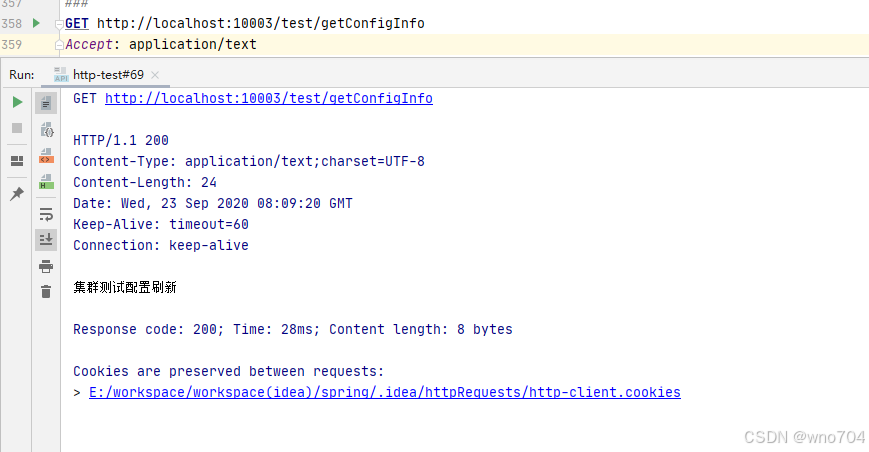
可看到,其获取的配置仍然是旧的。这也证实了我们一开始的结论。
三、Spring Cloud Bus刷新配置
Spring Cloud Bus支持RabbitMQ和Kafka等消息中间件,这里只介绍配合RabbitMQ的使用方式。RabbitMQ的安装与启动可以参考《Windows下安装RabbitMQ》中的介绍。
3.1 引入依赖
在Config-Server和Config-Client的pom中引入spring-cloud-starter-bus-amqp和spring-boot-starter-actuator依赖:
<dependency>
<groupId>org.springframework.cloud</groupId>
<artifactId>spring-cloud-starter-bus-amqp</artifactId>
</dependency>
<dependency>
<groupId>org.springframework.boot</groupId>
<artifactId>spring-boot-starter-actuator</artifactId>
</dependency>
其中spring-cloud-starter-bus-amqp是Spring Cloud Bus的RabbitMQ实现,刷新用的端点由spring-boot-starter-actuator提供。
3.2 配置链接信息
然后在Config-Server和Config-Client的application.yml中引入RabbitMQ的连接信息:
spring:
rabbitmq:
# RabbitMQ IP
host: localhost
# RabbitMQ Port
port: 5672
# default RabbitMQ username
username: guest
# default RabbitMQ password
password: guest
management:
endpoints:
web:
exposure:
include: bus–refresh
注意:Spring boot 2.0的改动较大,/bus/refresh全部整合到actuador里面了,所以之前1.x的management.security.enabled全部失效,不适用于2.0,2.0的配置必须如上配置。
到这里,对Config-Server和Config-Client改造就完成了,没错就是这么简单
3.3 项目启动与监控
参考2.3,启动项目集群后我们访问RabbitMQ的控制页面:http://localhost:15672,可看到在Queues中多了四个springCloudBus队列:
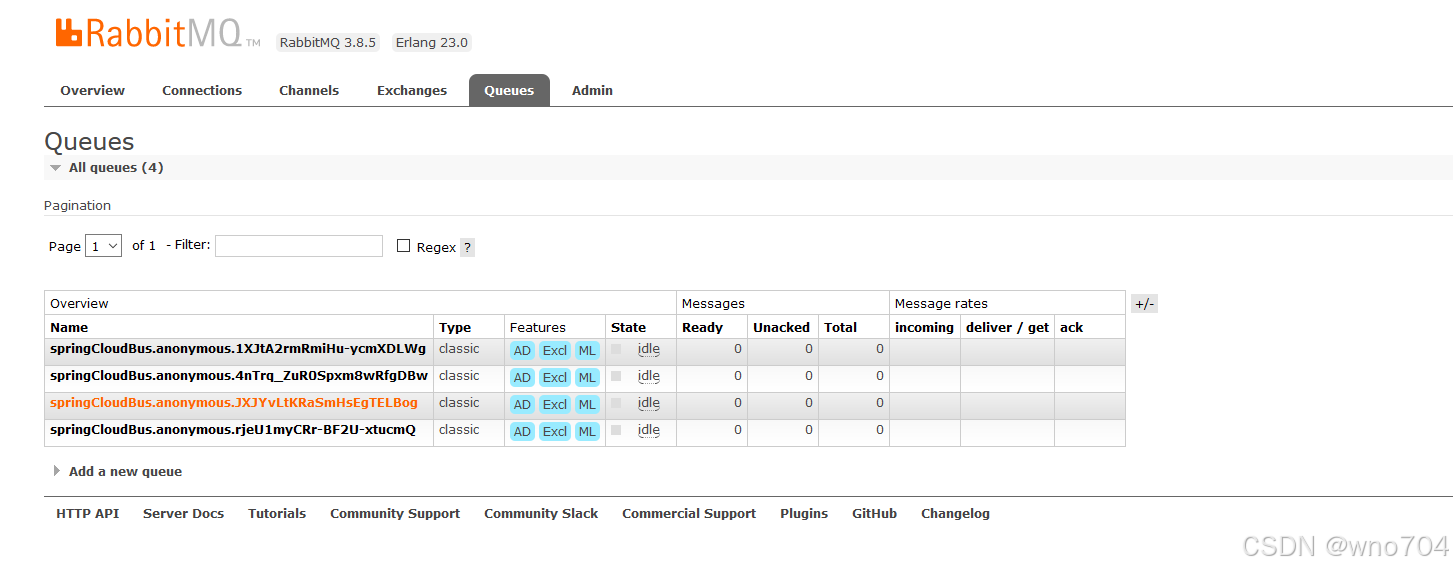
3.4 验证
手动修改Git仓库里env的配置值为’spring cloud bus test’,然后往任意一个节点发送actuator/bus-refresh POST请求:
curl -X POST http://localhost:10002/actuator/bus-refresh
这时候我们访问http://localhost:10002/test/getConfigInfo
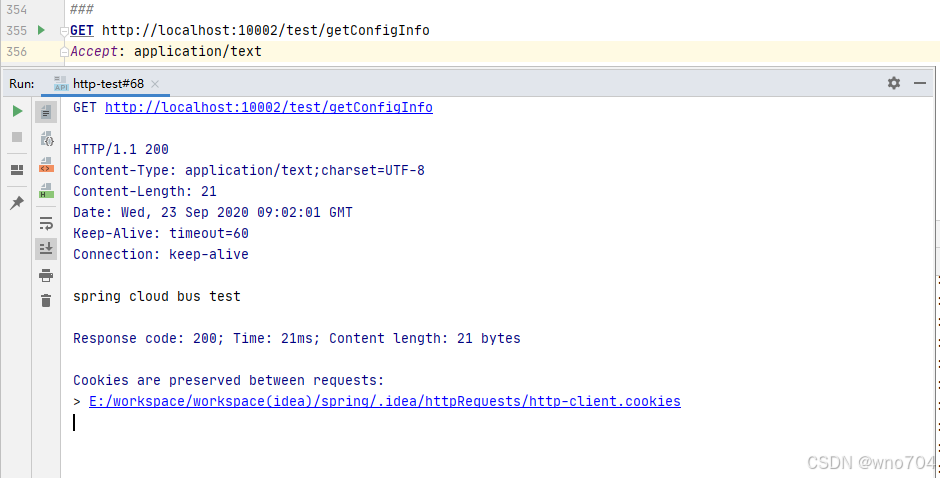
可以看到10002端口的Config-Client获取的配置信息已经得到了更新
http://localhost:10003/test/getConfigInfo
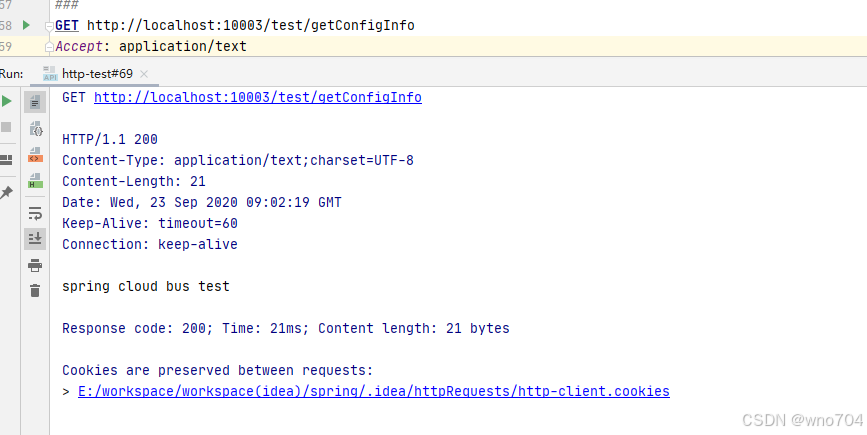
可看到,其获取的配置都已刷新成功。
四、WebHooks
配合WebHooks可以实现自动配置刷新,在配置得到修改的时候它可以代替我们向Config-Server发送刷新请求。

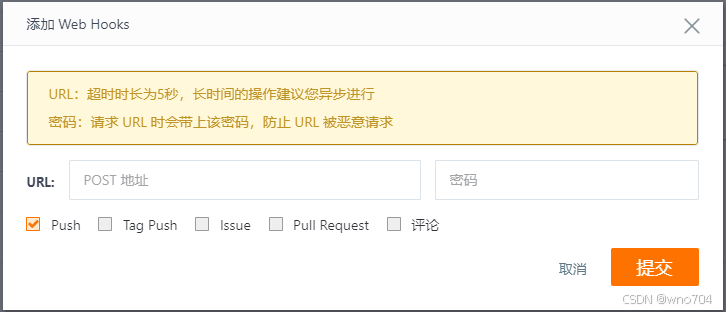
由于这里是在本地运行测试没有公网IP,所以没法测试,这里就不演示了。