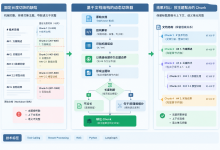
在我的之前的博客里已经详细说明了网络爬虫库和robots.txt规则以及使用requests库的get()函数获取网页资源的具体应用案例。本篇博客我将继续通过函数功能介绍并结合具体实战案例的方法,循序渐进地剖析request库的post()函数和实现动态页面自动化的Selenium 库 。
一、requests.post()
requests.post() 是 Python requests 库中用于发送 HTTP POST 请求的核心函数。它主要用于向服务器提交数据,比如登录表单、上传文件、调用 API 接口等。
1、基本语法
import requests
response = requests.post(url, data=None, json=None, **kwargs)
- url:目标请求地址(必填)。
- data:要发送的表单数据(字典、元组列表或字符串)。
- json:要发送的 JSON 数据(字典),会自动设置 Content-Type: application/json。
- **kwargs:其他可选参数(如 headers、cookies、timeout 等,与 get() 相同)。
post() 和 get() 最大区别: GET 用于“获取”,POST 用于“提交”;POST 的数据放在请求体(body)中,而 GET 放在 URL 参数里。
2、常见使用场景与示例
1. 提交表单数据(模拟登录)
import requests
url = "https://httpbin.org/post"
data = {
'username': 'alice',
'password': '123456'
}
response = requests.post(url, data=data)
print(response.json()) # 查看服务器收到的数据
🔍 此时请求头自动包含:Content-Type: application/x-www-form-urlencoded
2. 发送 JSON 数据(调用 RESTful API)
import requests
url = "https://api.example.com/users"
payload = {
"name": "Bob",
"email": "bob@example.com"
}
# 方法1:使用 json 参数(推荐)
response = requests.post(url, json=payload)
# 方法2:手动序列化 + 设置 headers
# import json
# response = requests.post(url, data=json.dumps(payload),
# headers={'Content-Type': 'application/json'})
使用 json= 参数时,requests 会:
- 自动将字典转为 JSON 字符串
- 自动设置 Content-Type: application/json
3. 上传文件
files = {'file': open('report.pdf', 'rb')}
response = requests.post("https://httpbin.org/post", files=files)
⚠️ 注意:文件会以 multipart/form-data 格式上传,适合图片、文档等二进制数据。
二、Selenium 库
selenium库是一种用于Web应用程序测试的工具,它可以驱动浏览器执行特定操作,自动按照脚本代码做出单击、输入、打开、验证等操作,支持的浏览器包括IE、Firefox、Safari、Chrome、Openra等。而在办公领域中如果经常需要使用浏览器操作某些内容,就可以使用selenium库来实现,例如将大量数据上传到网页中,或者实现自动驱动浏览器进行操作。
与requests库不同的是,selenium库是基于浏览器的驱动程序来驱动浏览器执行操作的。且浏览器可以实现网页源代码的渲染,因此通过selenium库还可以轻松获取网页中渲染后的数据信息。
1、Selenium 驱动浏览器的原理
Selenium 并不直接控制浏览器,而是通过 WebDriver 协议 实现间接通信:
Python 脚本
↓ (调用 selenium 库)
Selenium WebDriver (Python 接口)
↓ (发送 HTTP 请求)
浏览器专属驱动程序(如 chromedriver)
↓ (本地协议)
真实浏览器(Chrome / Firefox 等)
✅ 关键点:
- 每种浏览器都有专属的 Driver(如 Chrome → chromedriver,Firefox → geckodriver)。
- Driver 充当“翻译官”,把 Selenium 指令转为浏览器能理解的操作。
- 必须确保 Driver 版本与浏览器版本兼容!
2、准备工作步骤
步骤 1:安装 selenium 库
在终端执行:
pip install selenium
验证安装成功:
import selenium
print(selenium.__version__)
步骤 2:下载并配置 WebDriver
以 Google Chrome 为例
-
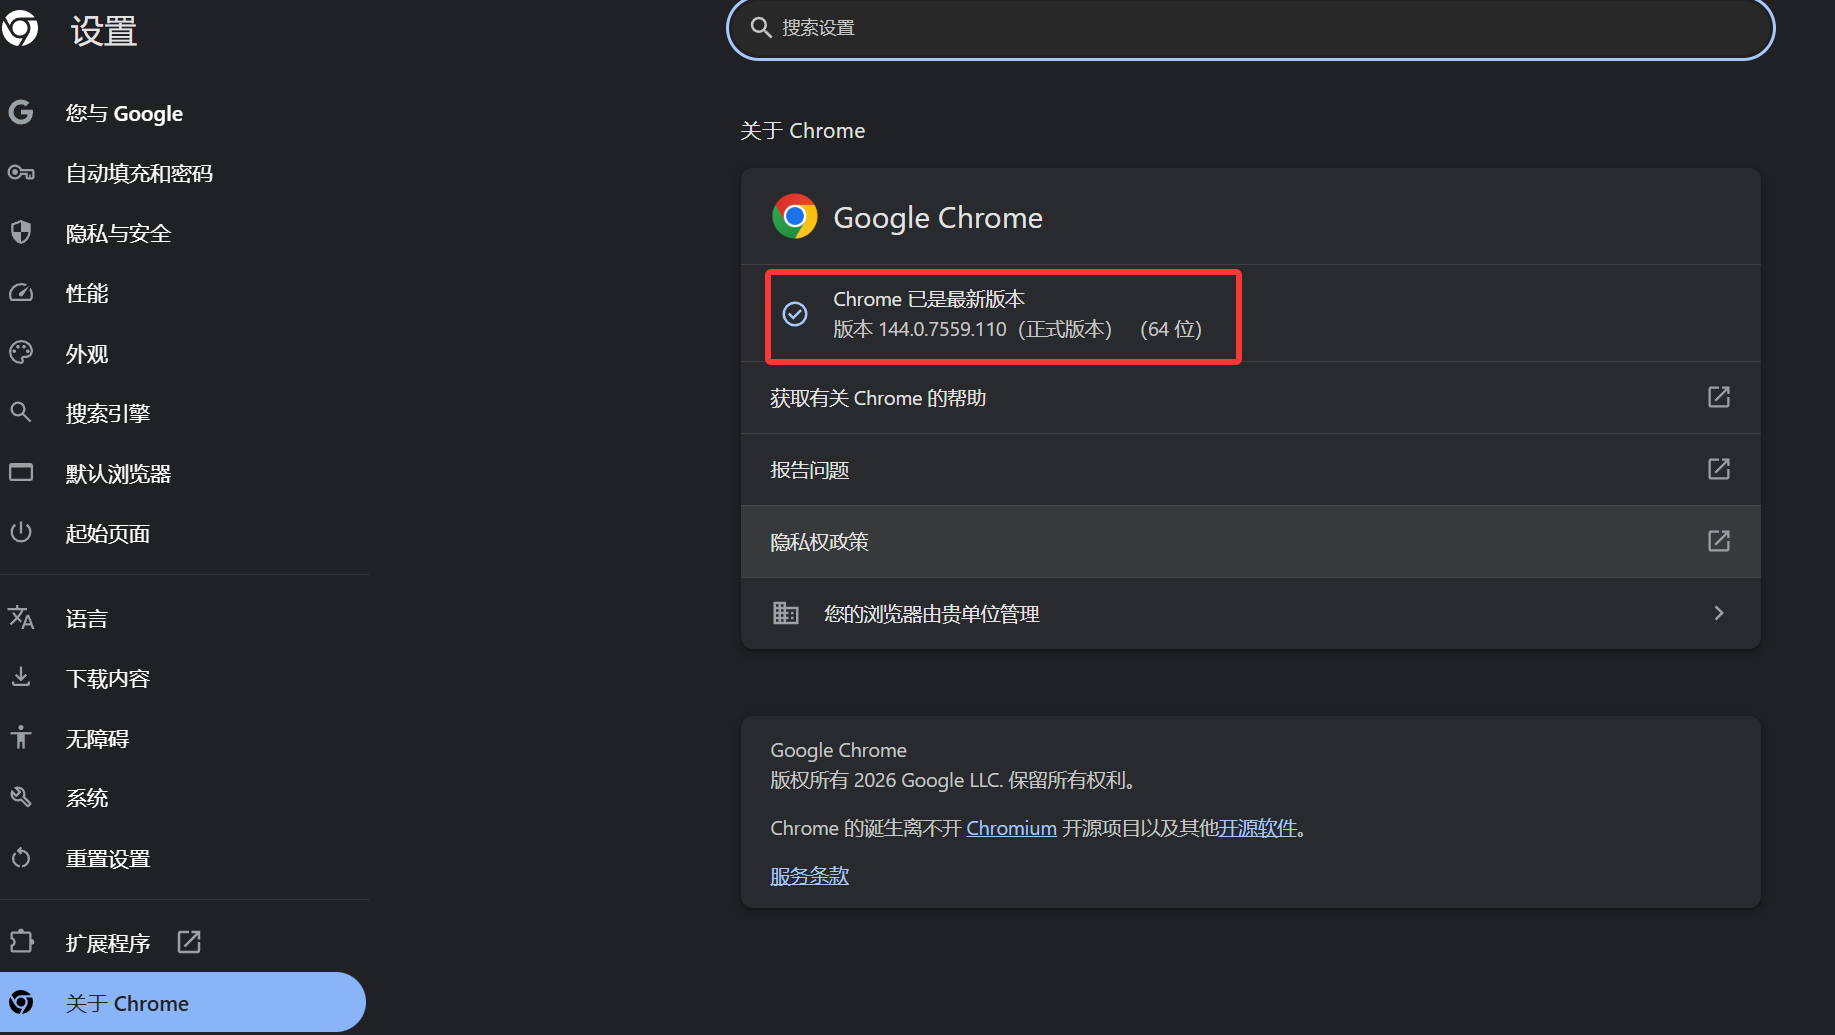
查看 Chrome 浏览器版本
打开 Chrome → 右上角 ⋮ → 帮助 → 关于 Google Chrome 示例版本:125.0.6422.142
-
下载对应版本的 ChromeDriver
访问官方下载页:https://chromedriver.chromium.org/ 或自动匹配工具:https://googlechromelabs.github.io/chrome-for-testing/
-
解压并放置到系统 PATH 中
- Windows:将 chromedriver.exe 放入 C:\\Windows\\ 或 Python 安装目录
- macOS/Linux:将 chromedriver 移动到 /usr/local/bin/ sudo mv chromedriver /usr/local/bin/
sudo chmod +x /usr/local/bin/chromedriver
验证是否生效:
chromedriver –version
# 输出示例:ChromeDriver 125.0.6422.141
其他浏览器驱动下载地址
| Firefox | geckodriver | https://github.com/mozilla/geckodriver/releases |
| Edge | msedgedriver | https://developer.microsoft.com/en-us/microsoft-edge/tools/webdriver/ |
| Safari | 内置(需启用) | Safari → 开发 → 允许远程自动化 |
三、使用 WebDriver 驱动浏览器
基础用法
from selenium import webdriver
from selenium.webdriver.chrome.service import Service
from selenium.webdriver.common.by import By
# 方式1:自动查找 PATH 中的 chromedriver(推荐)
driver = webdriver.Chrome()
# 方式2:手动指定 driver 路径(兼容旧版)
# service = Service(executable_path="/path/to/chromedriver")
# driver = webdriver.Chrome(service=service)
try:
# 打开网页
driver.get("https://www.baidu.com")
# 查找元素并操作
search_box = driver.find_element(By.ID, "kw")
search_box.send_keys("Selenium WebDriver")
# 点击搜索按钮
driver.find_element(By.ID, "su").click()
# 等待并打印标题
driver.implicitly_wait(3)
print("页面标题:", driver.title)
finally:
# 关闭浏览器
driver.quit()
常用 WebDriver 配置选项
from selenium.webdriver.chrome.options import Options
chrome_options = Options()
chrome_options.add_argument("–headless") # 无界面模式(后台运行)
chrome_options.add_argument("–no-sandbox") # 禁用沙盒(Linux 服务器常用)
chrome_options.add_argument("–disable-dev-shm-usage") # 防止内存不足
chrome_options.add_argument("–disable-gpu") # 禁用 GPU 加速
driver = webdriver.Chrome(options=chrome_options)
💡 无头模式(Headless):适合服务器环境或不需要可视化界面的场景。
案例:打开一个网页
import time
'''打开一个网页 '''
from selenium import webdriver #(驱动浏览器驱动)
from selenium.webdriver.edge.service import Service
service = Service(executable_path="./msedgedriver.exe") # 相对路径
driver = webdriver.Edge(service=service)
'''webdriver具备多种不同浏览器的驱动,
browser = webdriver.Firefox()
browser = webdriver.chrome()
browser = webdriver.PhantomJS()
browser= webdriver.Safari()
'''
# 使用get方法让WebDriver打开指定的URL,这里是Bilibili的主页。
driver.get('https://www.ptpress.com.cn/')
# driver.get('https://www.baidu.com/')
# input函数在这里用来暂停脚本的执行,直到用户按下回车键。
# 这样做是为了让用户能够观察到浏览器窗口中的结果
input('按回车退出…')
time.sleep(1)
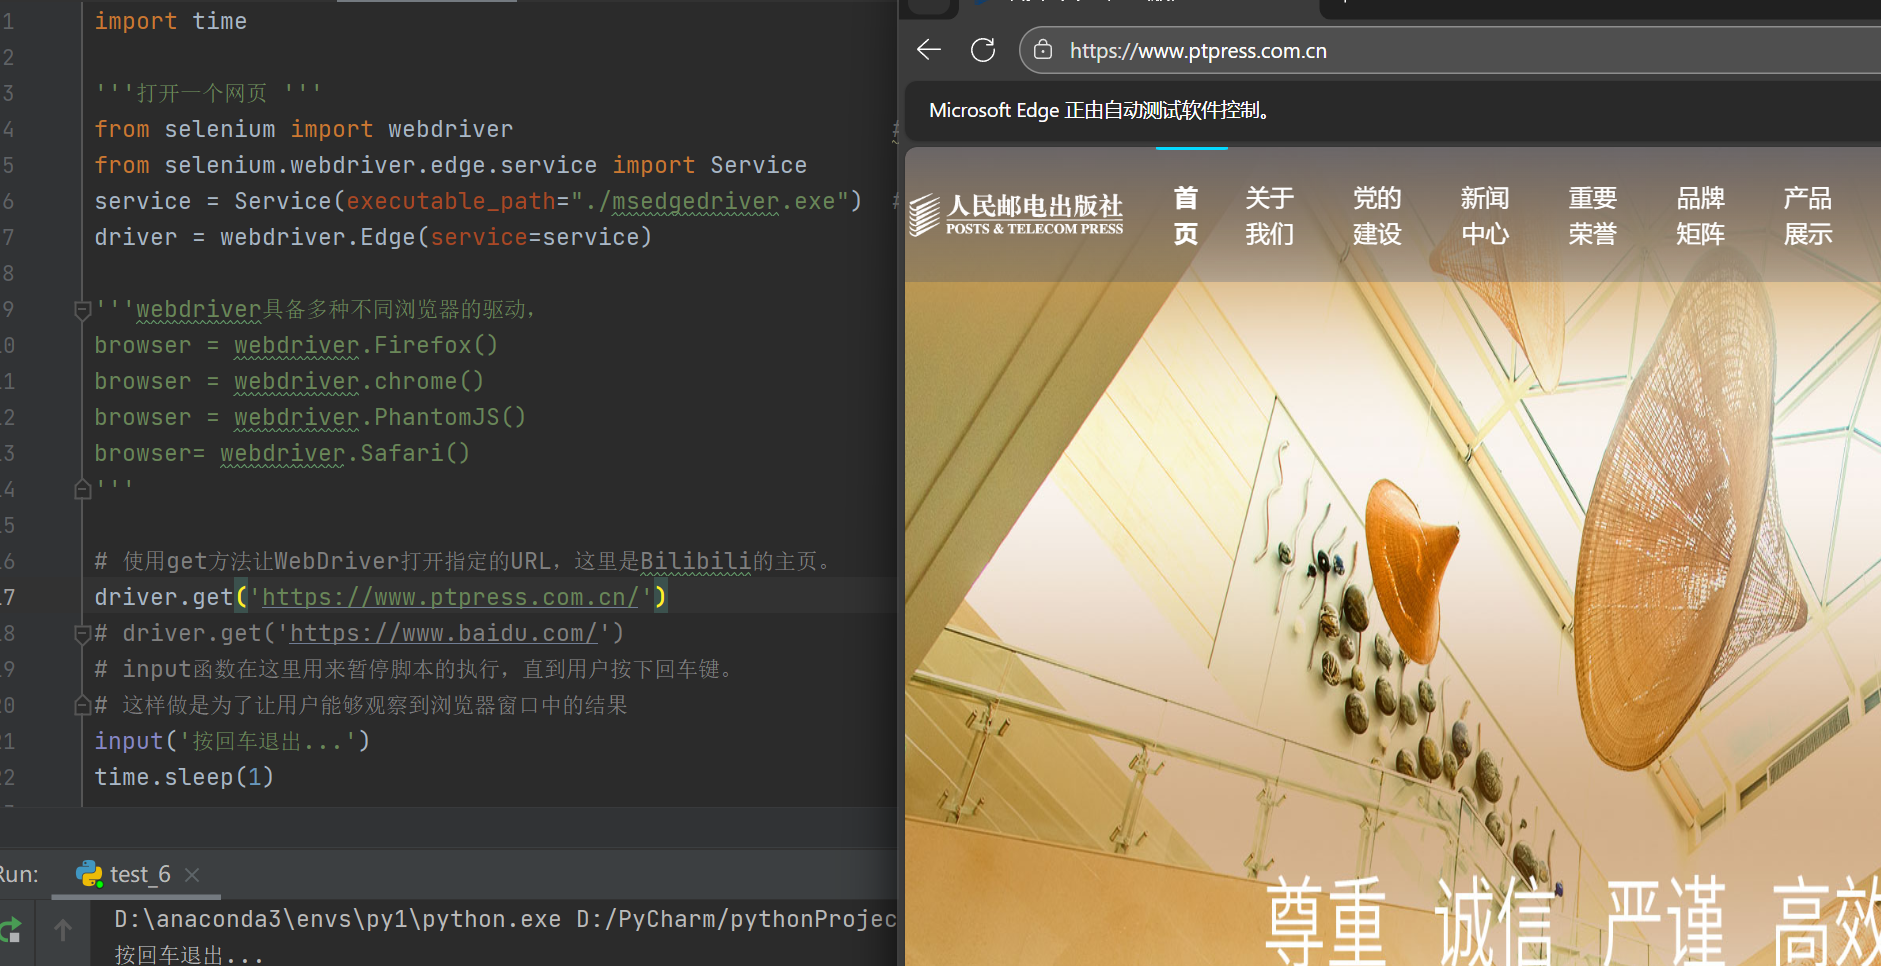
运行结果:
案例:向网页中输入文字并开始搜索
'''向网页中输入文字并开始搜索'''
from selenium import webdriver
from selenium.webdriver.edge.service import Service
from selenium.webdriver.common.keys import Keys
from selenium.webdriver.common.by import By
service = Service(executable_path="./msedgedriver.exe") # 相对路径
driver = webdriver.Edge(service=service)
driver.get('http://www.bilibili.com') # 打开bilibili
driver. find_element(by=By.TAG_NAME, value="input").send_keys("Python"+ Keys.ENTER)
#Keys.RETURN 用于模拟按下回车键
input("按回车退出…")
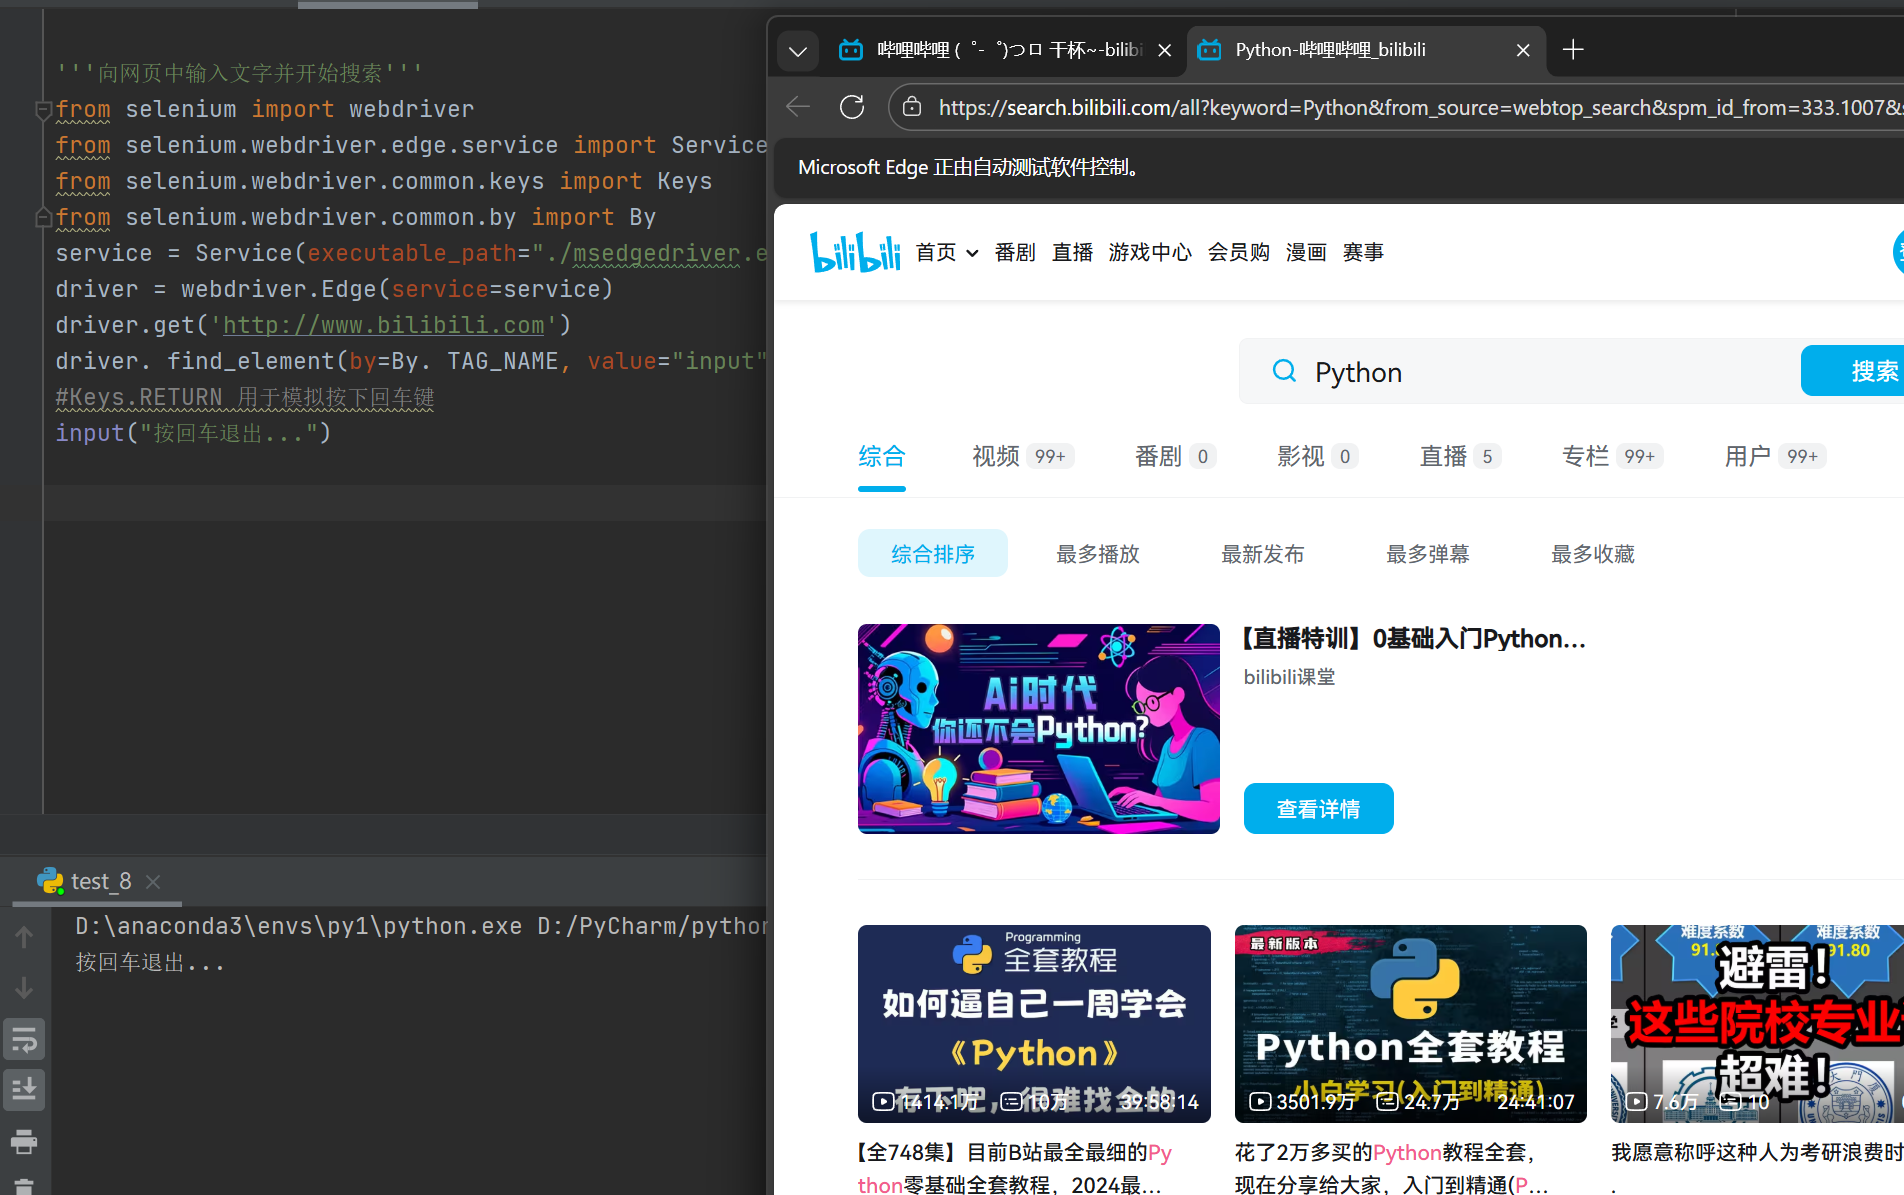
运行结果:
案例:从百度批量下载图片资源
import requests
import os
import time
if not os.path.exists("./迪丽热巴1"):
os.mkdir("./迪丽热巴1")
# 批量化下载网页资源
from selenium import webdriver
from selenium.webdriver.edge.service import Service
from selenium.webdriver.common.by import By
service = Service(executable_path="./msedgedriver.exe") # 相对路径
driver = webdriver.Edge(service=service)
driver.get('https://image.baidu.com/search/index?tn=baiduimage&ie=utf-8&word=热巴') # 执行JavaScript滚动操作
driver.execute_script("window.scrollTo(0, document.body.scrollHeight);")
time.sleep(5)
img_list=driver.find_elements(By.XPATH, value="//img[@class='img_7rRSL']")
i=1
for img in img_list:
# 获取图片的src属性
img_url = img.get_attribute("src")
img_data = requests.get(img_url)
# 保存图片到文件
with open(f"./迪丽热巴1/{i}.png", 'wb') as f:
f.write(img_data.content)
i += 1
四、常见问题排查
| WebDriverException: Message: 'chromedriver' executable not in PATH | 检查 Driver 是否放入系统 PATH,或使用 Service() 指定路径 |
| This version of ChromeDriver only supports Chrome version XX | 升级/降级 ChromeDriver 至匹配浏览器版本 |
| 启动后立即闪退 | 添加 driver.quit() 前加 input("按回车退出…") 调试 |
| 中文乱码或编码错误 | 在脚本开头添加 # -*- coding: utf-8 -*- |