第 一 章 · 环境与项目搭建
R3F 生态由以下核心库组成:
- @react-three/fiber:React 渲染器,把 Three.js 场景图映射为 React 组件树。
- @react-three/drei:社区维护的辅助组件库(相机控制、环境光、加载器、辅助线等)。
- @react-three/postprocessing:后期处理(辉光、景深、抗锯齿等)。
- three:底层 3D 引擎。
使用 Vite + React + TypeScript
安装
npm install three @react-three/fiber
- TypeScript 报错:确保安装了 @types/three,R3F 自带 JSX 类型扩展。
npm install -D @types/three
R3F 需要一个挂载点 <div>,Canvas 会渲染到其中:
// main.tsx
import React from 'react'
import ReactDOM from 'react-dom/client'
import App from './App'
import './index.css'
ReactDOM.createRoot(document.getElementById('root')!).render(
<React.StrictMode>
<App />
</React.StrictMode>,
)
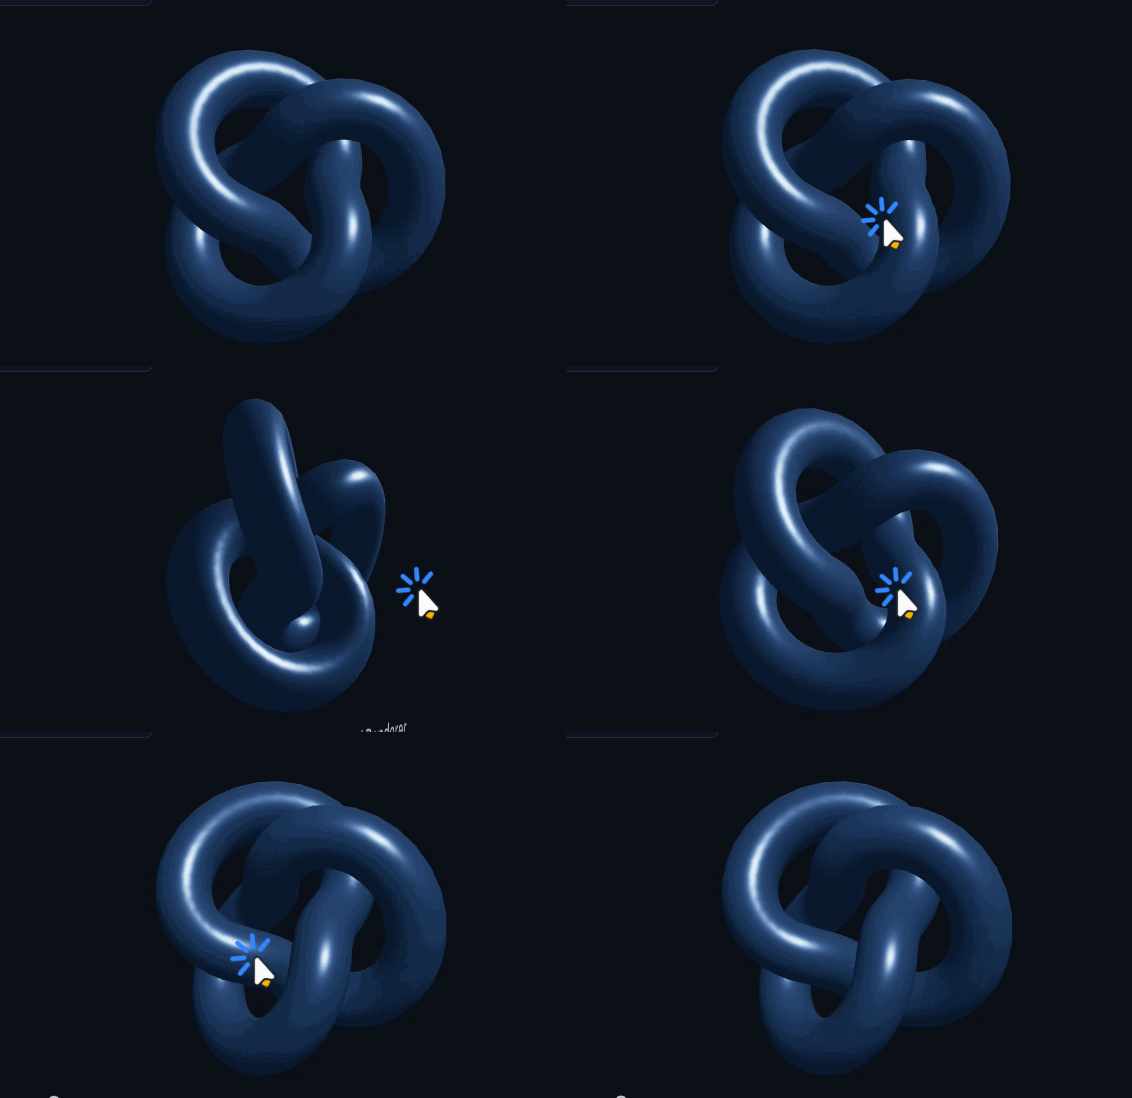
<mesh position={[0, 0.6, 0]}>
<torusKnotGeometry args={[0.6, 0.2, 100, 16]} />
<meshStandardMaterial color="#8ab4ff" roughness={0.3} metalness={0.6} />
</mesh>
第 2 章 核心概念与第一个场景
2.1 三个核心对象
R3F 把 Three.js 的概念映射为 React 组件:
| new THREE.Scene() | <Canvas> 内部隐式 | 场景容器 |
| new THREE.Mesh(…) | <mesh> | 网格(几何体+材质) |
| new THREE.PerspectiveCamera() | <Canvas camera={…}> | 相机 |
核心原则:所有 Three.js 对象在 R3F 中都是小写的 React 组件;所有属性都是 Three.js 对象的属性。
2.2 第一个场景
/**
*
* 最小声明式 3D 场景:
* <mesh> -> new THREE.Mesh()
* <boxGeometry /> -> new THREE.BoxGeometry() (args 省略即用默认值)
* <meshStandardMaterial color="orange" />
*
* 核心原则:小写组件对应 Three.js 对象,属性对应对象属性,args 对应构造函数参数。
*/
<mesh>
<boxGeometry args={[1.5, 1.5, 1.5]} />
<meshStandardMaterial color="orange" roughness={0.4} />
</mesh>
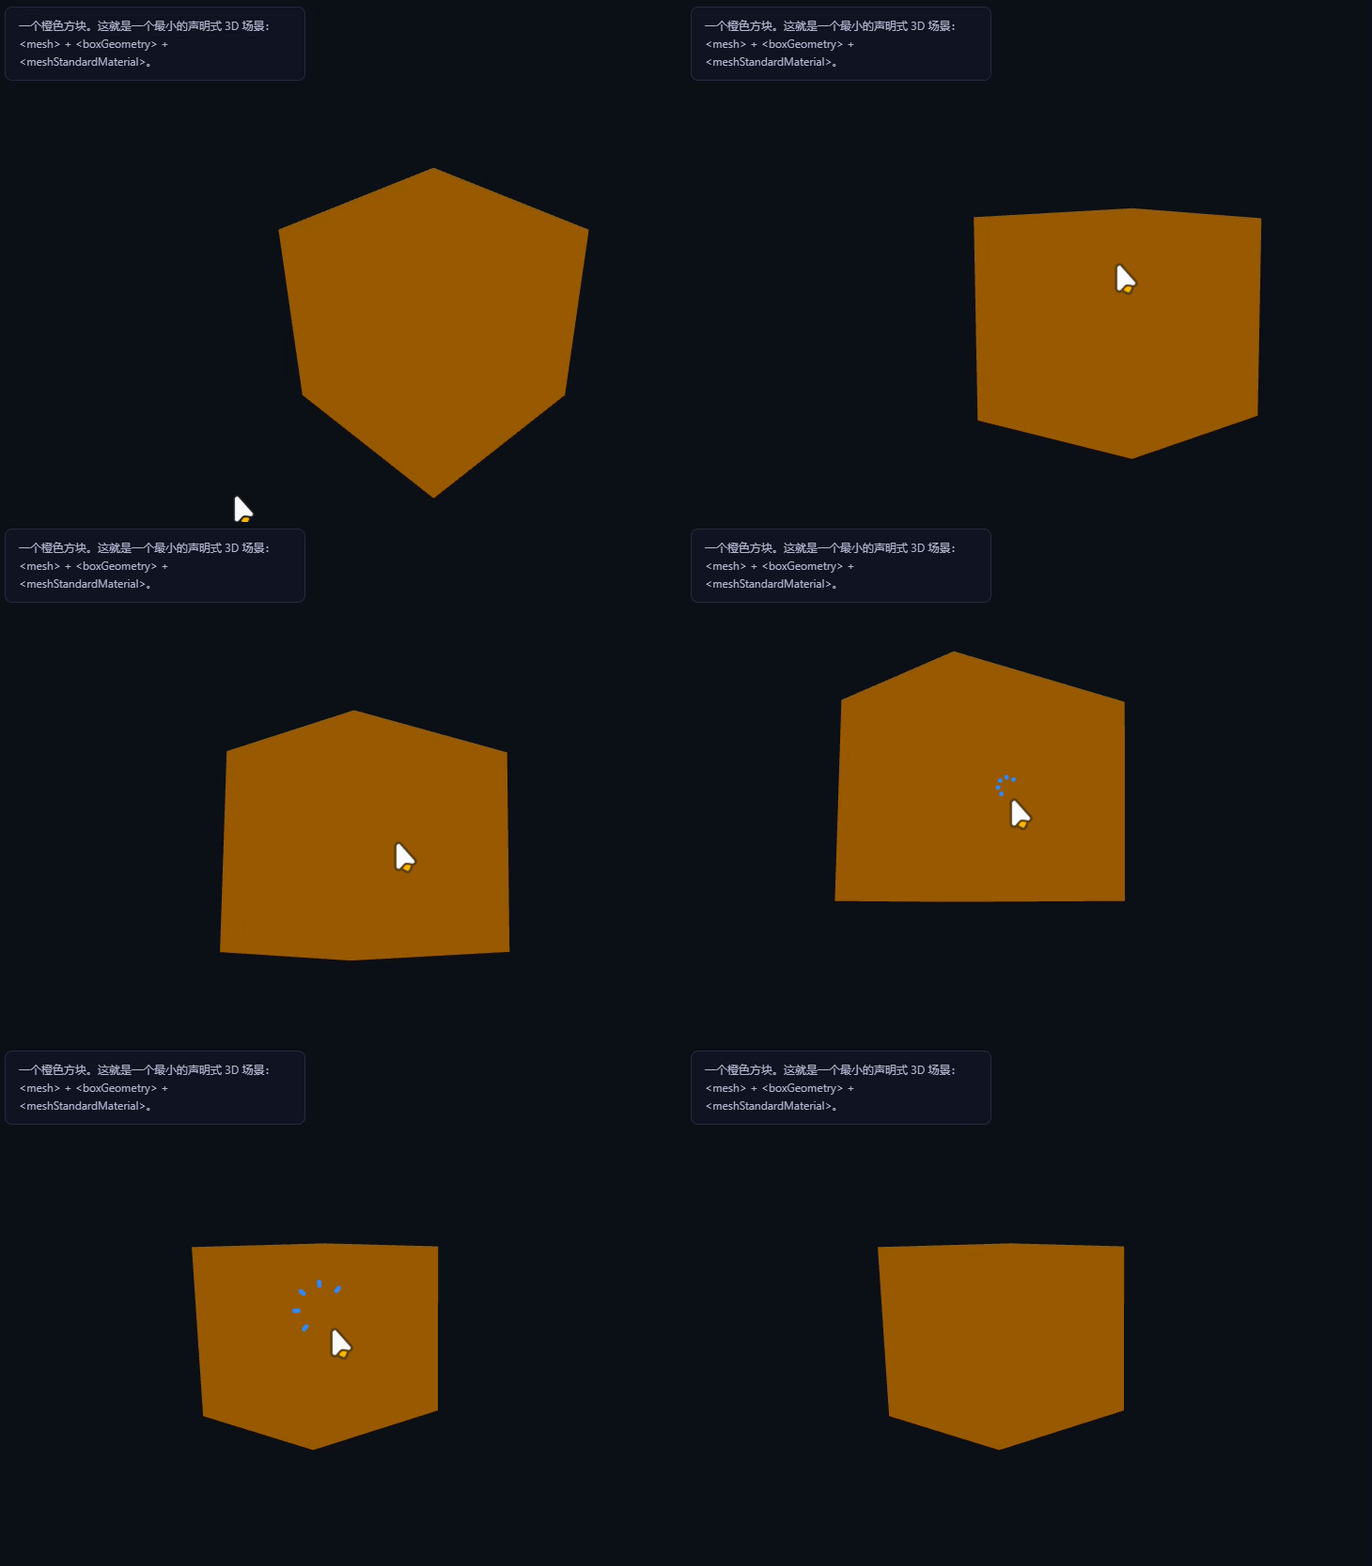
- <mesh> 是一个可渲染物体,<boxGeometry> 定义形状,<meshStandardMaterial> 定义外观。
- args 是构造函数的参数数组(对应 new THREE.BoxGeometry(1,1,1))。
2.3 理解声明式
命令式 Three.js:
const mesh = new THREE.Mesh(geometry, material)
mesh.position.x = 2
scene.add(mesh)
声明式 R3F(等价):
<mesh position-x={2}>
<boxGeometry />
<meshStandardMaterial />
</mesh>
声明式让 3D 场景随 React 状态/属性自动更新,无需手动 scene.add/remove。
第 3 章 几何体、材质与网格
3.1 常用几何体
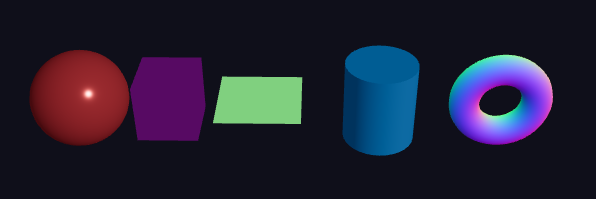
<sphereGeometry args={[0.8, 32, 32]} /> {/* 半径, 宽度分段, 高度分段 */}
<boxGeometry args={[1, 1, 1]} />
<planeGeometry args={[1.4, 1.4]} />
<cylinderGeometry args={[1, 1, 2, 32]} /> {/* 上半径, 下半径, 高, 分段 */}
<torusGeometry args={[1, 0.4, 16, 100]} />

3.2 材质对比
<meshBasicMaterial color="#51cf66" /> {/* 不受光照影响 */}
<meshStandardMaterial color="#ff6b6b" roughness={0.2} metalness={0.3} />{/* PBR 物理材质 */}
<meshNormalMaterial /> {/* 法线可视化,调试常用 */}
<meshPhongMaterial color="#4dabf7" shininess={100} />
3.3 组合多个网格
<>
<mesh position={[-2, 2, 0]}>
<boxGeometry args={[1, 1, 1]} />
<meshStandardMaterial color="hotpink" />
</mesh>
<mesh position={[2, 2, 0]}>
<sphereGeometry args={[0.7, 32, 32]} />
<meshStandardMaterial color="royalblue" />
</mesh>
</>
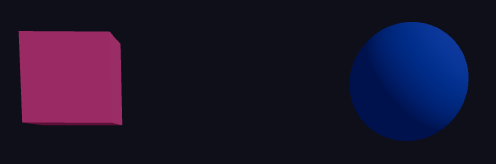
用 <> Fragment 包裹多个网格,避免额外 DOM 节点。
第 4 章 灯光与阴影
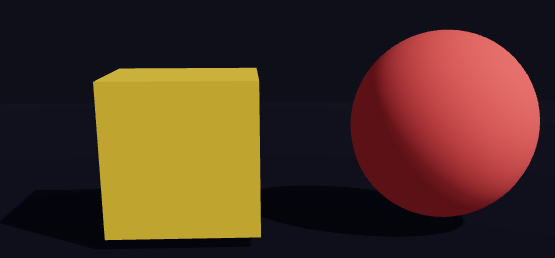
阴影三要素(缺一不可):
1. <Canvas shadows> —— Canvas 开启阴影(在章节注册表 canvasProps 中设置)
2. 光源 castShadow —— 平行光开启投影
3. 物体 castShadow / receiveShadow —— 投射与接收阴影
4.1 灯光类型
{/* 全局环境光,无方向 */}
<ambientLight intensity={1} />
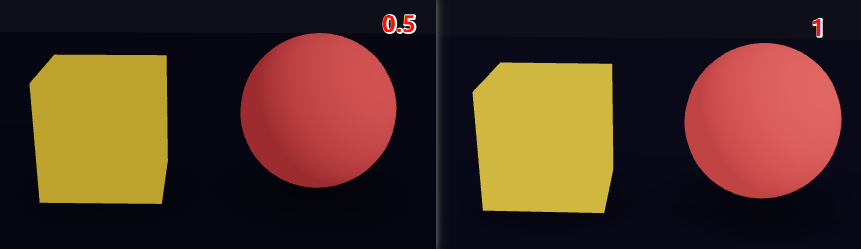
{/* 平行光,投射阴影 */}
<directionalLight
castShadow
position={[5, 6, 4]}
intensity={1.2}
shadow-mapSize-width={1024}
shadow-mapSize-height={1024}
/>
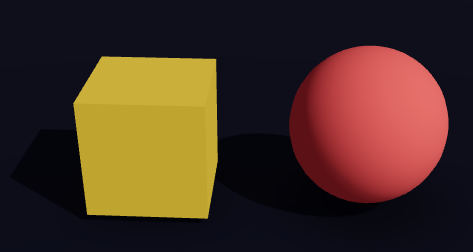
{/* 点光源,制造冷暖对比 */}
<pointLight position={[-4, 2, -2]} intensity={20} color="#8ab4ff" />

<spotLight position={[-1, 2, 0]} angle={1} penumbra={0.5} castShadow />
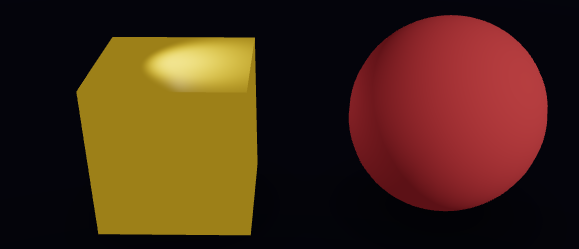
4.2 启用阴影
需要三处设置:
<Canvas shadows>
{/* 1. 光源开启 castShadow */}
<directionalLight castShadow position={[5, 5, 5]} />
{/* 2. 投射阴影的物体 */}
<mesh castShadow>
<boxGeometry />
<meshStandardMaterial />
</mesh>
{/* 3. 接收阴影的地面 */}
<mesh receiveShadow rotation={[-Math.PI / 2, 0, 0]}>
<planeGeometry args={[10, 10]} />
<meshStandardMaterial />
</mesh>
</Canvas>
4.3 使用 drei 的辅助光源
import { Environment, ContactShadows } from '@react-three/drei'
<Environment preset="sunset" /> {/* 基于图像的照明(IBL) */}
<ContactShadows opacity={0.5} blur={2} /> {/* 接触阴影,性能好 */}
第 5 章 相机与控制
5.1 配置相机
camera: { position: [4, 3, 5], fov: 50 }
5.2 轨道控制器(OrbitControls)
import { OrbitControls } from '@react-three/drei'
<Canvas>
<OrbitControls enableZoom enablePan enableRotate />
{/* 场景内容 */}
</Canvas>
常用属性:
- autoRotate:自动旋转
- minDistance / maxDistance:缩放范围
- maxPolarAngle:限制垂直角度
5.3 多相机切换
import { useThree } from '@react-three/fiber'
function CameraRig() {
const { camera, set } = useThree()
// 可以通过 set({ camera: newCamera }) 切换
return null
}
第 6 章 动画与 useFrame
6.1 useFrame 基础
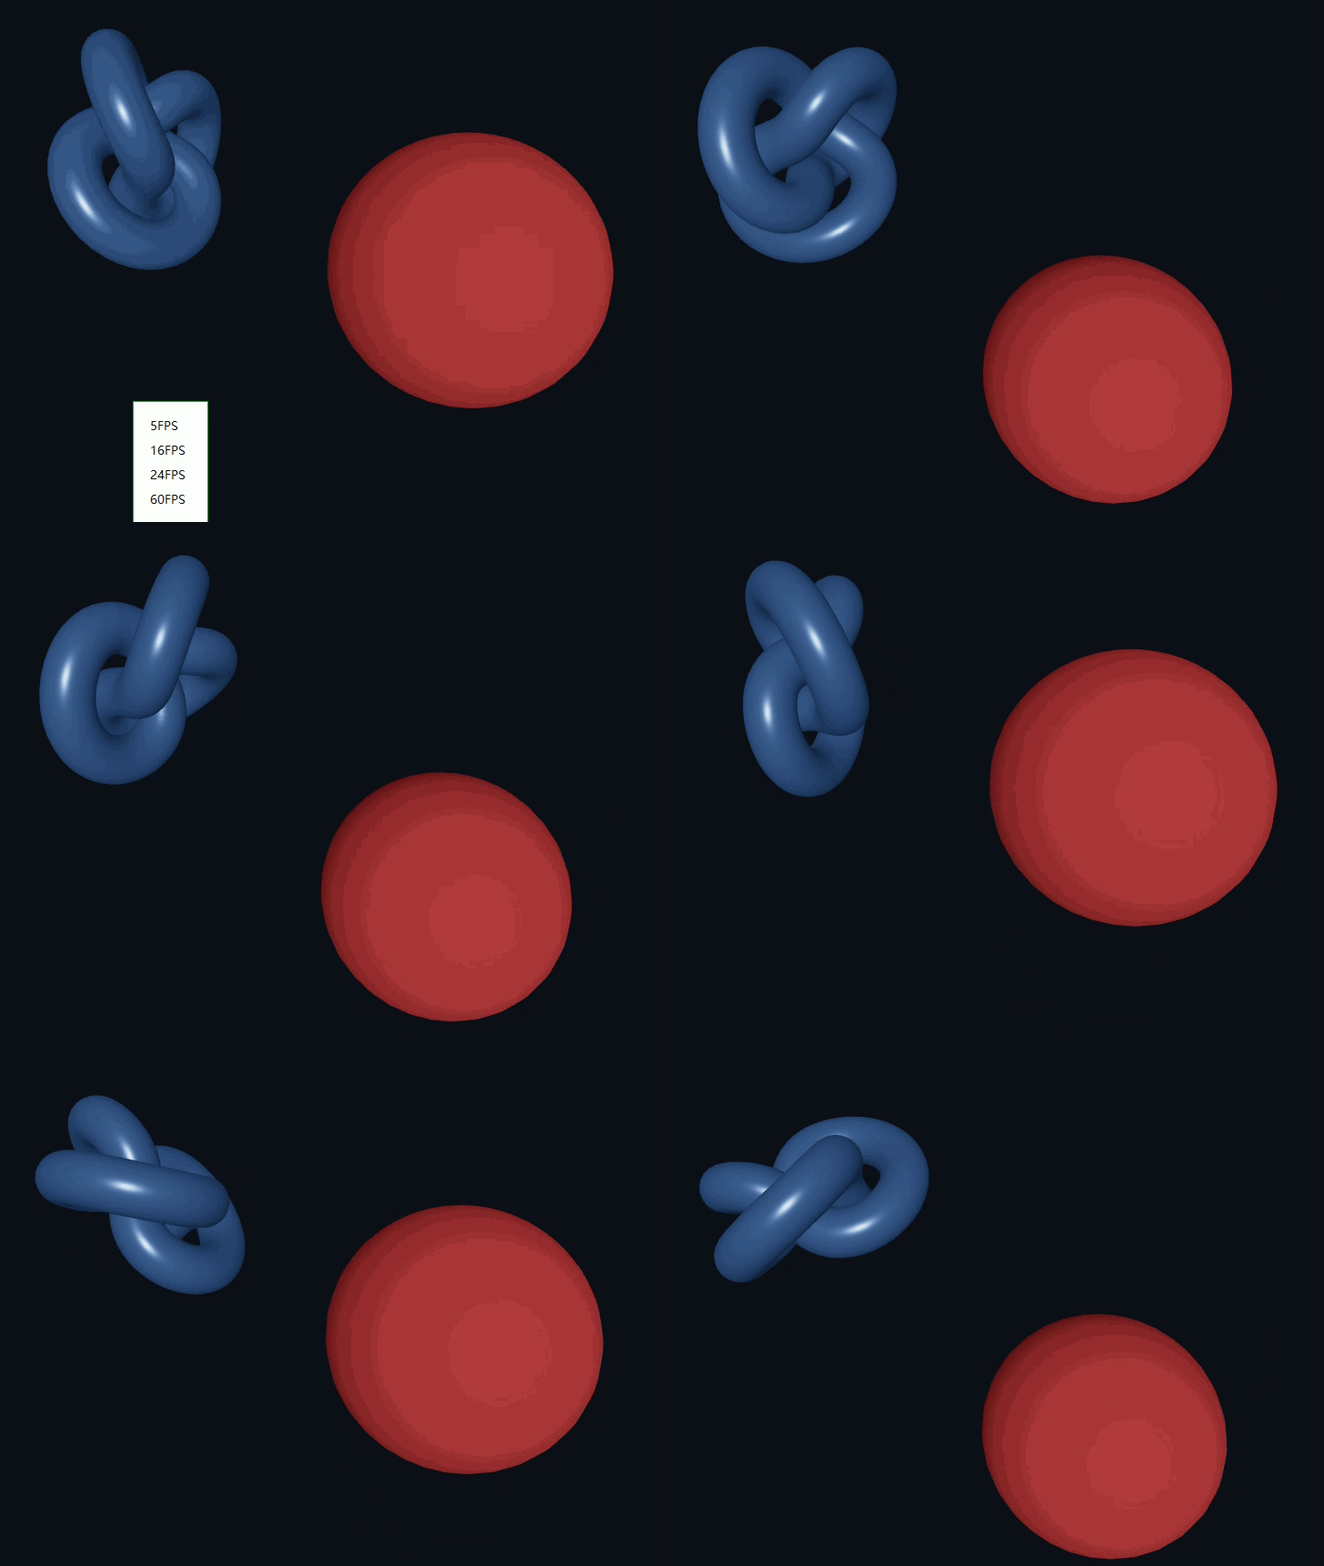
useFrame 在每一帧渲染前调用,是 R3F 实现动画的核心 Hook:
import { useFrame } from '@react-three/fiber'
useFrame((state, delta) => {
const spinRef = useRef<Mesh>(null!)
const floatRef = useRef<Mesh>(null!)
// 持续自转(用 delta 保证帧率无关)
if (spinRef.current) {
spinRef.current.rotation.x += delta
spinRef.current.rotation.y += delta * 0.6
}
})
6.2 基于时间的动画
useFrame((state,delta) => {
const t = state.clock.elapsedTime
// 基于时间的上下浮动
if (floatRef.current) {
floatRef.current.position.y = Math.sin(t * 2) * 0.6
}
})
第 7 章 交互与事件
R3F 网格支持 DOM 风格的事件:
const ref = useRef<Mesh>(null!)
const [hovered, setHovered] = useState(false)
const [active, setActive] = useState(false)
useFrame((_, delta) => {
if (ref.current) {
ref.current.rotation.y += delta * (active ? 2 : 0.4)
}
})
return (
<mesh
ref={ref}
position={[0, 0.5, 0]}
scale={hovered ? 1.25 : 1}
onPointerOver={(e) => {
e.stopPropagation()
setHovered(true)
document.body.style.cursor = 'pointer'
}}
onPointerOut={() => {
setHovered(false)
document.body.style.cursor = 'auto'
}}
onClick={(e) => {
e.stopPropagation()
setActive((v) => !v)
}}
>
<boxGeometry args={[1.4, 1.4, 1.4]} />
<meshStandardMaterial color={active ? '#ff6b6b' : '#4dabf7'} roughness={0.35} />
</mesh>
)
7.2 事件对象
onClick={(e) => {
e.stopPropagation()// 阻止冒泡
setActive((v) => !v)
}}

第 8 章 加载外部资源(模型/纹理)
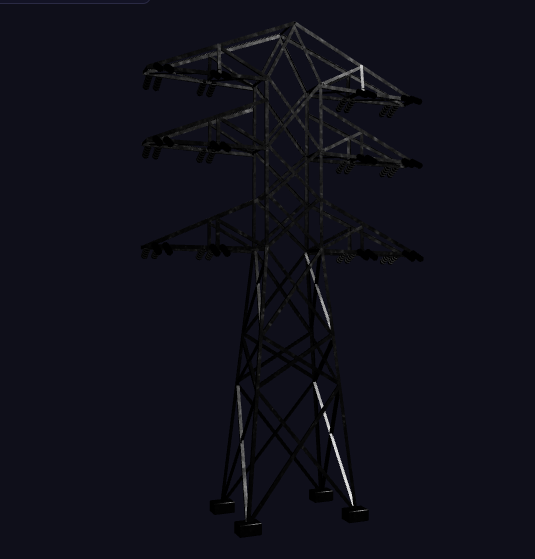
8.1 加载 GLTF 模型
import { useGLTF } from '@react-three/drei'
function Model() {
const { scene } = useGLTF('/model.glb')
return <primitive object={scene} />
}
// 预加载(可选)
useGLTF.preload('/model.glb')
8.2 加载纹理
import { useTexture } from '@react-three/drei'
function TexturedBox() {
const texture = useTexture('/texture.jpg')
return (
<mesh>
<boxGeometry />
<meshStandardMaterial map={texture} />
</mesh>
)
}
8.3 加载状态(Suspense)
import { Suspense } from 'react'
import { Html, useProgress } from '@react-three/drei'
function Loader() {
const { progress } = useProgress()
return <Html center>{progress} % loaded</Html>
}
<Canvas>
<Suspense fallback={<Loader />}>
<Model />
</Suspense>
</Canvas>
第 9 章 状态管理与跨组件通信
9.1 使用 useThree 访问全局
import { useThree } from '@react-three/fiber'
function Info() {
const { camera, scene, size, gl } = useThree()
// camera: 当前相机
// size: Canvas 尺寸 { width, height }
// gl: WebGLRenderer
return null
}
9.2 组件间共享状态
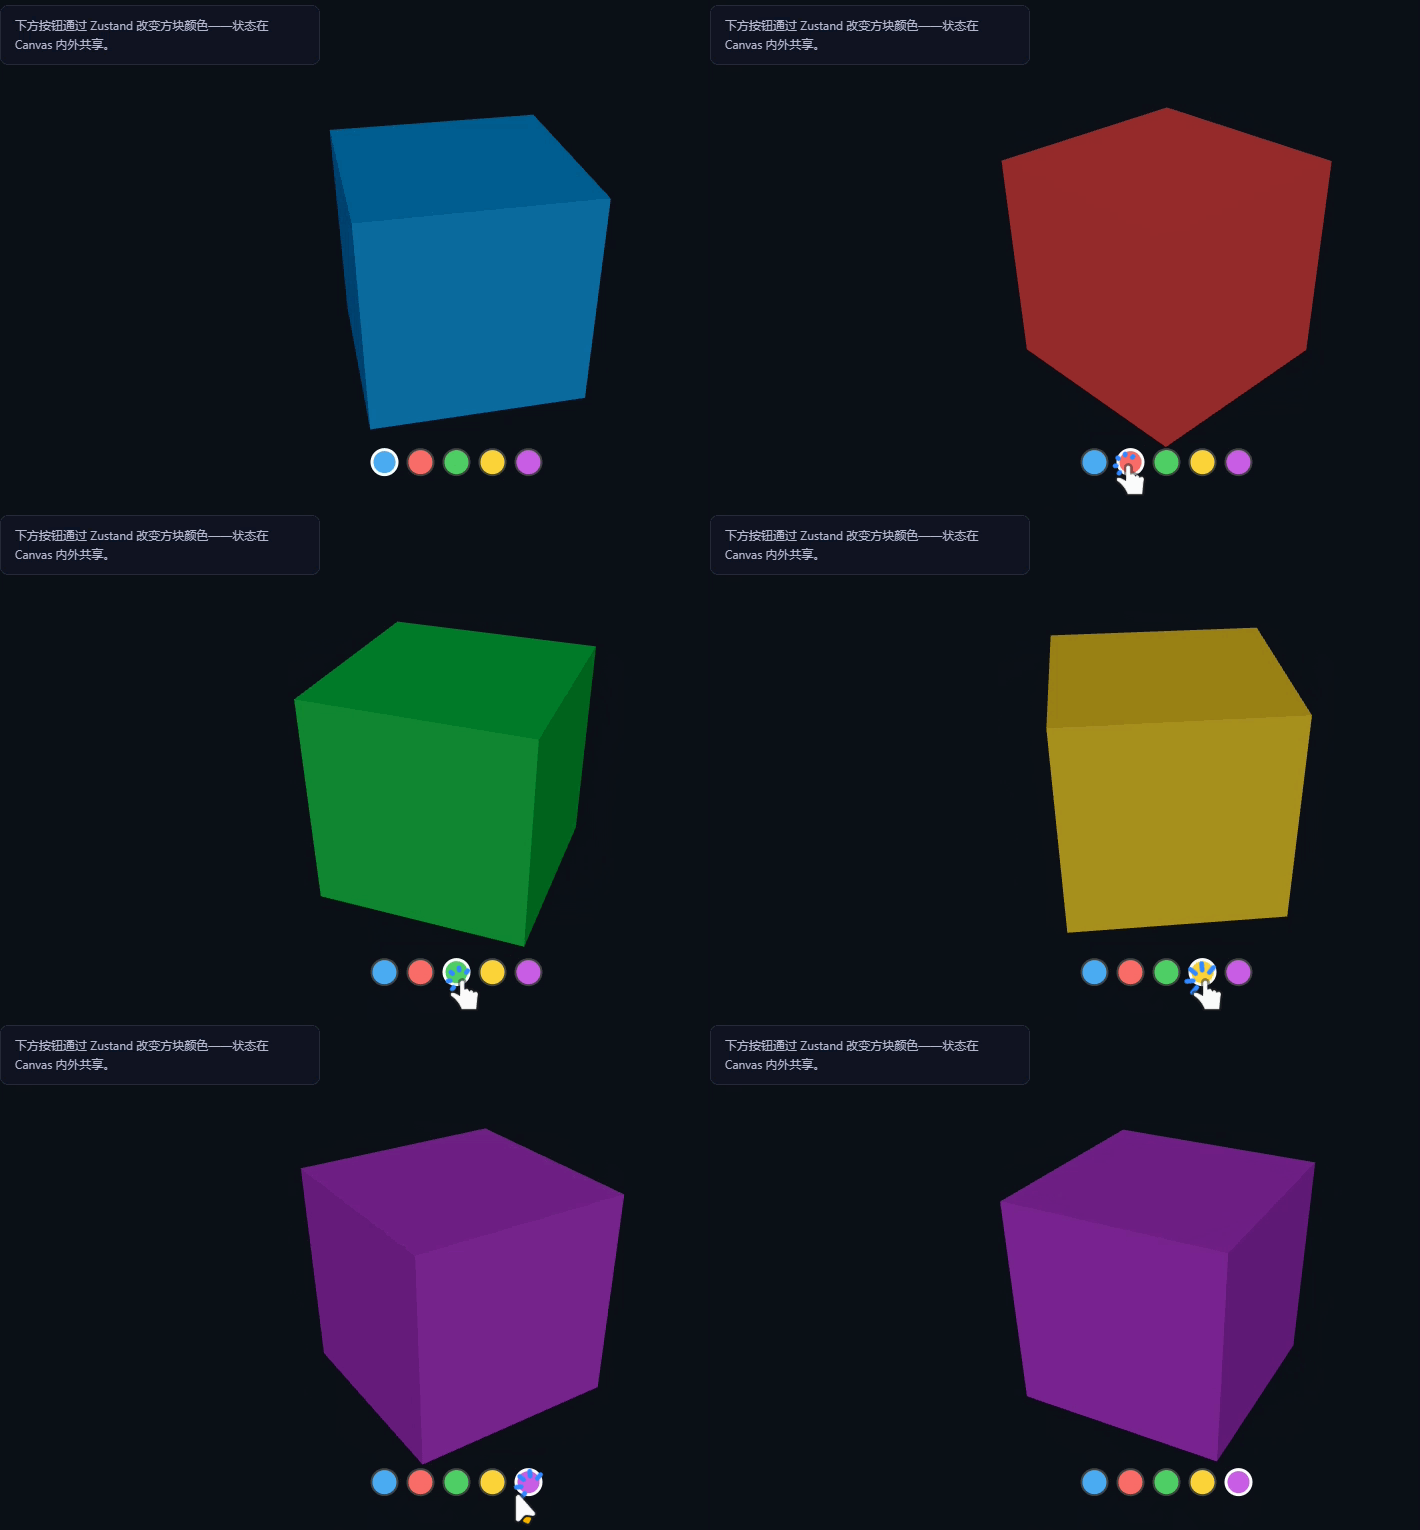
R3F 组件和普通 React 组件一样,可用 Context、Zustand 等共享状态:
import { create } from 'zustand'
const useStore = create((set) => ({
color: 'orange',
setColor: (color) => set({ color }),
}))
function Box() {
const color = useStore((s) => s.color)
return (
<mesh>
<boxGeometry />
<meshStandardMaterial color={color} />
</mesh>
)
}
drei 官方推荐 Zustand 作为 R3F 状态管理方案,避免 prop drilling 且不会触发 React 重渲染风暴。
第 10 章 性能优化
10.1 复用几何体与材质
避免在渲染中重复创建:
// 不好的写法:每次渲染都 new
<mesh geometry={new BoxGeometry()} material={new MeshStandardMaterial()} />
// 好的写法:用 JSX 声明,R3F 自动缓存
<mesh>
<boxGeometry />
<meshStandardMaterial />
</mesh>
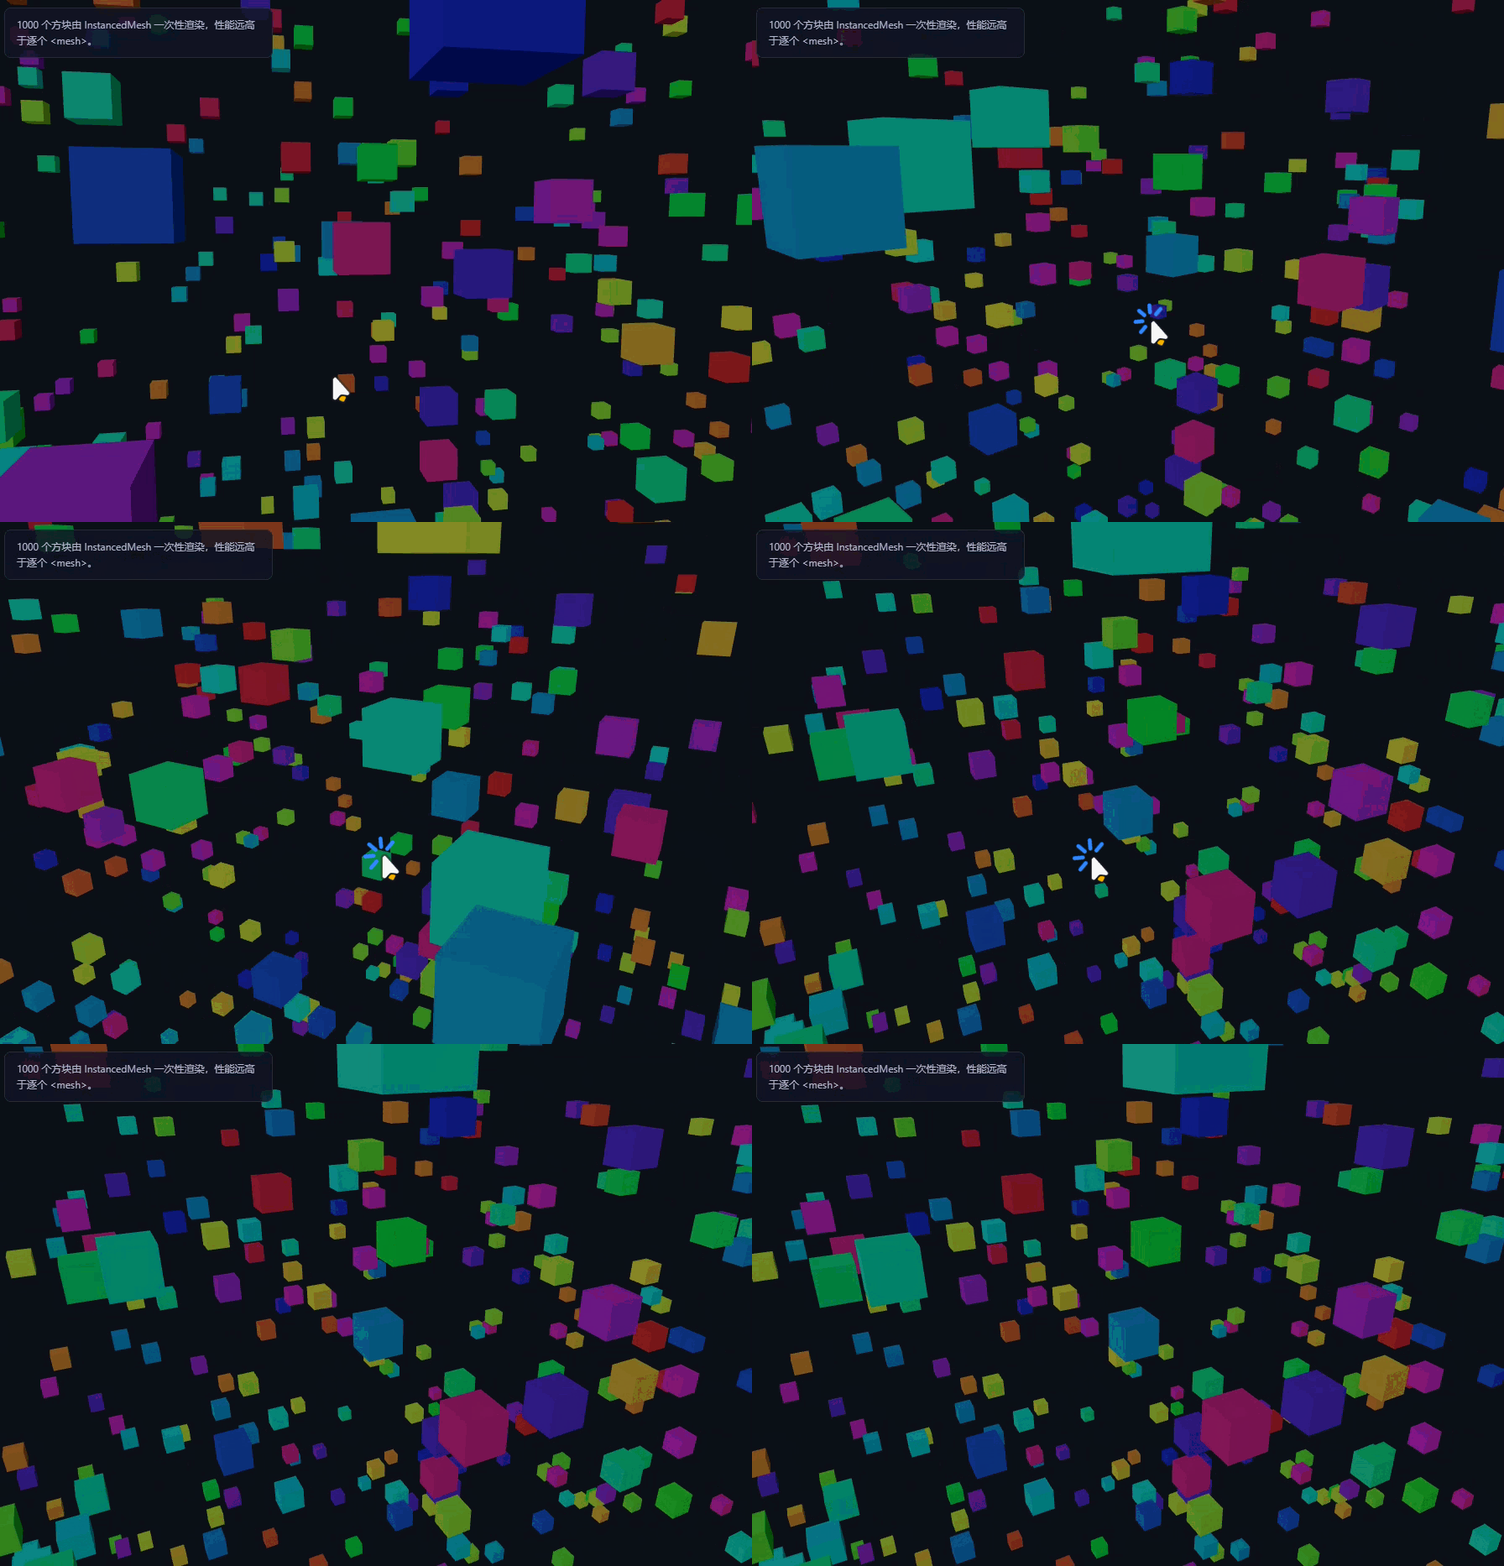
10.2 使用 InstancedMesh 渲染大量物体
import { Instances, Instance } from '@react-three/drei'
<Instances limit={1000}>
<boxGeometry />
<meshStandardMaterial />
{Array.from({ length: 1000 }).map((_, i) => (
<Instance key={i} position={[Math.random()*10-5, 0, Math.random()*10-5]} />
))}
</Instances>
案例:
import { useMemo, useRef } from "react";
import { Instances, Instance } from "@react-three/drei";
import { useFrame } from "@react-three/fiber";
import type { Group } from "three";
const COUNT = 1000;
export default function Ch10Performance() {
const groupRef = useRef<Group>(null!);
// 预生成 1000 个实例的随机位置(仅计算一次)
const data = useMemo(() => {
return Array.from({ length: COUNT }).map(() => ({
position: [
(Math.random() – 0.5) * 16,
(Math.random() – 0.5) * 16,
(Math.random() – 0.5) * 16,
] as [number, number, number],
color: `hsl(${Math.random() * 360}, 70%, 60%)`,
speed: 0.2 + Math.random() * 0.8,
}));
}, []);
useFrame((state) => {
if (groupRef.current) {
groupRef.current.rotation.y = state.clock.elapsedTime * 0.05;
}
});
return (
<group ref={groupRef}>
{/* limit 声明实例上限;后续子 <Instance> 共用一份几何体与材质(单 draw call) */}
<Instances limit={COUNT} range={COUNT}>
<boxGeometry args={[0.25, 0.25, 0.25]} />
<meshStandardMaterial roughness={0.4} />
{data.map((d, i) => (
<Instance key={i} position={d.position} color={d.color} />
))}
</Instances>
</group>
);
}
10.3 其他优化技巧
- 用 <ContactShadows> 替代真实阴影阴影贴图(性能好)。
- 合理设置 dpr={[1, 2]} 限制像素比。
- 用 frameloop="demand" 仅在需要时渲染(静态场景)。
- 使用 useMemo 缓存复杂计算结果。