系统要求
环境要求
- conda 或其他虚拟环境管理器,推荐使用 conda
- g++ 7 或更高版本,clang++ 5 或更高版本,或任何其他兼容 C++17 的工具链。
- python 3.10 – 3.12 版本
- ccache (可选) — 一个编译器缓存,可加速重新编译
构建 ExecuTorch
Clone ExecuTorch Repo
# Clone the ExecuTorch repo from GitHub
# 现在有更新的 1.0 版本了, 可以修改下面的版本号为: release/1.0
git clone -b release/0.7 https://github.com/pytorch/executorch.git && cd executorch
创建虚拟环境
首先,安装 Conda,然后创建并激活一个名为executorch的 Conda 环境:
conda create -yn executorch python=3.10.0 && conda activate executorch
从源码安装 ExecuTorch pip 包
# Install ExecuTorch pip package and its dependencies, as well as
# development tools like CMake, and backend support for XNNPACK and CoreML.
# If developing on a Mac, make sure to install the Xcode Command Line Tools first.
# Intel-based macOS systems require building PyTorch from source (see below)
./install_executorch.sh
默认情况下仅支持 XNNPACK 和 CoreML 后端。可以通过设置相应的 CMake 标志来启用其他后端或禁用默认后端。
# Enable the MPS backend
CMAKE_ARGS="-DEXECUTORCH_BUILD_MPS=ON" ./install_executorch.sh
# Disable the XNNPACK backend
CMAKE_ARGS="-DEXECUTORCH_BUILD_XNNPACK=OFF" ./install_executorch.sh
使用 PyTorch 的特定版本提交(pinned commit)来安装 ExecuTorch,确保版本兼容性,避免因 PyTorch 版本不匹配导致的问题:
./install_executorch.sh –use-pt-pinned-commit
对于开发模式,请使用 –editable 运行命令,这允许我们以开发/可编辑模式安装 Python 包:
./install_executorch.sh –editable
# Or you can directly do the following if dependencies are already installed
# either via a previous invocation of `./install_executorch.sh` or by explicitly installing requirements via `./install_requirements.sh` first.
pip install -e . –no-build-isolation
清理构建系统
从上游仓库通过 git fetch 或 git pull获取新版本时,最好清除旧的构建。还应该再次更新并拉取子模块,以防它们的版本发生变化。
# From the root of the executorch repo:
./install_executorch.sh –clean
git submodule sync
git submodule update –init –recursive
带有 –clean 的命令会移除旧的构建工件、pip 输出,并在安装了 ccache 的情况下清除 ccache,从而确保一个完全干净的构建环境。
从源码构建 ExecuTorch C++ Runtime
ExecuTorch 的 CMake 构建系统涵盖了可能对嵌入式系统用户有用的运行时组件。
- libexecutorch.a:ExecuTorch 运行时的核心。不包含任何运算符/内核定义或后端定义。
- libportable_kernels.a:ATen 兼容运算符的实现,遵循 //kernels/portable/functions.yaml 中的签名。
- libportable_kernels_bindings.a:用于将 libportable_kernels.a 的内容注册到运行时的生成代码。
- 注意:必须将其链接到您的应用程序中,并使用类似 -Wl,-force_load 或 -Wl,–whole-archive 的标志。它包含在加载时自动注册内核的函数,但链接器通常默认会修剪这些函数,因为没有直接调用它们。
- executor_runner:一个示例工具,它使用所有 1 个值作为输入来运行 .pte 程序文件,并将输出打印到 stdout。它与 libportable_kernels.a 链接,因此程序可以使用它实现的任何运算符。
安装编译器缓存 ccache
ccache 通过缓存先前编译的对象来显著加速重新编译。首次构建时,ccache 会填充其缓存,后续使用相同编译器标志进行构建可能会快得多。
# Ubuntu/Debian
sudo apt install ccache
构建 Runtime 组件
CMake 构建选项
Release 版本包含旨在提高性能和减小二进制文件大小的优化。它会禁用程序验证和 executorch 日志记录,并添加优化标志。为了进一步减小发布版本的体积,请同时使用-DEXECUTORCH_OPTIMIZE_SIZE=ON:
-DCMAKE_BUILD_TYPE=Release \\
-DEXECUTORCH_OPTIMIZE_SIZE=ON
使用以下命令构建所有目标:
# cd to the root of the executorch repo
cd executorch
mkdir -p cmake-out && cd cmake-out
cmake .. -DCMAKE_BUILD_TYPE=Release -DEXECUTORCH_OPTIMIZE_SIZE=ON
nproc
cd ..
# Build using the configuration that you previously generated under the
# `cmake-out` directory.
#
# NOTE: The `-j` argument specifies how many jobs/processes to use when
# building, and tends to speed up the build significantly. It's typical to use
# "core count + 1" as the `-j` value.
cmake –build cmake-out -j16
使用示例 executor_runner 执行 .pte 文件
首先,通过导出示例模型或按照 模型导出和降低 中的说明生成 .pte 文件。
要生成简单的模型文件,请从 ExecuTorch 目录运行以下命令。它将在当前目录中创建一个名为add.pte的文件。
cd executorch
python -m examples.portable.scripts.export –model_name="add"
然后,将其传递给命令行工具
./cmake-out/executor_runner –model_path add.pte

Q & A
Building wheel for executorch (pyproject.toml) did not run successfully.
我在通过指令:./install_executorch.sh –use-pt-pinned-commit 安装相关 PIP 包时出现如下报错:
error: subprocess-exited-with-error
× Building wheel for executorch (pyproject.toml) did not run successfully.
│ exit code: 1
╰─> No available output.
note: This error originates from a subprocess, and is likely not a problem with pip.
full command: /home/ubuntu/miniconda3/envs/executorch-env/bin/python /home/ubuntu/miniconda3/envs/executorch-env/lib/python3.12/site-packages/pip/_vendor/pyproject_hooks/_in_process/_in_process.py build_wheel /tmp/tmpmu6rlu4b
cwd: /home/ubuntu/OHOS-v6.0-Release/foundation/resourceschedule/smart_serve/third-party/executorch
Building wheel for executorch (pyproject.toml) ... error
ERROR: Failed building wheel for executorch
Failed to build executorch
error: failed-wheel-build-for-install
× Failed to build installable wheels for some pyproject.toml based projects
╰─> executorch
Traceback (most recent call last):
File "/home/ubuntu/OHOS-v6.0-Release/foundation/resourceschedule/smart_serve/third-party/executorch/./install_executorch.py", line 239, in <module>
main(sys.argv[1:])
File "/home/ubuntu/OHOS-v6.0-Release/foundation/resourceschedule/smart_serve/third-party/executorch/./install_executorch.py", line 229, in main
subprocess.run(cmd, check=True)
File "/home/ubuntu/miniconda3/envs/executorch-env/lib/python3.12/subprocess.py", line 571, in run
raise CalledProcessError(retcode, process.args,
subprocess.CalledProcessError: Command '['/home/ubuntu/miniconda3/envs/executorch-env/bin/python', '-m', 'pip', 'install', '.', '–no-build-isolation', '-v']' returned non-zero exit status 1.
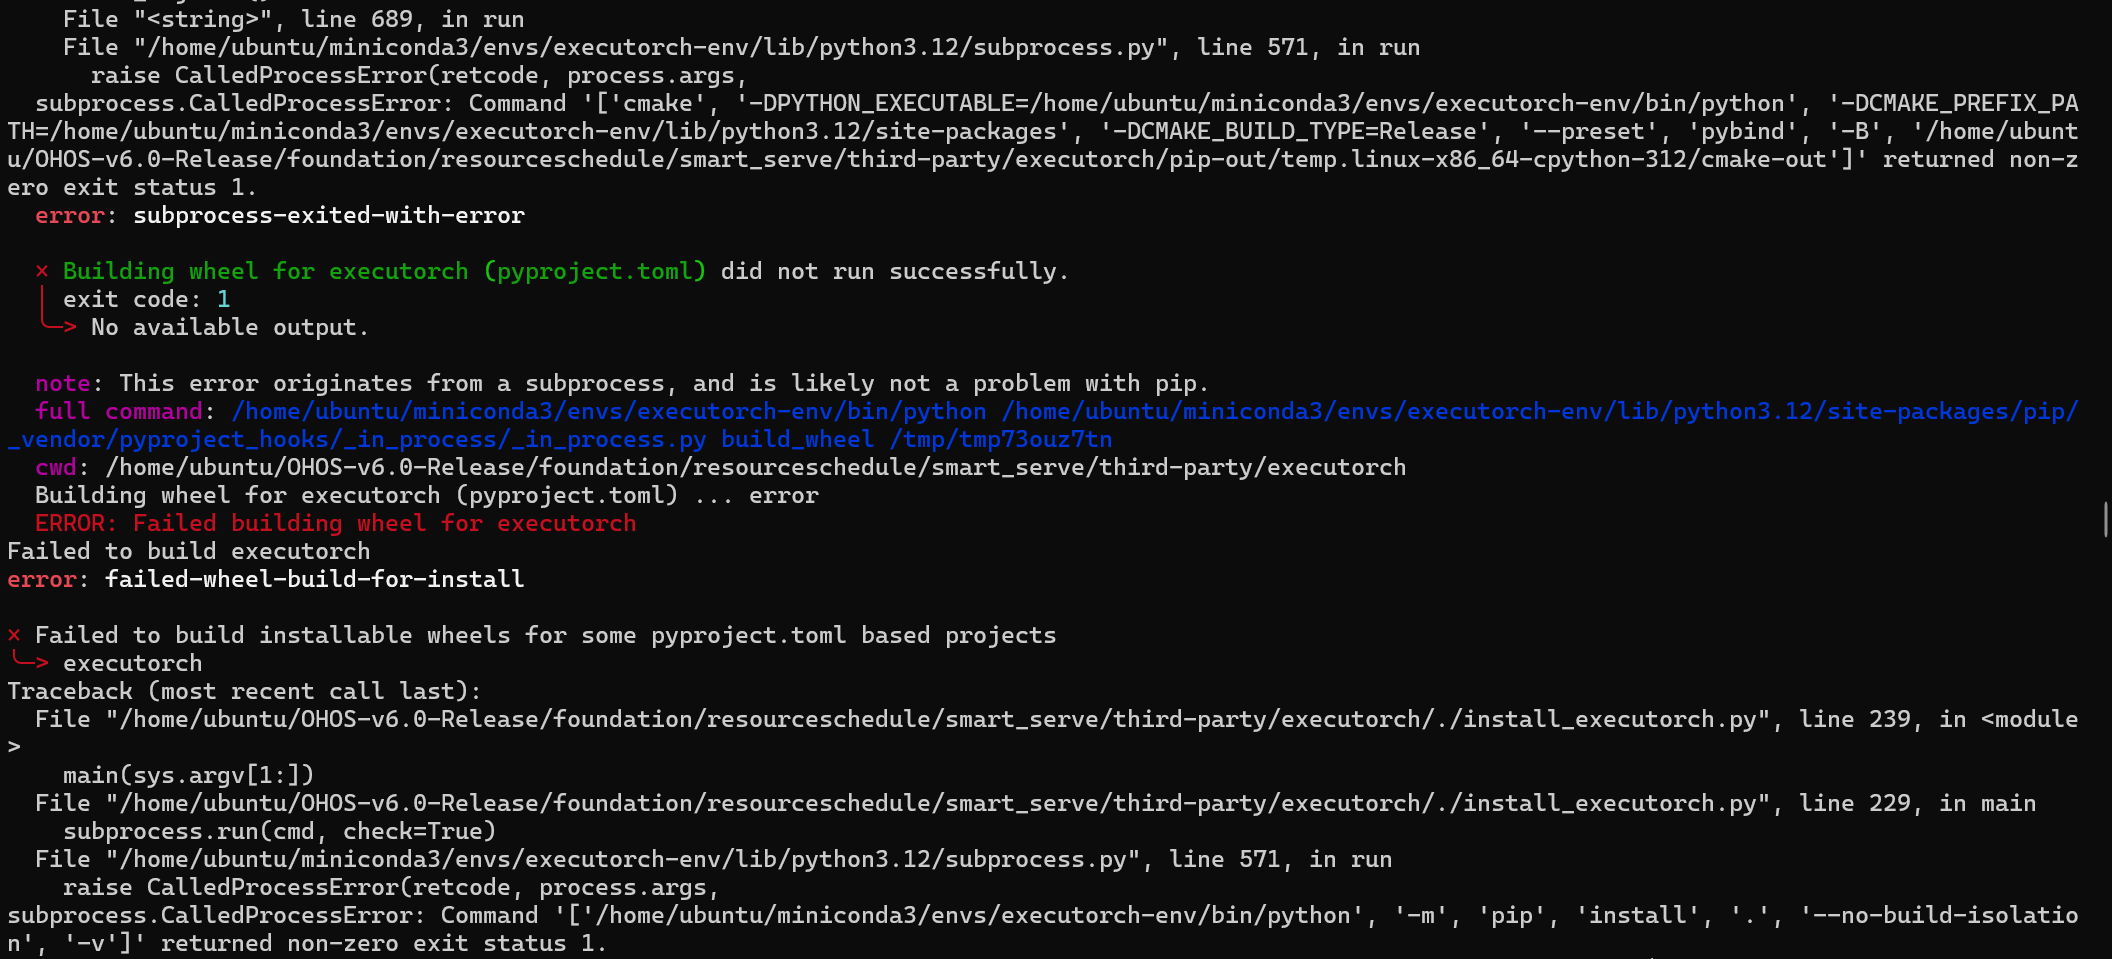
报错原因是: executorch 安装路径中不能有.符号,修改目录名称即可。
相关 Issue: